Flower photographer Brian Haslam demonstrates how to creatively combine macro, portraiture and still life techniques to create stunning flower photos

'Magnolia Campbellii Alba', Canon EOS 5D, 1/125sec at f/9, ISO 160
1. Invest time in your garden and you’ll be rewarded with a never-ending supply of things to photograph
The real benefit of photographing flowers is that just by looking through your window and into the garden, you can see an endless supply of subjects to photograph. Looking back to my childhood, I grew up with memories of a spring garden, ranging from such subjects as snowdrops to daffodils, and crocus to tulips. These were planted by my mother some fifty years ago, a passion she picked up from her own mother.
Most of these subjects planted in that garden return each year so, as a flower photographer, I’m faced with a never-ending subject. As a result of the work I’ve put into the garden, there is ample colour peppering the beds and borders and that means I have flowers to photograph all year round.

'Dahlia, Akita' Canon EOS 5D Mark II, 100mm, 1/160sec at f/16, ISO 100
2. Keep a record of seasonal cycles and the best times of years to photograph types of flower
Be aware that there is a natural cycle to of the year which cannot be avoided. That means you have to make the most of it. A spring garden is always a pleasure to see after a dark and bleak winter. Long warm days of summer are even more enjoyable.
If you’re looking to use your garden as your own person photography laboratory, I find that variety is the thing. The beauty of a garden is that it changes every day. Some flowers do better than others, and some photograph better than others. That means it’s worth experimenting with a variety of subjects.
3. For visual inspiration, look to past photographers
If you want a bit of inspiration, then one of my key bits of research comes from botanical illustrations. These pictures will give you a good idea of what to expect from your own images. I’ve also been very much inspired by the photographer Ron Van Dongen. He is a photographer who favours tulips, just as I do, and shoots using a 5x4 camera to achieve real quality in his images. He’s someone who also shoots using natural light and paints a card background to match the colour of his floral subjects. He’s a photographer who’s been a big influence on me.
'Scanned Tulips', HP PSC 1200
4. Try using flash to increase clarity and depth of field
While these days I mostly shoot indoors, there are occasions where I will have to shoot outdoors, such as when I’m visiting someone else’s garden. In these cases, particularly on days when the light is a little dull and flat I’ll use a ring flash to give my image real clarity.
The reason for using a ring flash is that if I were to use a regular flashgun then the light would be off-axis (either to the side or from above) and cause uneven lighting and very noticeable, harsh shadows. As I’m working with close-up subjects, there will even be the risk of the shadow of the lens falling onto the flower. Therefore, I’ve invested in a ring flash meaning that all of the flash's light spills onto the subject in an even and forward-facing way. That gives the subject brilliant clarity and means it is not interfered with by intrusive shadows.
However, a consequence of using a ring flash is that your camera will expose entirely for the subject and underexpose your background leaving you with a black backdrop. For some subjects that’s ideal as it will mean the subject pops out of the frame. With others, perhaps it’s not so complimentary to the subject. My solution involves a bit of post-processing as we’ll see in the next tip.
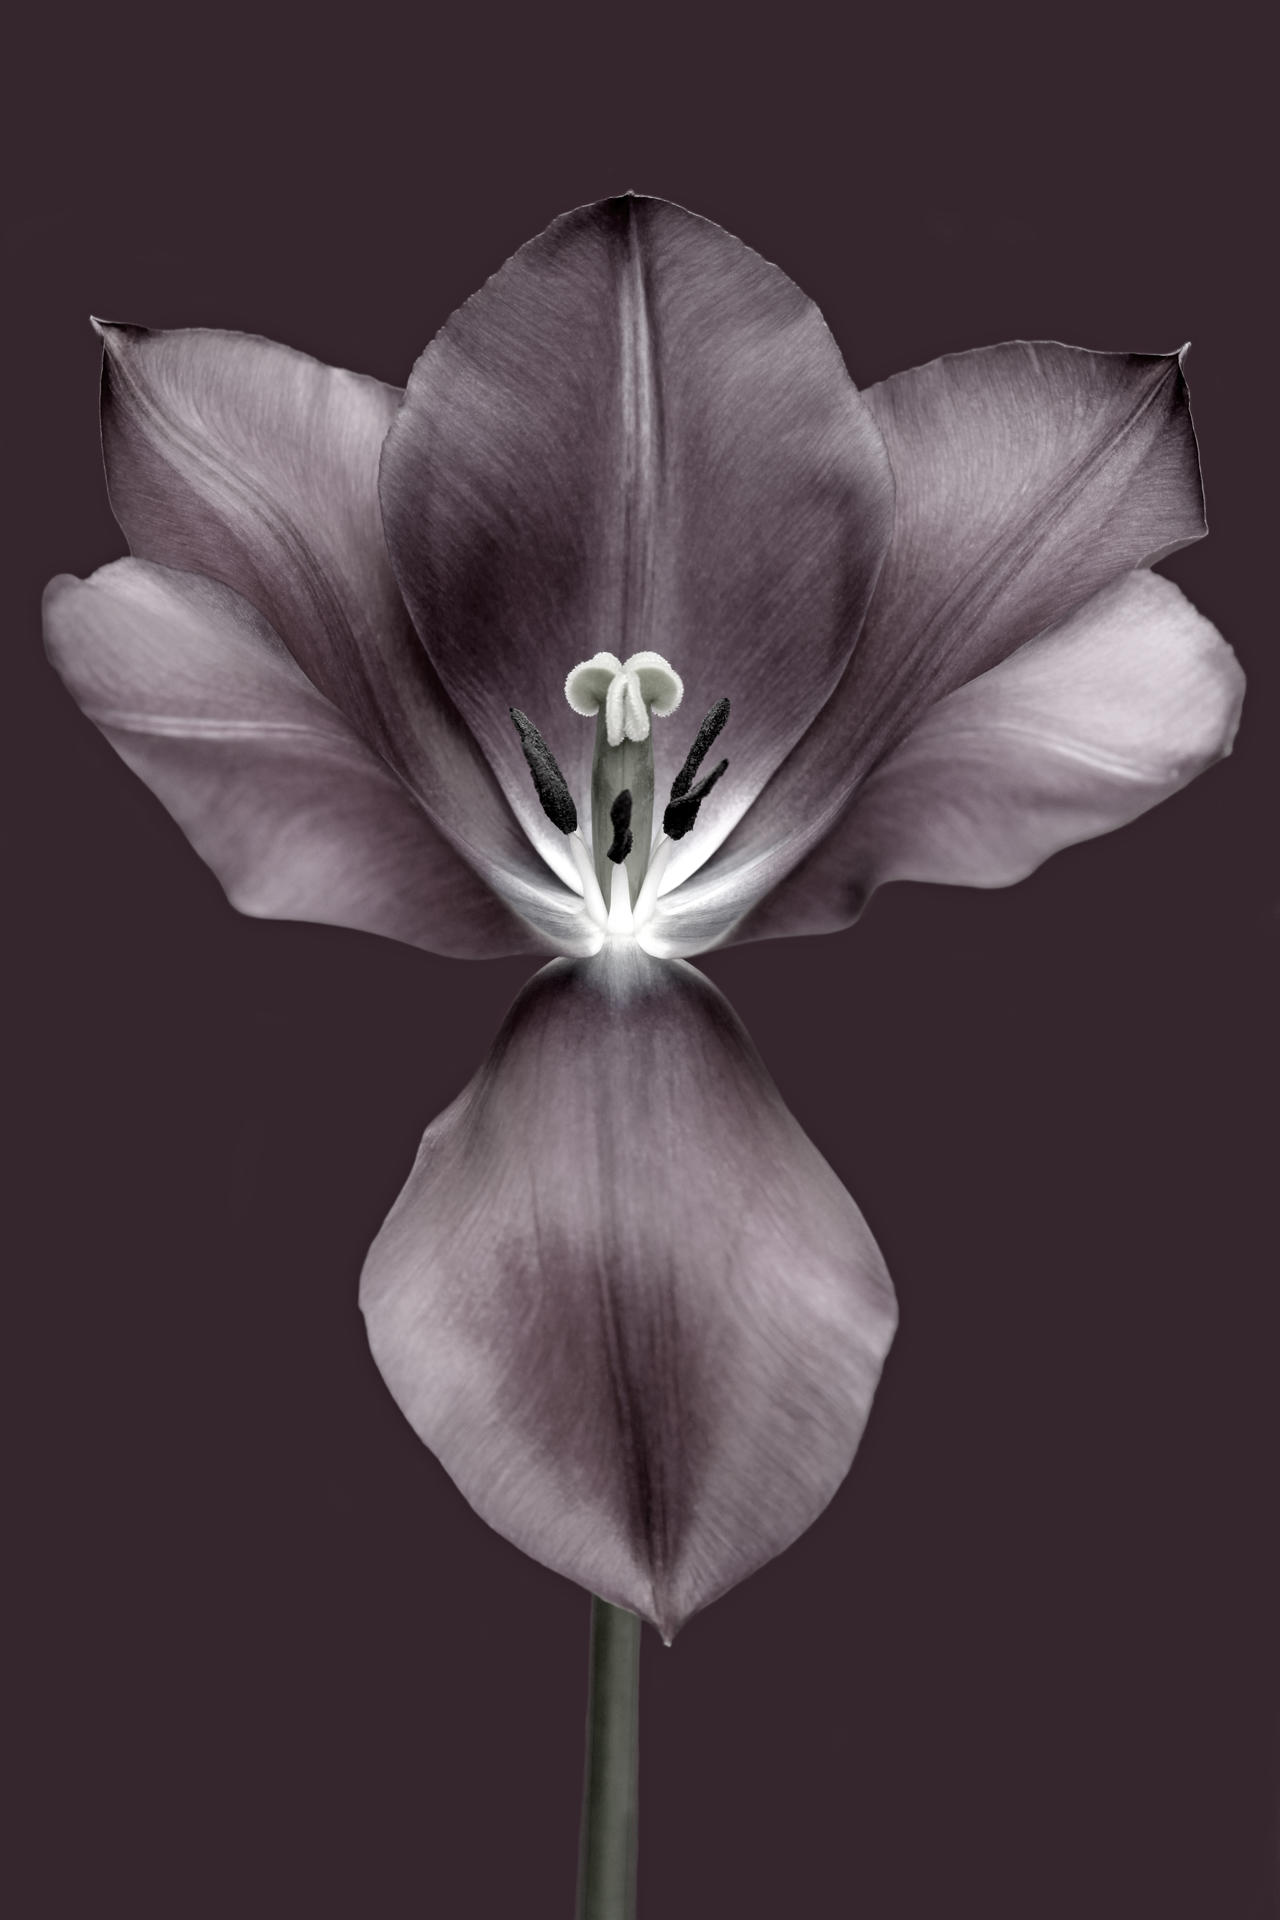
'Tulip Music in Monochrome', Canon EOS 5D Mark II, 100mm, 1/30sec at f/32, ISO 160
5. Consider isolating your subject and trying different backgrounds
If I want to fix a black background, or perhaps I just want to isolate the subject and make it stand out more, I can turn to the simple paintbrush tool in Photoshop. Once I’ve decided on the appropriate colour (this can either compliment or contrast with your subject), I paint around the edges of the flower with an ever-decreasing size of paintbrush, and an increasing zoom of the image. If I want the background to match the colour of the flower, then I can simply select the eye-dropper tool which allows Photoshop to find the closest tone and then my paintbrush will have that colour at its disposal. I can then fill in the background.
However, if I want to I paint with a different colour and then I can carefully use the magic wand (or perhaps lasso) tool to select the subject, which will keep the flower sectioned off from the background. I can then fill in the exposed area.
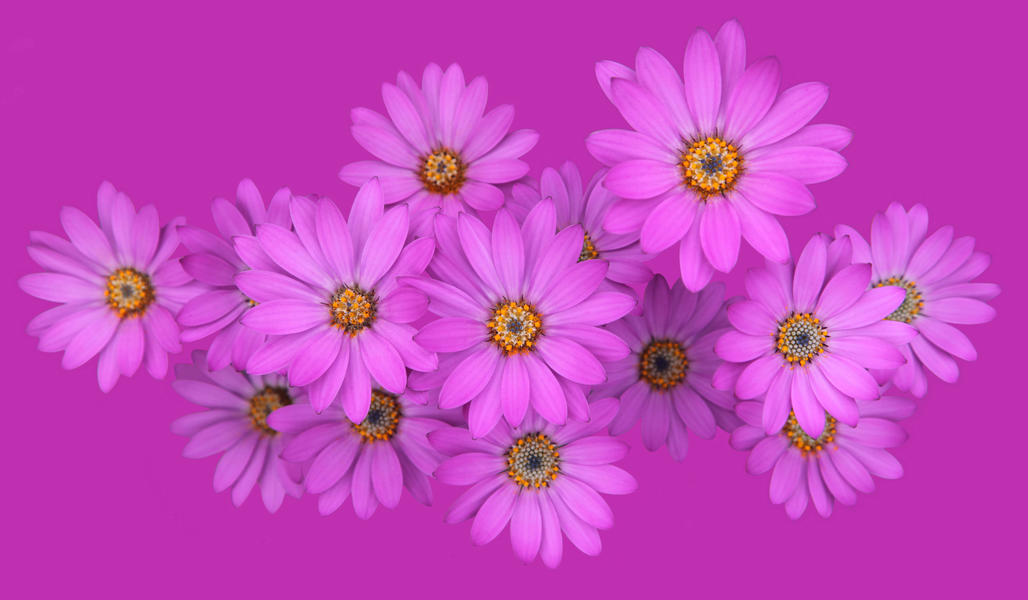
'Daisies, Pink Osteospermum,' Canon EOS 5D Mark II, 105mm, 1/160sec at f/6.3, ISO 160
6. Use a lightbox for a clean background
One method I’ve taken to in recent years is using a lightbox to give a clean and graphic background. By standing my lightbox behind the subject and facing it towards the camera, I have a portable background that is pure white and can often work wonders for ensuring your subject pops out of the frame. This makes things easier if you’re looking to fill in the background with a colour, but often you’ll decide that a white background is what you need. This simple technique can also make the petals seem more translucent with a little in-camera overexposure.
If you’re not sure, a light box is quite simply a fluorescent tube in a box of white Perspex. They’re generally used to view transparencies without holding them up to the light, so perhaps you’ve used one in your film days. While you may be tempted to instead use a bit of white paper or card as a white background, you should be aware that these can tend to come out as quite grey in the final image. That’s why it really is worth investing in a lightbox. They’re relatively cheap and will always give you great results.
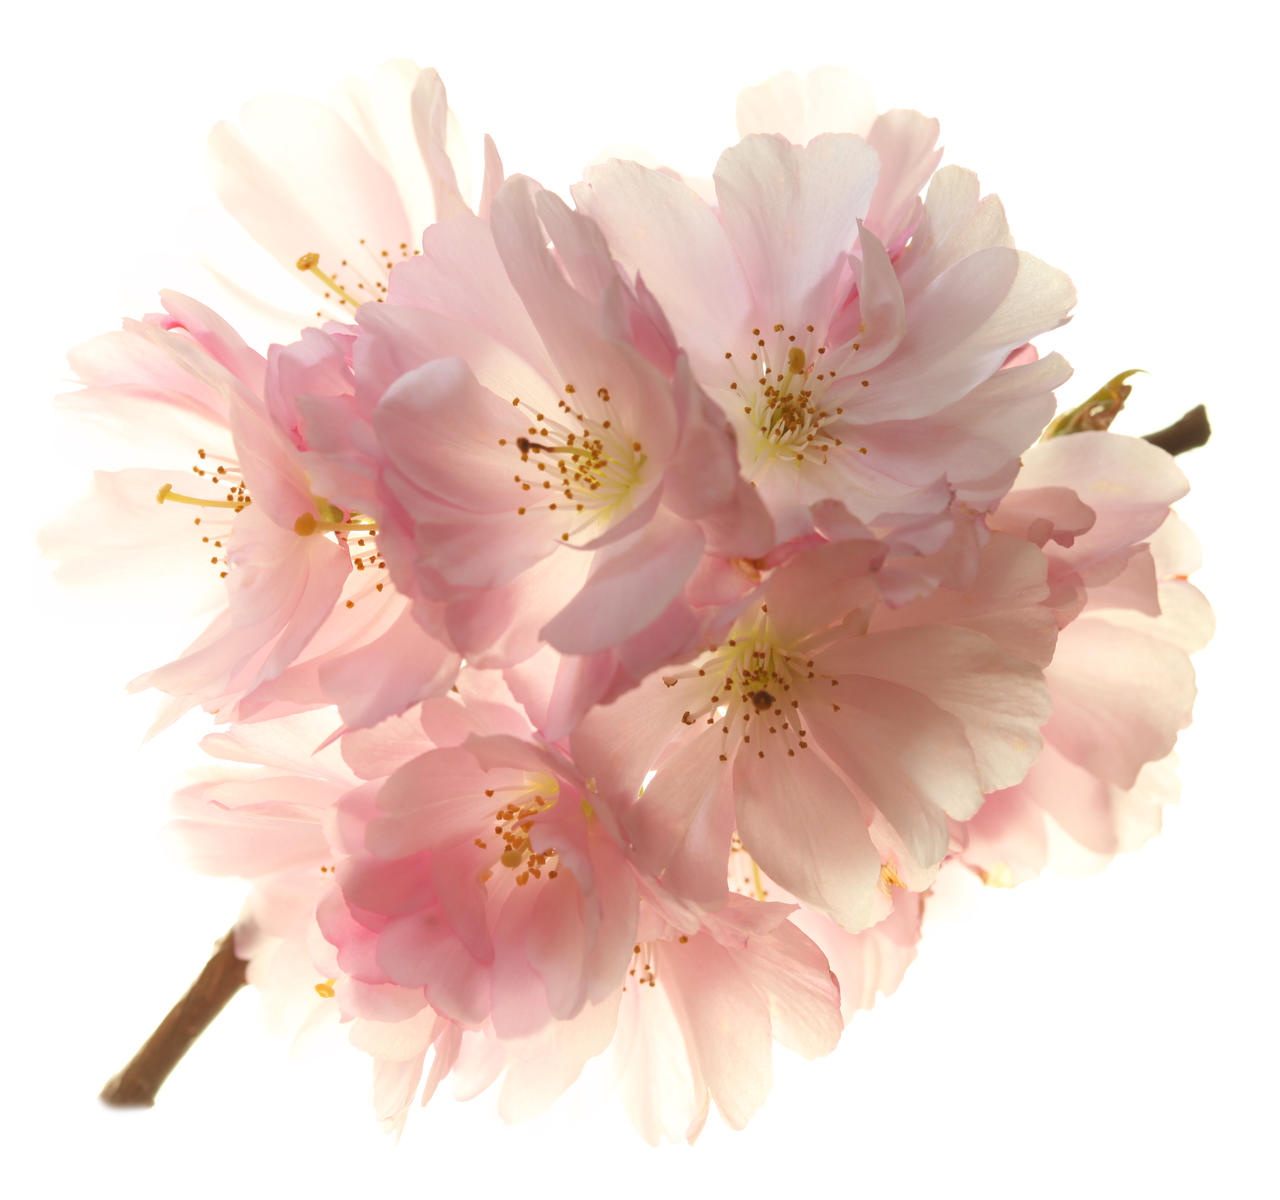
'Cherry Blossom', Canon EOS 5D Mark II, 100mm, 1/2sec at f/9, ISO 160
6. Bring the outside inside
There are several occasions these days where I tend to shoot indoors as this gives me much more control over the subject and the environment. There was a time when I did not like to pick flowers from the garden for fear of them dying but realised that it was necessary to truly capture my subjects. I have a little area that I call my 'garden studio', which is simply an alley between two garages with a roof of clear corrugated plastic sheets and an open door.
Due to this set-up, I’m in a position where I can rely on natural daylight which I find to be the best method of lighting my flowers. Bright sunlight gives deep black shadows on the subject. Shade gives a more even distribution of light and hopefully better quality. A long exposure for depth of field necessitates a tripod, but a handheld short exposure can be used to blur an otherwise distracting background. While flash can also be used – a ring flash, as I said, is useful for macro photos – this can tend to give a harsher result than natural daylight.
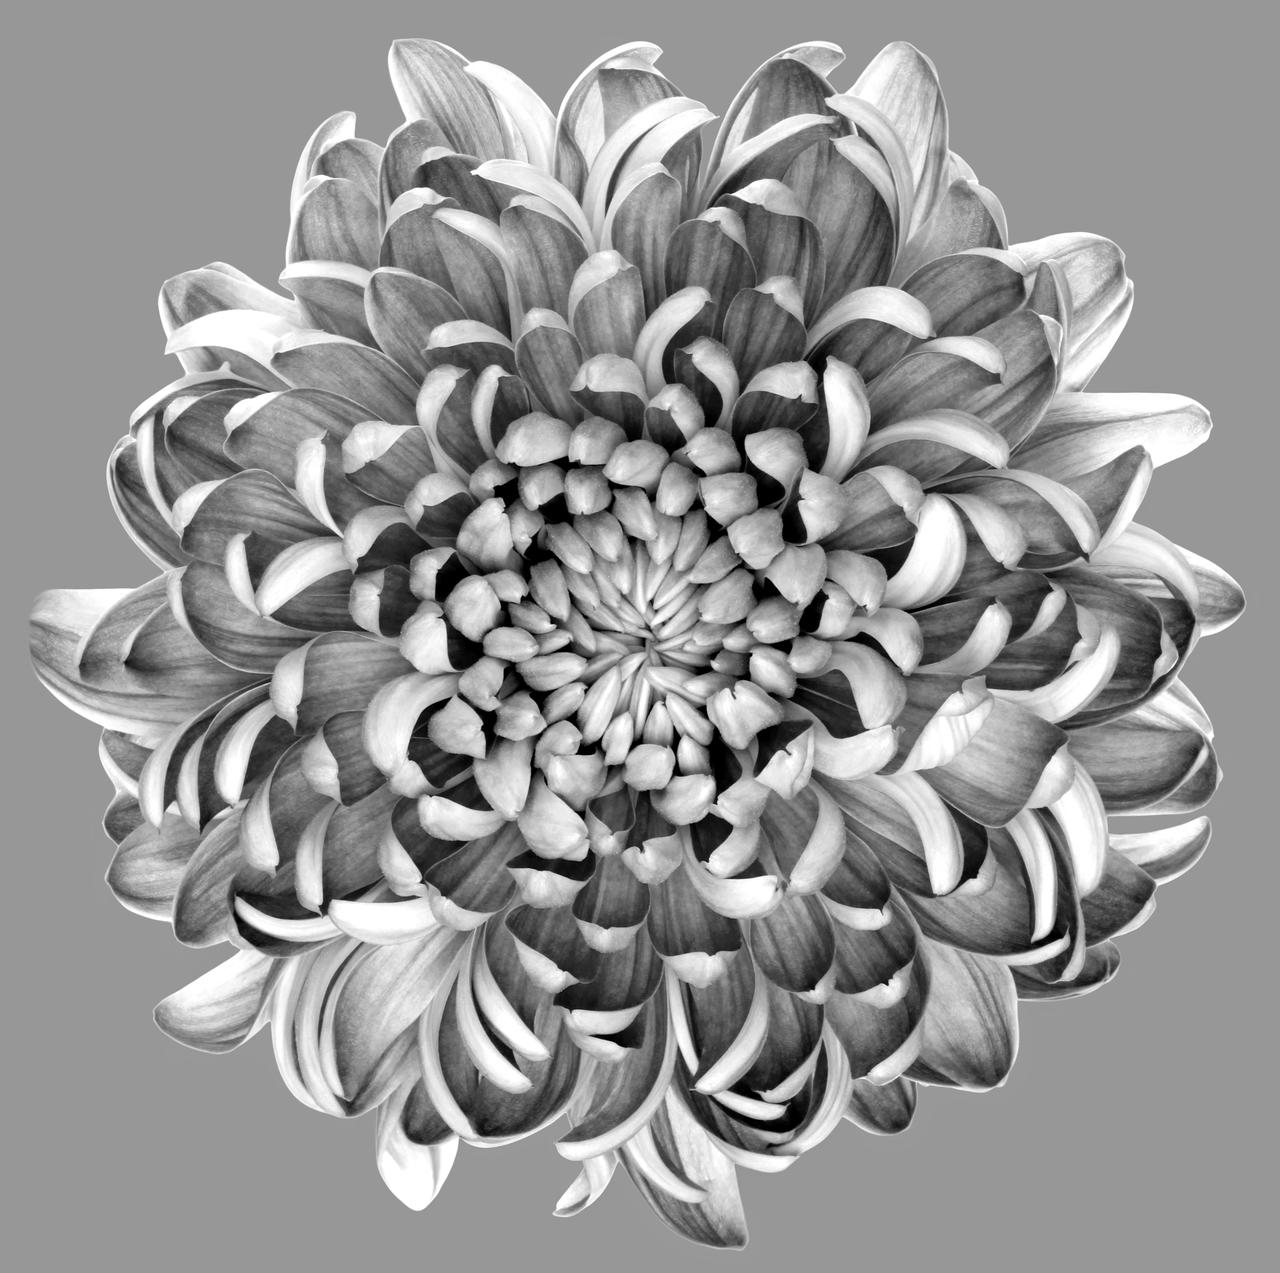
'Chrysanthemum', Canon EOS 5D Mark II, 100mm, 1sec at f/32, ISO 160
7. The best exposure
If I’m shooting indoors, I’ll always use a tripod and cable release and this will tend to necessitate a particular array of exposure settings.
• 100mm macro lens – f/32
• 28-105mm zoom – f22
• Exposure times generally come in at around 2 to 10 seconds
However, if I’m shooting outdoors I’ll shoot handheld with a wide-open aperture of f/2.8, an exposure of 1/160sec and an ISO of 160. If I’m using a ring flash then I’m generally restricted to an aperture of f/11.
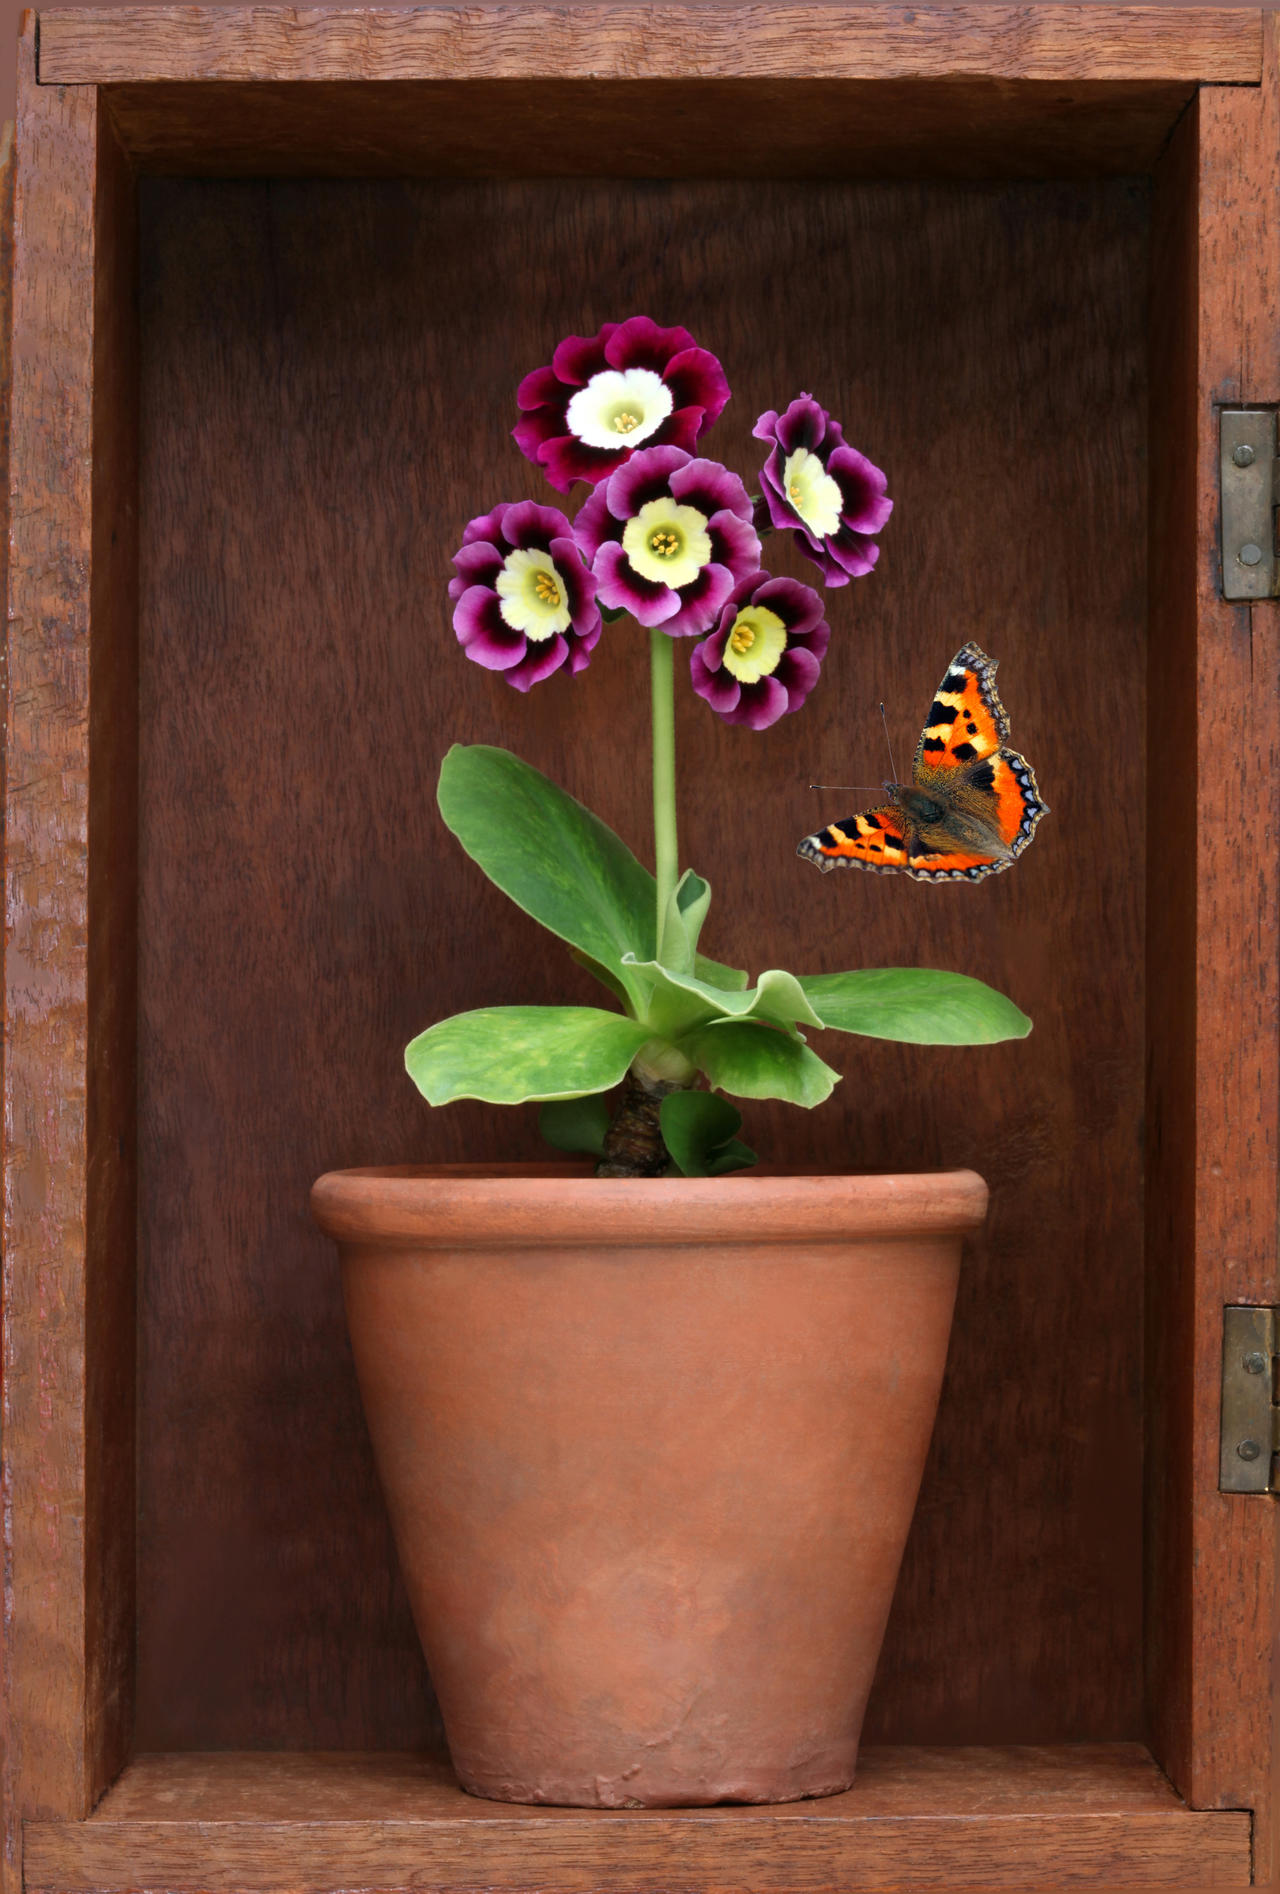
'Auricula', Canon EOS 5D Mark II, 100mm, 2secs at f/32, ISO 160
8. Shoot with a macro lens
One of the most important investments you can make if you’re looking to attempt this type of flower photography is a macro lens. These days, I tend to shoot using a 100mm f/2.8 macro lens, a model I have been happily using for some time now. It has a limited depth of field, of course, but that’s an aesthetic benefit, which will give your images real depth as your focal point will be in focus but the rest will gradually fall off.

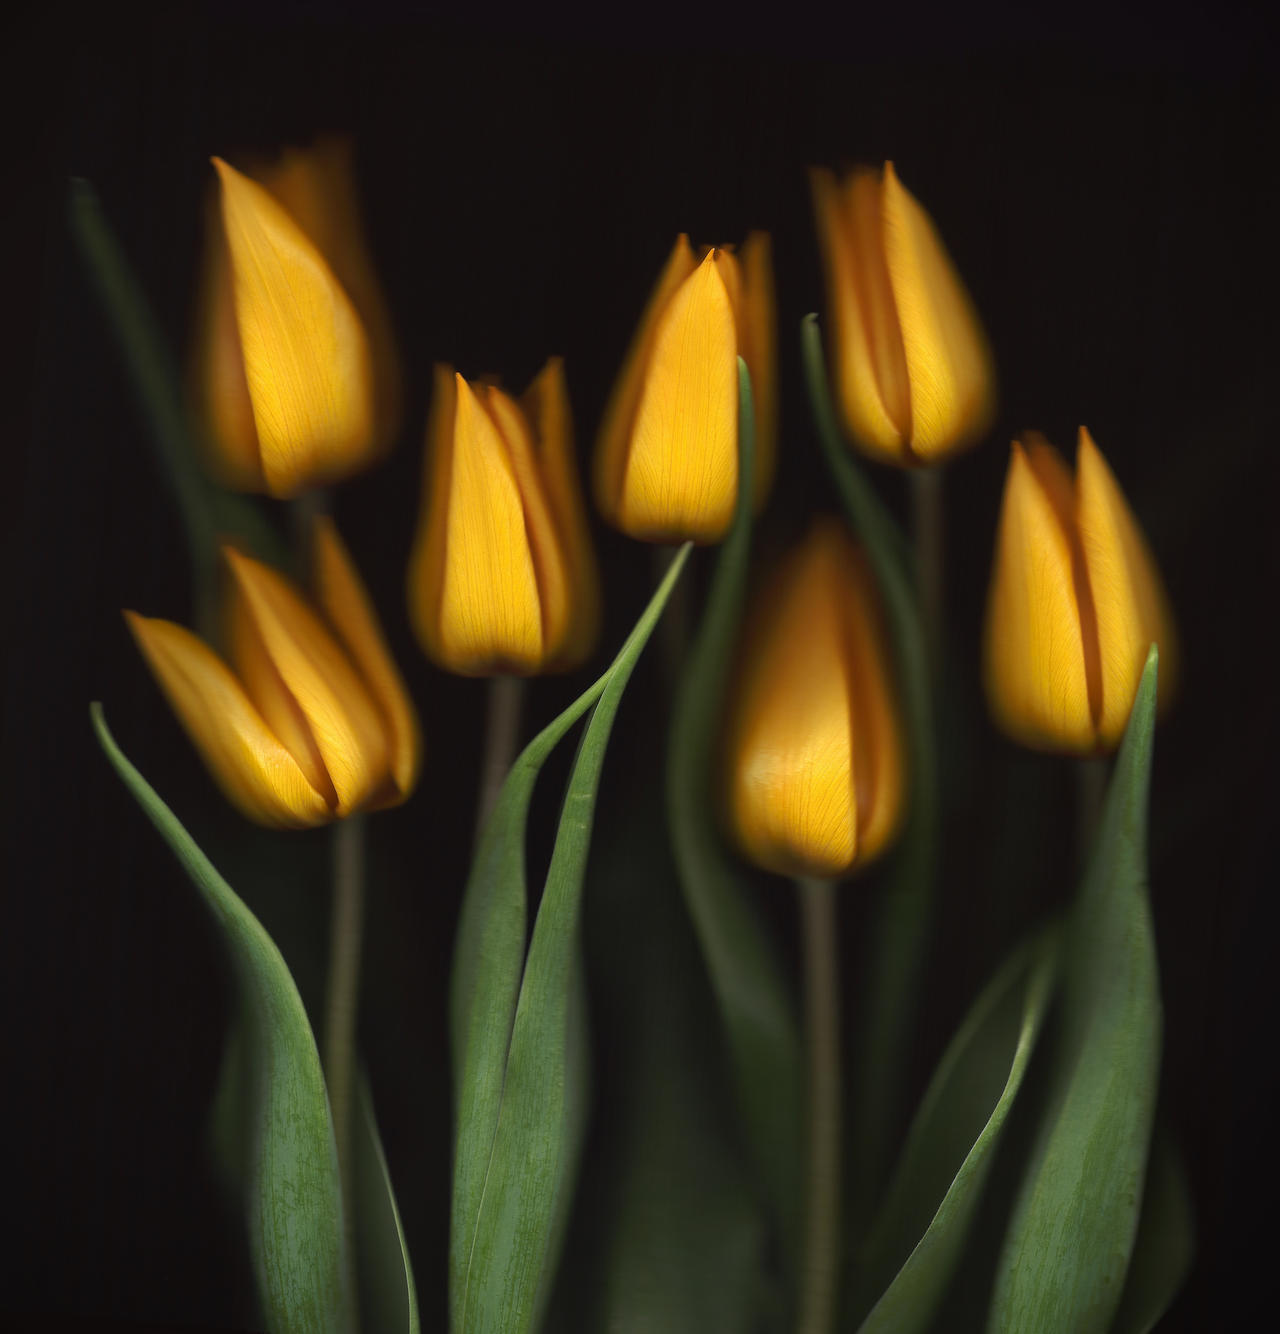
10. Try using a home scanner to create still life images
Years ago, I saw some photos by Katinka Matson and was impressed with the quality. However, I soon realised they were not photos – they were scans. I decided to try it myself with my own printer-scanner-copier, an HP PSC 1215.
I laid some tulips on the scanner glass and covered it with a blacked-out shoebox to give the image a black background. One image of seven yellow tulips came out well. Last year I was looking at this in Photoshop and hit a command by mistake. I was now looking at blue tulips with a white background. I like a black background to make the colours sing out, but, as previously mentioned, I also like a clean white background to give a brighter and more illustrative image. Luckily the history tab told me that I had inverted the image so my next job was to adjust the colours.
Under Image>Adjustments>Hue/Saturation, I took the Hue slider all the way from 0 to +/- 180 to restore the colours. The original colours were back, but the black tones were reversed to white and the white highlights reversed to black. It was now looking more like a botanical illustration. The yellow and grey tones of the flower petals gave the image a golden glow.
Resolution is set quite high to give a large image, usually 600 dpi. There are no other adjustments to settings, except basic colour tweaks. What’s interesting is that the depth of field is very limited – it’s restricted to whatever is touching the glass, but this is what gives the image its quality. It’s actually very similar to using a macro lens with a wide aperture.
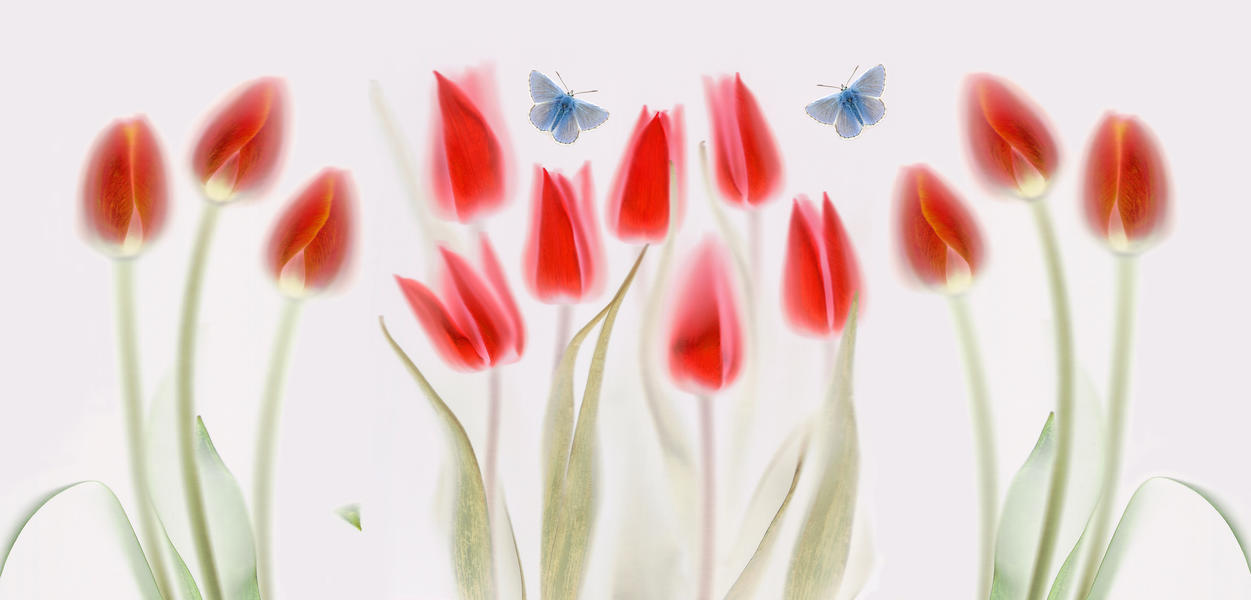
'Red Tulips and Blue Butterflies', HP PSC 1200
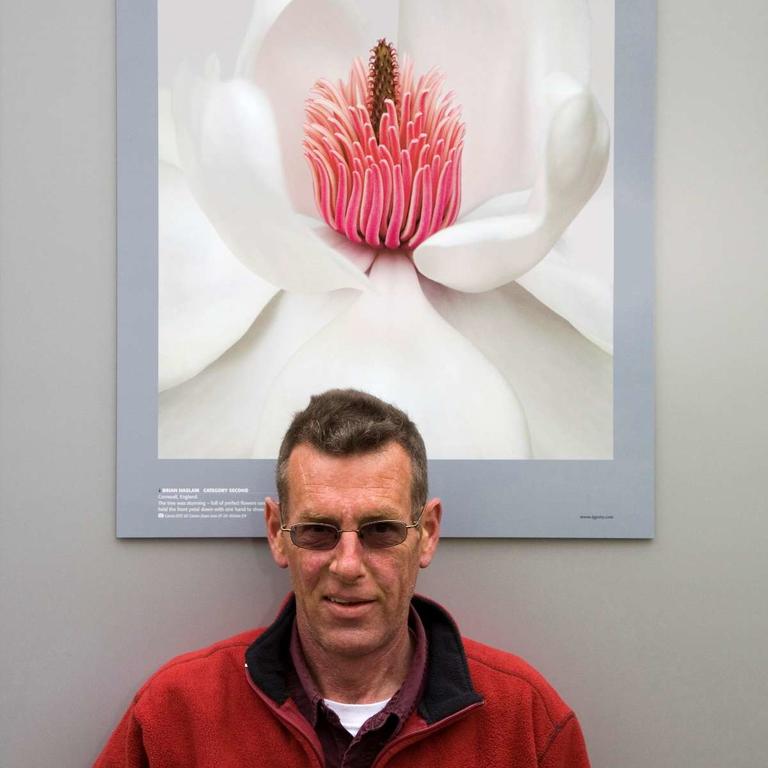
Brian Haslam
To see more of Brian Haslam's work visit his website at http://www.brianhaslamphotography.co.uk/
Visit Brian's Photocrowd page for more of his flower images