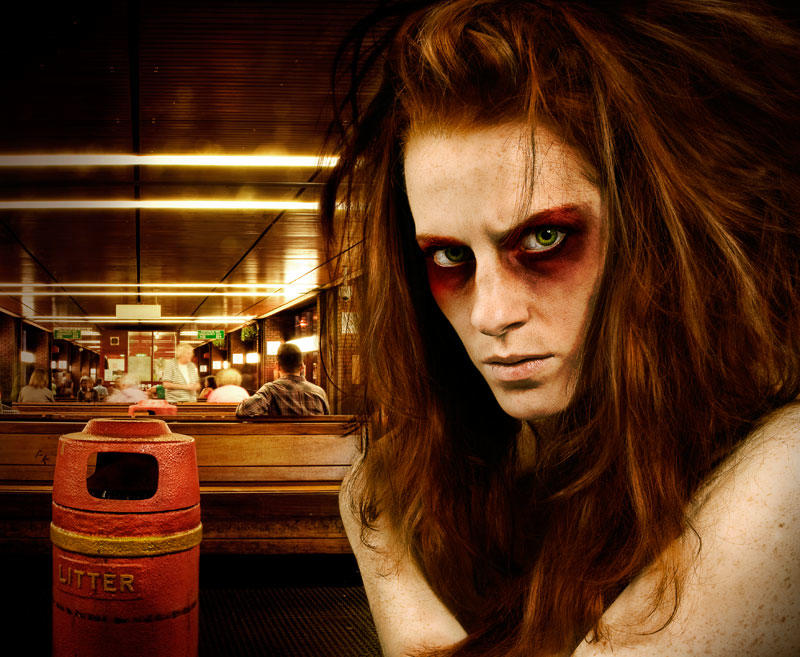
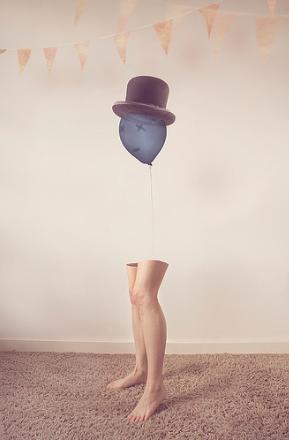
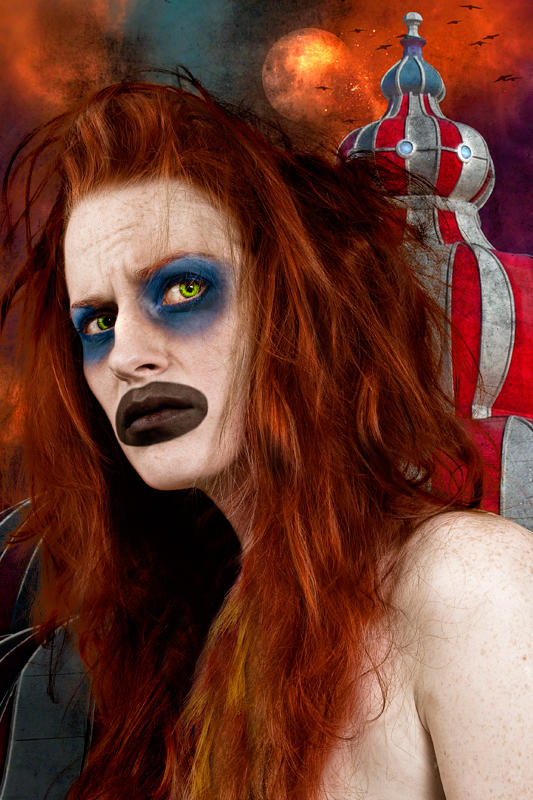
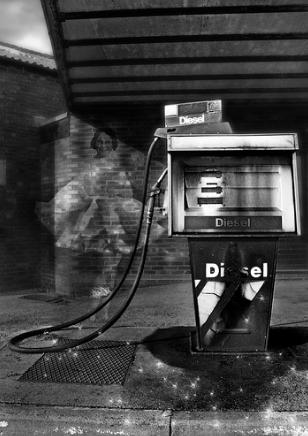
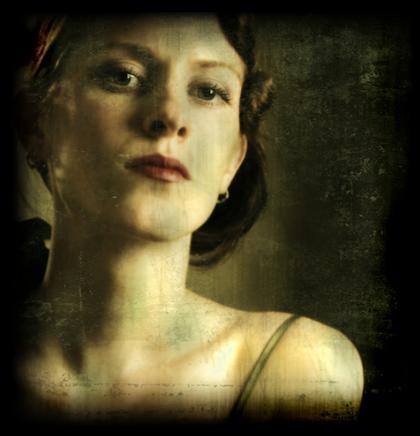
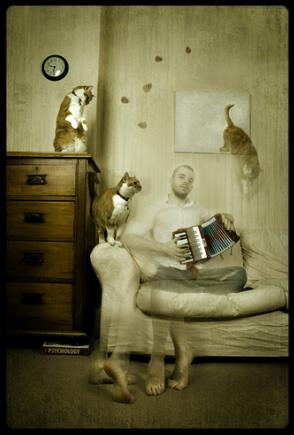
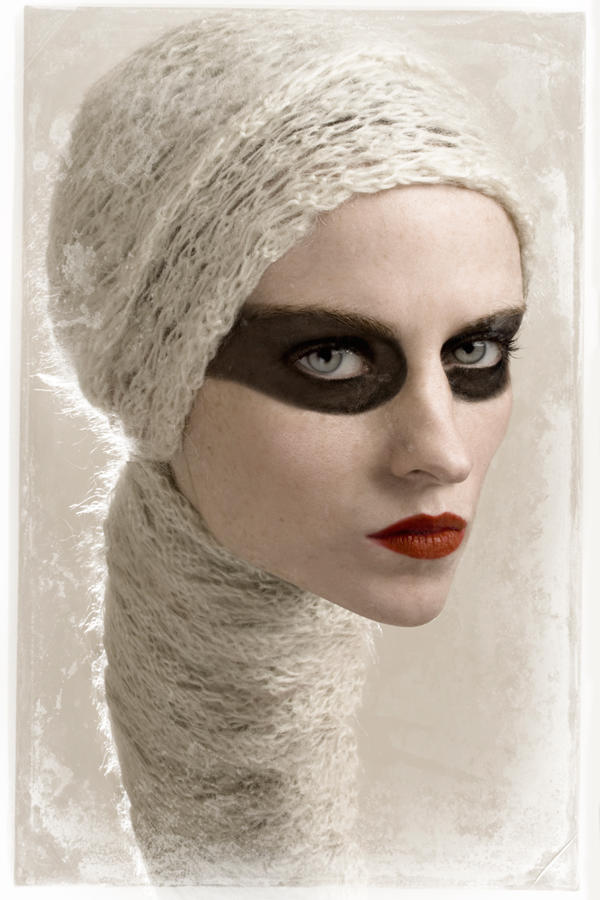
Everyone loves a pretty picture, right? Perfectly Instagrammed selfies, flawless skin, beautiful shots that defy belief (PSA: don’t believe everything you see on social media or on billboard adverts). But sometimes, you want something with a bit more character. You want to ramp up the flaws, you want to celebrate the weird and see something strange. And photo-manipulation can be the perfect platform to explore this craziness.
Years of working in fashion and poster/promo design mean I’ve spent my fair share of time erasing life’s wrinkles and cleaning off the grime. But the best times are when I get to do something dirty, to mess something up, to go weird. That being the case, here’s my top tips for making the most out of letting yourself go.
Don’t be afraid to get ugly
Sometimes ugly is pretty, pretty is ugly, and weirdness is simply stunning. Don’t be afraid to move away from classically beautiful subjects and discover the joys of what people normally turn away from – aged skin is experience and wisdom, derelict houses hold untold hundreds of stories, broken toys bring tears to the eyes.
Start with the good stuff
Ok, so we’re looking past the pretty and digging out the unusual, the strange. But just because we’re doing that doesn’t mean you don’t still need to start with the best quality in your source images. Don’t forget your lighting, don’t forget your focus. If you want to work on a photo-collage, try to match the lighting and tone as much as you can pre-processing. As the saying goes, you can’t polish a… well… let’s move on.
Get into the detail
Explore the nooks and crannies. Sometimes it’s not the picture of the house that’s interesting, but the grubby, discarded wrapping paper on the floor that really holds the story.
Don’t get destructive - layers (and their masks) are your friends
Do not, I repeat, DO NOT, work destructively. You want to edit your image? Ok, take a copy of the layer you want to change, and work on that. You want to increase the saturation? Use an adjustment layer. Only want a part of the picture to be tinted red? Use an adjustment layer and mask out what you need to. Trust me, if you ever need to change the effect later on then keeping your elements on different layers will save you potentially hours of having to rework a section (and stop the onset of a massive retouching headache).
Get to know your blending modes
So many blending modes to choose from, but multiply, overlay and pin light are some of my favourite starting points. Use them on adjustment layers, on desaturated copies of layers, on texture layers and have fun with what comes out.
Get your textures out
Speaking of textures - take your own (oooh, look at that crumbling old wall) or find images you can use (go to Lost and Taken, it’s amazing) and play with opacity and blending modes. This will give your image depth, texture and character. For added nuance, mask out parts of the texture layers so they only cover part of your image.
Dial up the contrast
Increase the edginess of your image by playing with the contrast. Use the curves function to fine tune levels in your image, and don’t be afraid to go heavy with it – you can always tweak it afterwards.
Go crazy
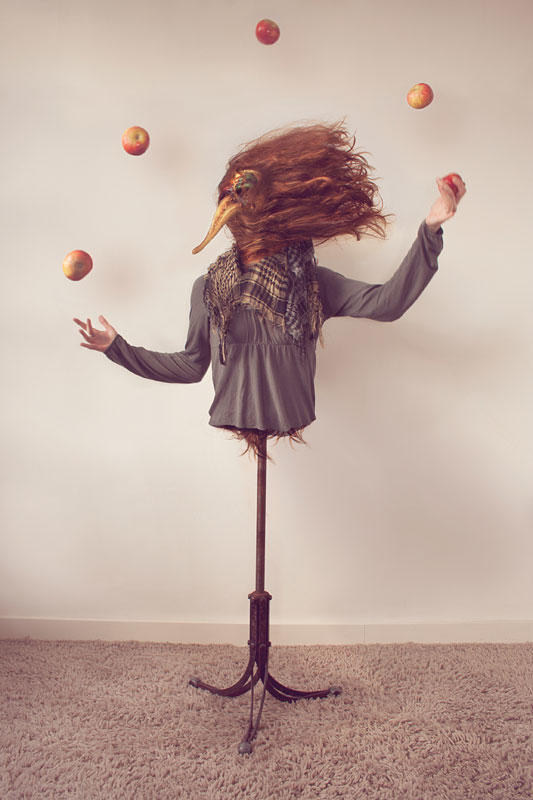
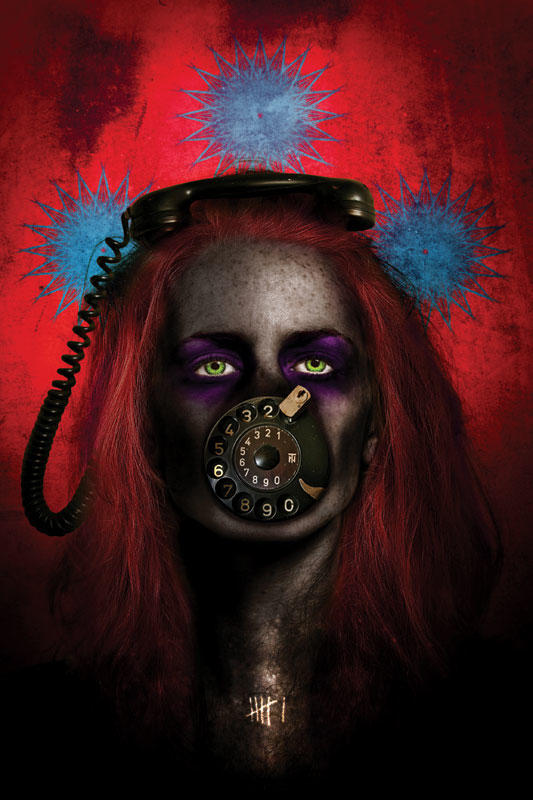
Letting yourself go with photo-editing is one of the great joys of digital photography. Know the rules, learn how to do something, then break the rules until you make the picture you want to make. You want to make that picture of a scarecrow juggling apples? You go do it. You want to turn your head into a massive phone? Make it so. Let your imagination loose and see where it leads you.

