Tips Feature
22 Tips for Photographing Birds in Flight
with Roger Hunt
If you’re a keen bird photographer, then read Roger Hunt’s ultimate step-by-step guide to capturing flying birds

'A Very Soggy Greenfinch', Canon EOS 7D Mark III, 100-400mm, 1/3200sec at f/5.6, ISO 4000

1. Make a checklist of things to include in your image
What one person thinks makes a good photograph of a bird in flight may be different to what someone else thinks. It can often be the case that just the sheer beauty or elegance of the bird in flight is all that's required. Nevertheless, you should consider a combination of two or more of the following for a desirable image:
• the main subject is in focus (mandatory)
• an appealing background with little or no distraction
• either total freeze of motion or slight blur just in the wing movement
• the 'attitude' of the bird in flight – take-off, landing, diving, neck extension, wing position, body and leg position
• other activity such as aerial combat, carrying food or prey or nest material
• flight formation or symmetry
• a well framed and/or cropped image to achieve a good overall composition
• the overall aesthetic nature of the photo
When I first started photographing birds in flight, I used to think that some shots were really good. Now I've come to realise that, as time has passed and I've improved my technique and understanding, those earlier shots were not as good as I thought and the ones I'm taking these days are an improvement. You should always believe that you can improve much further – it's an ongoing learning process and it’s great to get feedback from other wildlife photographers you can get to know through channels such as Instagram or Photocrowd.

'Goldfinch posing mid-flight', Canon EOS 7D Mark II, 100-400mm, 1/2500sec at f/5.6, ISO 500
2. Think about the best areas in which to shoot
I would say around 90% of my images are shot within a few miles of where I live in North Warwickshire. I’m fortunate in that I’m close to the RSPB Reserve at Middleton Lakes, which has a variety of habitats, not least the lakes themselves, but also river bank, canal, meadow and woodland. I also visit another nature reserve adjacent to Kingsbury Water Park as well as a Site of Special Scientific Interest managed by Warwickshire Wildlife Trust.
Further afield, I do a lot of birds-in-flight photography when visiting West Wales. In particular, the Forest Centre at Bwlch Nant yr Arian, which is possibly the best place to photograph Red Kites, as well a few of other smaller bird species which aren’t that common in my local area.
3. Research the species of bird you’ll find in an area
The list can be long and it sometimes depends on the time of the year. My current tally for photographs of birds in flight is 61 different species. Many birds are resident but there are also seasonal visitors and even some species that just pass through on their migration route. One outstanding attraction at RSPB Middleton Lakes is the heronry, which has many nests and is especially busy between January and June.
Also on this reserve are quite a wide variety of ducks, geese, swans, waders, Cormorants, Little and Great White Egrets, as well as birds of prey such as Buzzards, Kestrels and Barn Owls. Small bird species feature highly too and apart from the relatively common birds such as Sparrows, various Tits and Finches there are frequent appearances of Great Spotted Woodpeckers, Jays, Swallows and Martins. In West Wales, the Red Kites are my favourite attraction and the coastline offers a great variety of sea and shoreline birds.

'One-Tenth of a Second', Canon EOS 7D Mark II, 100-400mm, 1/1600sec at f/5.6, ISO 160
4. Study the behaviour and habits of your subjects
Although not essential for getting good shots of birds in flight, your chances are likely to increase if you are able to learn about different aspects of bird activity and behaviour. Make notes of their habitats, their behaviour, when the mating season is, nest-building times, chick-hatching times, migratory visitors, their call or song, and what times of day various birds are more likely to be flying.

'It's My Turn Next #2', Canon EOS 7D Mark II, 100-400mm, 1/3200sec at f/5.6, ISO 1000
5. Photograph during nest-building
A good tip is that nest building is a great time to capture birds in flight, usually because they’re carrying something in their beak. For example, Grey Herons can often be seen carrying quite large branches in their beaks almost anytime between January and May. These subjects can make for interesting, even comical images whatever time of day. The same goes for most birds of course and so it’s helpful to know when different species begin this activity.

'Greenfinch Flypast', Canon EOS 70D, 400mm, 1/1600sec at f/5.6, ISO 320
6. Shoot near feeds on the reserve
I will quite often shoot where there are feeders. Most reserves I’ve been to have feeders topped up throughout the year and certainly throughout the colder months. Such sites allow me to practice small birds-in-flight photography, which can be extremely tricky out in the open spaces. If I practice getting near the feeders, this gives me a better chance of capturing similar images away from feeding stations.
I’m more than aware that some photographers use baiting techniques to attract certain species of birds – fish baiting for Kingfishers, carrion for birds of prey, and so on – but I’m totally against these techniques and consider it to be an unethical practice.

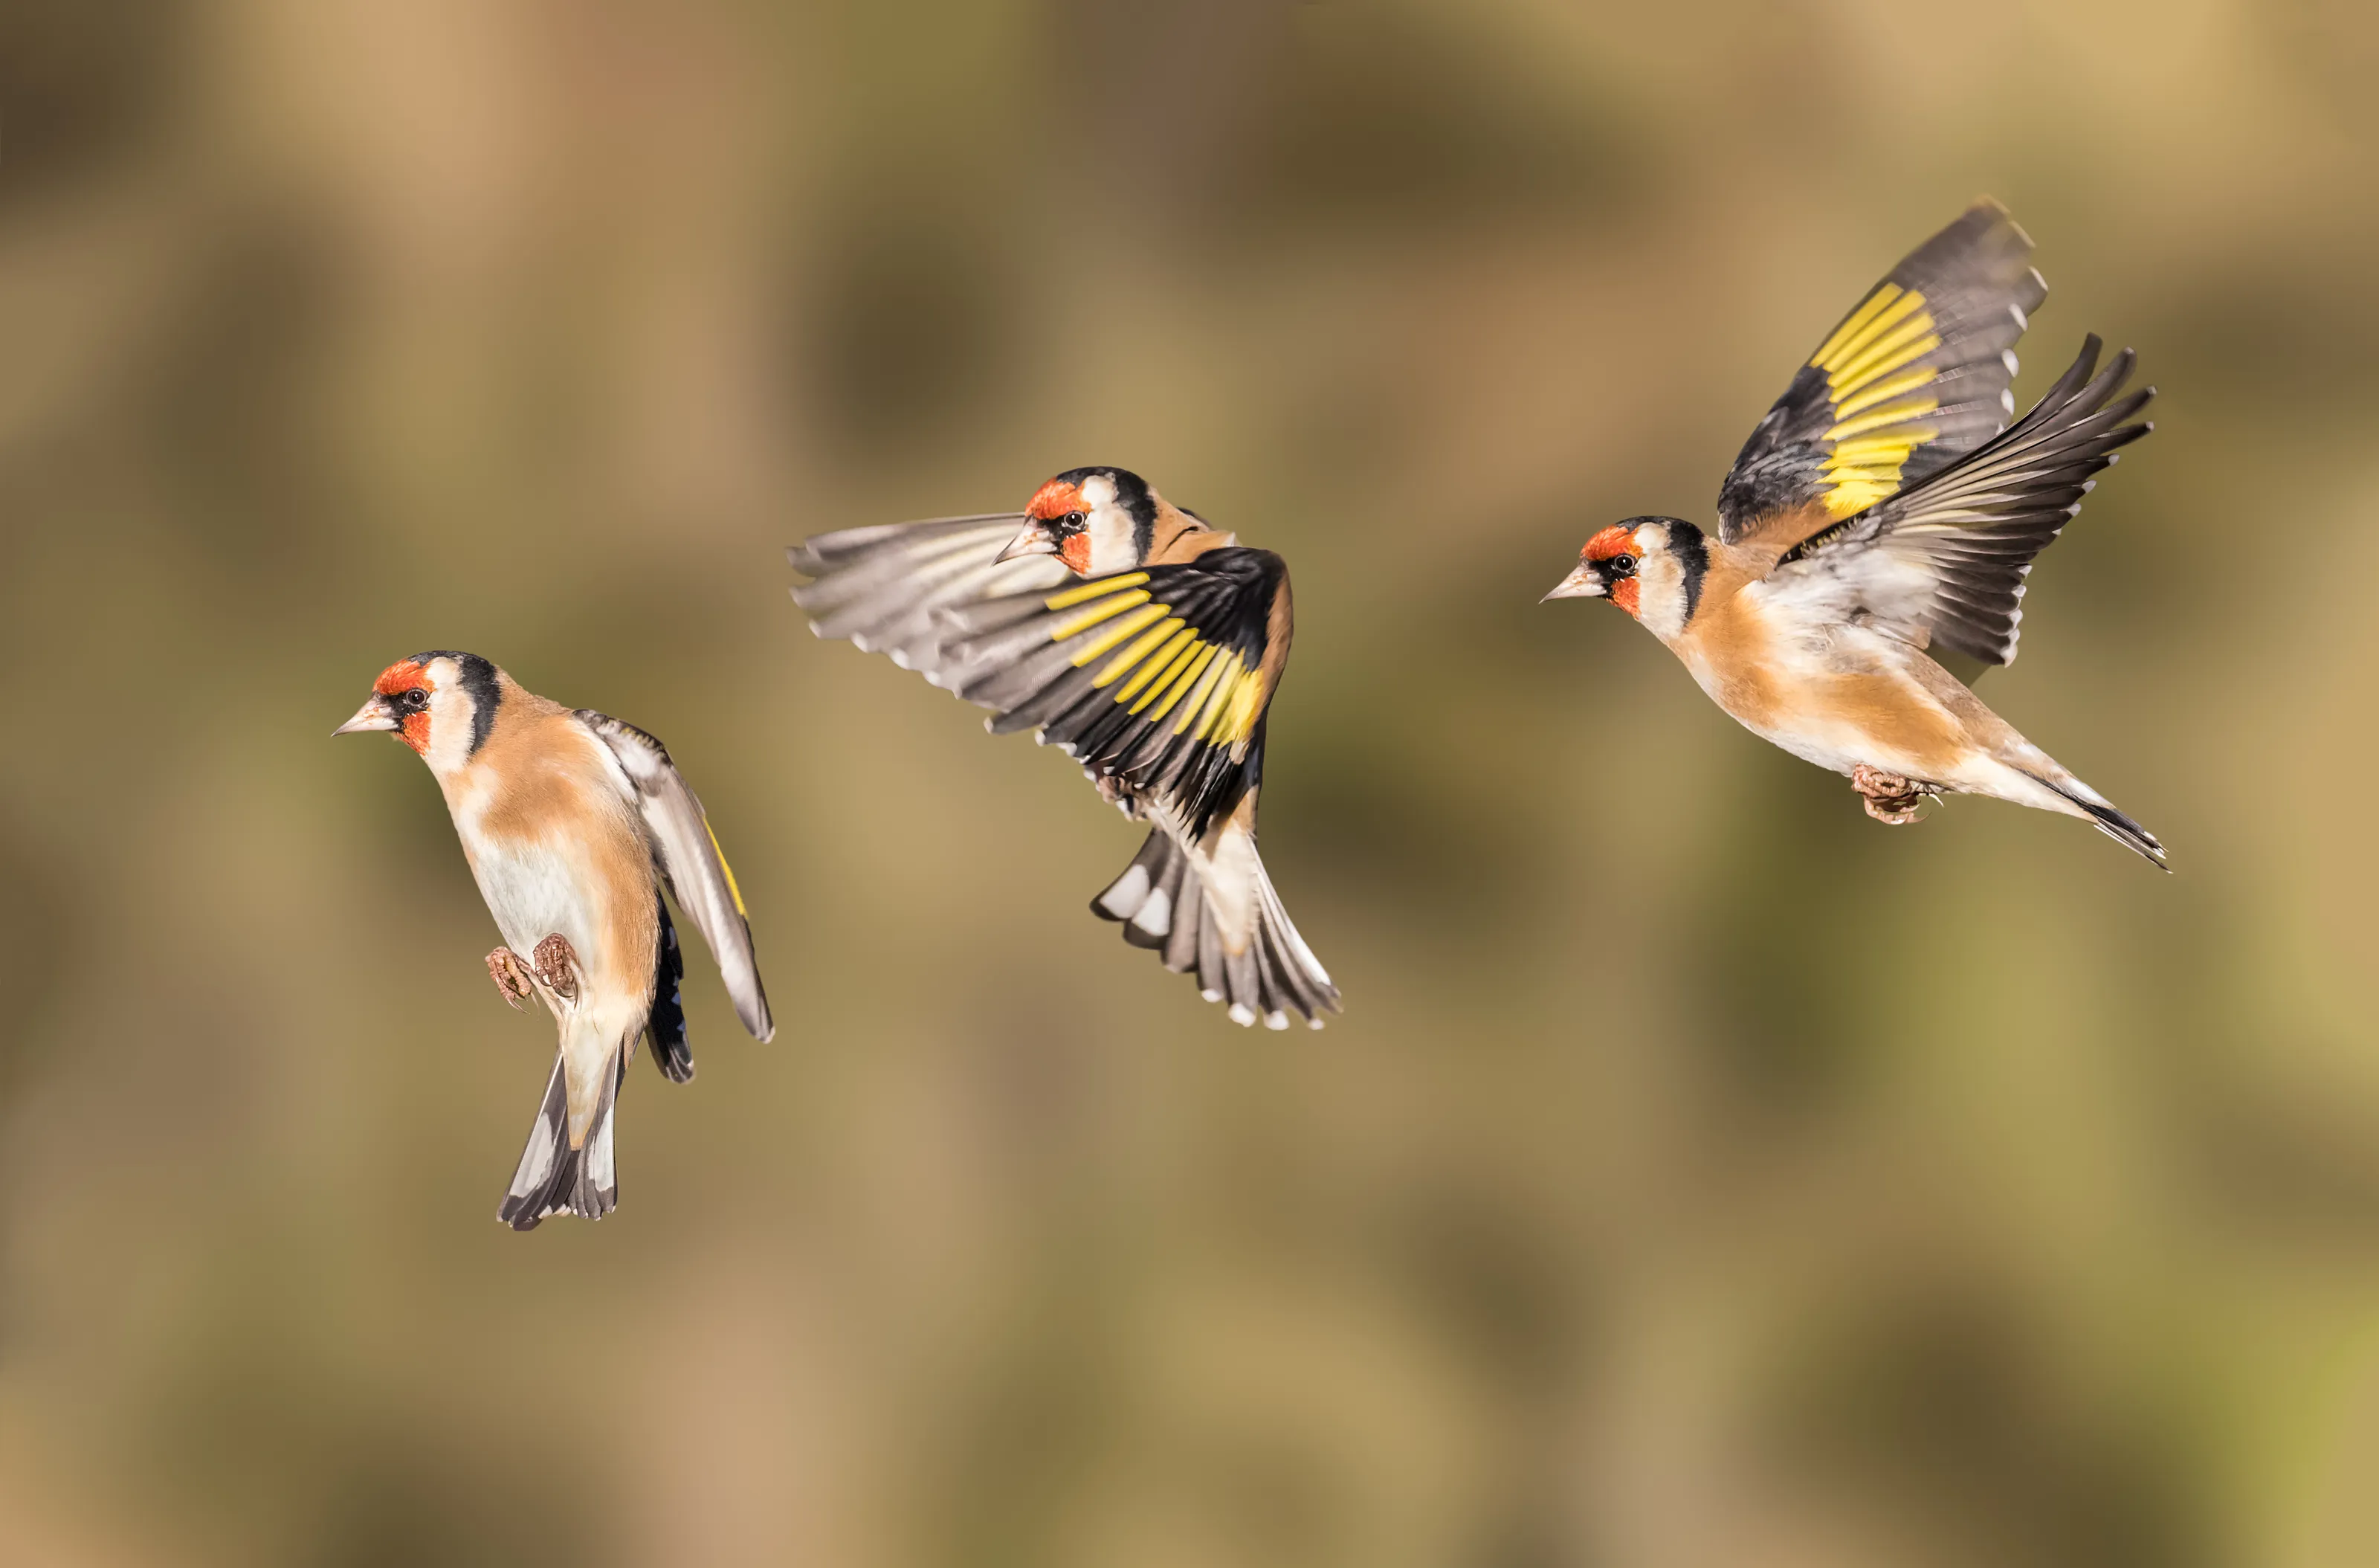
'Goldfinch Flight Path', Canon EOS 7D Mark II, 100-400mm, 1/2500sec at f/5.6, ISO 1000
7. Don’t worry too much about composition
This is a tricky one and the reason is that birds in flight can be difficult to capture. This is not just because they are moving but also because their flight can be erratic and their flight path can quickly change direction. In the case of the smaller or faster birds, I don’t worry about composition too much because you just don’t have time.
Beforehand, I will take account of the surroundings and hopefully position myself such that the background is pleasing or where the horizon roughly obeys the rule of thirds; but even such preparation might just go out of the window once shooting starts.
Once you have a subject, the most important thing is to track it and keep it in focus and get the shots. I certainly don’t worry about leading lines, symmetry or depth when it comes to birds-in-flight photography. Composition can be fine-tuned using cropping in post-processing.

'Gulls in Flight', Canon EOS 7D Mark II, 100-400mm, 1/2500sec at f/5.6 ISO 160
8. Be aware of distracting elements, such as foliage
I used to capture a lot of images of small common birds perched among the branches and foliage. Unless the subject is perched on an outside or topside branch, I rarely choose to take a shot these days because the background is just far too distracting. The only exception would be if it’s a species I’ve rarely seen.
This is just my personal choice but, for me, an image has to be about the subject and pleasing to the eye. If I have what I consider to be an image of excellent image quality, but with a poor or distracting background, I will spend time in post-processing actually changing the background.

'Stretch', Canon EOS 7D Mark II, 100-400mm, 1/2000sec at f/5.6, ISO 250
9. Shoot with a high shutter speed
Honestly, there is no hard and fast rule here, and it certainly depends on the prevailing weather conditions and time of day. But generally speaking, I want to capture the bird and freeze – or partially freeze – the action.
This means shooting with a high shutter speed. I typically shoot at between 1/1600sec and 1/2500sec, but for the smaller and faster birds, I sometimes go as high as 1/5000sec. As far as the aperture is concerned, if the bird is quite some distance away, I’ll use the widest aperture for my lens, which is f/5.6 at 400mm.
Closer up and for small birds, I will go to a maximum of f/8. It really can be tricky, especially when lighting conditions can change relatively quickly or I’m tracking from a light to a dark background and vice versa.

'Pied Wagtail', Canon EOS 7D Mark II, 100-400mm, 1/1600sec at f/5.6, ISO 320
10. Shoot with auto ISO
Because of these issues, I nearly always use auto ISO because it takes away the necessity for me to think about that parameter. High ISO (and hence higher noise) used to bother me, but I’ve come to realise that it’s more important to get a well-exposed shot than for me to be worrying about noise levels, which can easily be managed in post-processing.
A lot of my images, perhaps ones taken in woodland or against a dark background or on a dismal day, often return an ISO of 6400 and although not ideal, I’ve learned to cope with it in post-processing. On a sunny day, shooting at high speeds and against variable backgrounds, my auto ISO typically gives me a value of between 100 and 1000, which is more than good enough

'Down the Hatch', Canon EOS 7D Mark II, 100-400mm, 1/3200sec at f/5.6, ISO 800
11. Shoot in raw
For the above reason, I shoot only in raw because it allows greater flexibility in post-processing. I would much prefer to be in charge of how my final image looks than leave it for the camera to decide when creating a jpeg format.
12. Don’t use Live View
I never use Live View for birds-in-flight photography, nor for any other genre of photography that is shooting action. One of the main reasons is that it’s far easier to control the movement of the camera when using the viewfinder as opposed to having to hold the camera away from the eye and trying to use the LCD screen.
The other reason is down to my eyesight. In order to get close enough to view the details on the LCD screen, I need to take my glasses off and this is not ideal when you also need to periodically look at the distant subject (minus glasses).

'Majestic Red Kite', Canon EOS 7D Mark II, 100-400mm, 1/1000sec at f/5.6, ISO 100
13. Always shoot handheld
I always use handheld for birds in flight because I find it offers me greater flexibility in being able to walk, turn and move quickly when required. I have tried using my tripod for this kind of photography but found it too restrictive. The last thing I want to be doing is messing with tripod legs and height when trying to capture action that often appears with little or no notice.
I’ve also tried using a monopod. I found it to be slightly better than using my tripod, but again it can be restrictive, especially when I find myself constantly on the move. I’m aware that gimbal tripod heads offer a greater degree of flexibility, but they are expensive and I’m happy to shoot handheld anyway.

'Sparrow and Chaffinch Avoid Collision', Canon EOS 7D Mark II, 100-400mm, 1/3200sec at f/5, ISO 5000
14. Use image stabilisation
As regards image stabilisation, I’ve always switched it on with my lens. There are three different stabilisation modes I can use. Just very recently, I’ve been testing taking shots with image stabilisation turned off because I and others have questioned whether it’s really effective when shooting at high shutter speeds.
As things stand, I have come down on the side of leaving it switched to ‘on in Mode 1’ because that stabilises the image in the viewfinder, something I find particularly helpful.

'Girl and Robin', Canon EOS 7D Mark II, 100-400mm, 1/3200sec at f/4.5, ISO 500
15. Shoot during the golden hour
Light is as important to me as capturing a good image. Although I do shoot mainly during the day and prefer the natural light to be good, there is something extra special about being able to capture flight images during the golden hour. This is easier in the winter time when I find I don’t have to get up too early, nor stay out too late.
Typically, I will try and shoot such that the sun is either to my side or behind me. But that is not to say I never shoot towards the sun. A good silhouette is really worth its weight, assuming the background is pleasing, especially at dawn or dusk.

'Putting on the brakes', Canon EOS 7D Mark II, 100-400mm, 1/2500sec at f/5.6, ISO 3200
16. Use burst mode
To increase the chances of getting one or more good images, I always use burst mode. Very rarely, however, do I just hold the shutter down and fire away. The first thing I do is focus on the subject and track it while keeping it in the frame. Then I will usually fire off no more than two or three burst shots before pausing and maybe taking another couple. Sometimes, only one in the series is special, but at other times it can be difficult to choose which of the images in the sequence speaks to me the most.
Occasionally, if I have three consecutive good shots of a flight sequence, I might put them together in a single image in Photoshop just to show the bird's flight path (and just because I on occasion like to mess around with images in post-production).

'Breakfast is served', Canon EOS 70D, 400mm, 1/2000sec at f/5.6, ISO 500
17. Get a camera you’re comfortable with
I currently use the Canon EOS 7D Mark II, which replaced my Canon EOS 70D. It has an APSC sensor and there is a 1.6x crop factor when compared to a full frame. This is highly beneficial for wildlife photographers because it means the effective range of, say, the 400mm lens increases to 640mm. Any wildlife photographer will tell you they often feel the need for more reach.
The Canon EOS 7D Mark II has a superb autofocus and tracking system as well as a slightly better dynamic range than my older Canon EOS 70D. It also has dual-card slots which means I can now use one as a backup while out in the field, thereby reducing my chances of losing images should the SD card fail for any reason.

18. Shoot with a lens that offers flexible focal length
I’ve used a number of lenses suitable for birds-in-flight photography over the last few years. My first was a Tamron 70-300mm and my second was the Canon 400mm prime, which was excellent indeed.
However, I began to find that being fixed at 400mm was too restrictive, so when Canon launched it 100-400mm L IS II lens I was fortunate to be able to buy one after selling the prime lens. I can truly say it was the best decision I’ve made because I’ve now got the flexibility in focal length while maintaining a very high image quality throughout its range.
I have considered whether the new Tamron 150-600mm would suit me better (you can never have too much range) but have decided against it. Perhaps I will at some point consider getting hold of a 1.4x converter.

19. Pack your bag
I carry everything I need in a backpack, which can hold the camera and the attached 100-400mm lens. Apart from the obvious things like spare SD cards, charged batteries and lens-cleaning gear, I sometimes take another lens if I know I’m not just going to be photographing birds. It may be a macro lens for capturing insect images or interesting flowers, or it might be my 18-135mm or 10-18mm for more landscape-orientated work. A bottle of water is always in one of the side pockets.
As I stated previously, I will only take the tripod with me if I know I’m going to be photographing landscapes or doing long-exposure photography (in which case I’ll also take my ND filters).

'Flying in the Drizzle', Canon EOS 7D Mark II, 100-400mm, 1/2500 at f/5.6, ISO 2500
20. Tweak your images in post-production
Because I shoot in raw only, I always import the images into Adobe CC Lightroom. There I will review each image and delete those I know I will no longer need. I will perform basic editing and usually adjust things like whites, blacks, shadows, highlights and clarity.
As I'm sometimes shooting at high ISOs, managing noise in the image is the thing that takes me the longest to get right. Taking too much out reduces the image quality and leaving too much in can detract from the overall effect. It becomes a trade-off.
Lightroom is also where I will decide what kind of cropping, if any, needs to be done. If an image needs sharpening, I will export it to Adobe CC Photoshop, just because I prefer the sharpening tools in that software.

'Angry Seagull', Canon EOS 7D Mark II, 18-135mm, 1/1600sec at f/5.6, ISO 400
21. If you need to, fix your background
There are times when I might have what I consider to be a great image of a bird in flight but the background is too distracting or poor due to a plain grey sky. This is where I practice my Photoshop skills and I’ve learned how to replace a background or change it in some way. I don’t consider this to be ‘cheating’ in any way.
My aim is to end up with an image that is the best it can be and if that means changing the background in some way, or even removing a distracting object, then that’s what I like to do.

'Great Tit', Canon EOS 7D Mark II, 100-400mm, 1/3200sec at f/5.6, ISO 6400
22. Tag your images with keywords
I’ve also learned to start tagging my photos with keywords so they can easily be found at a later date. As I have hundreds of file folders and many thousands of images, it was becoming an increasingly difficult task to go back to find a particular image that I might want to revisit.

'Goldfinch Flight Pose', Canon EOS 7D Mark II, 100-400mm, 1/2500sec at f/5.6, ISO 500
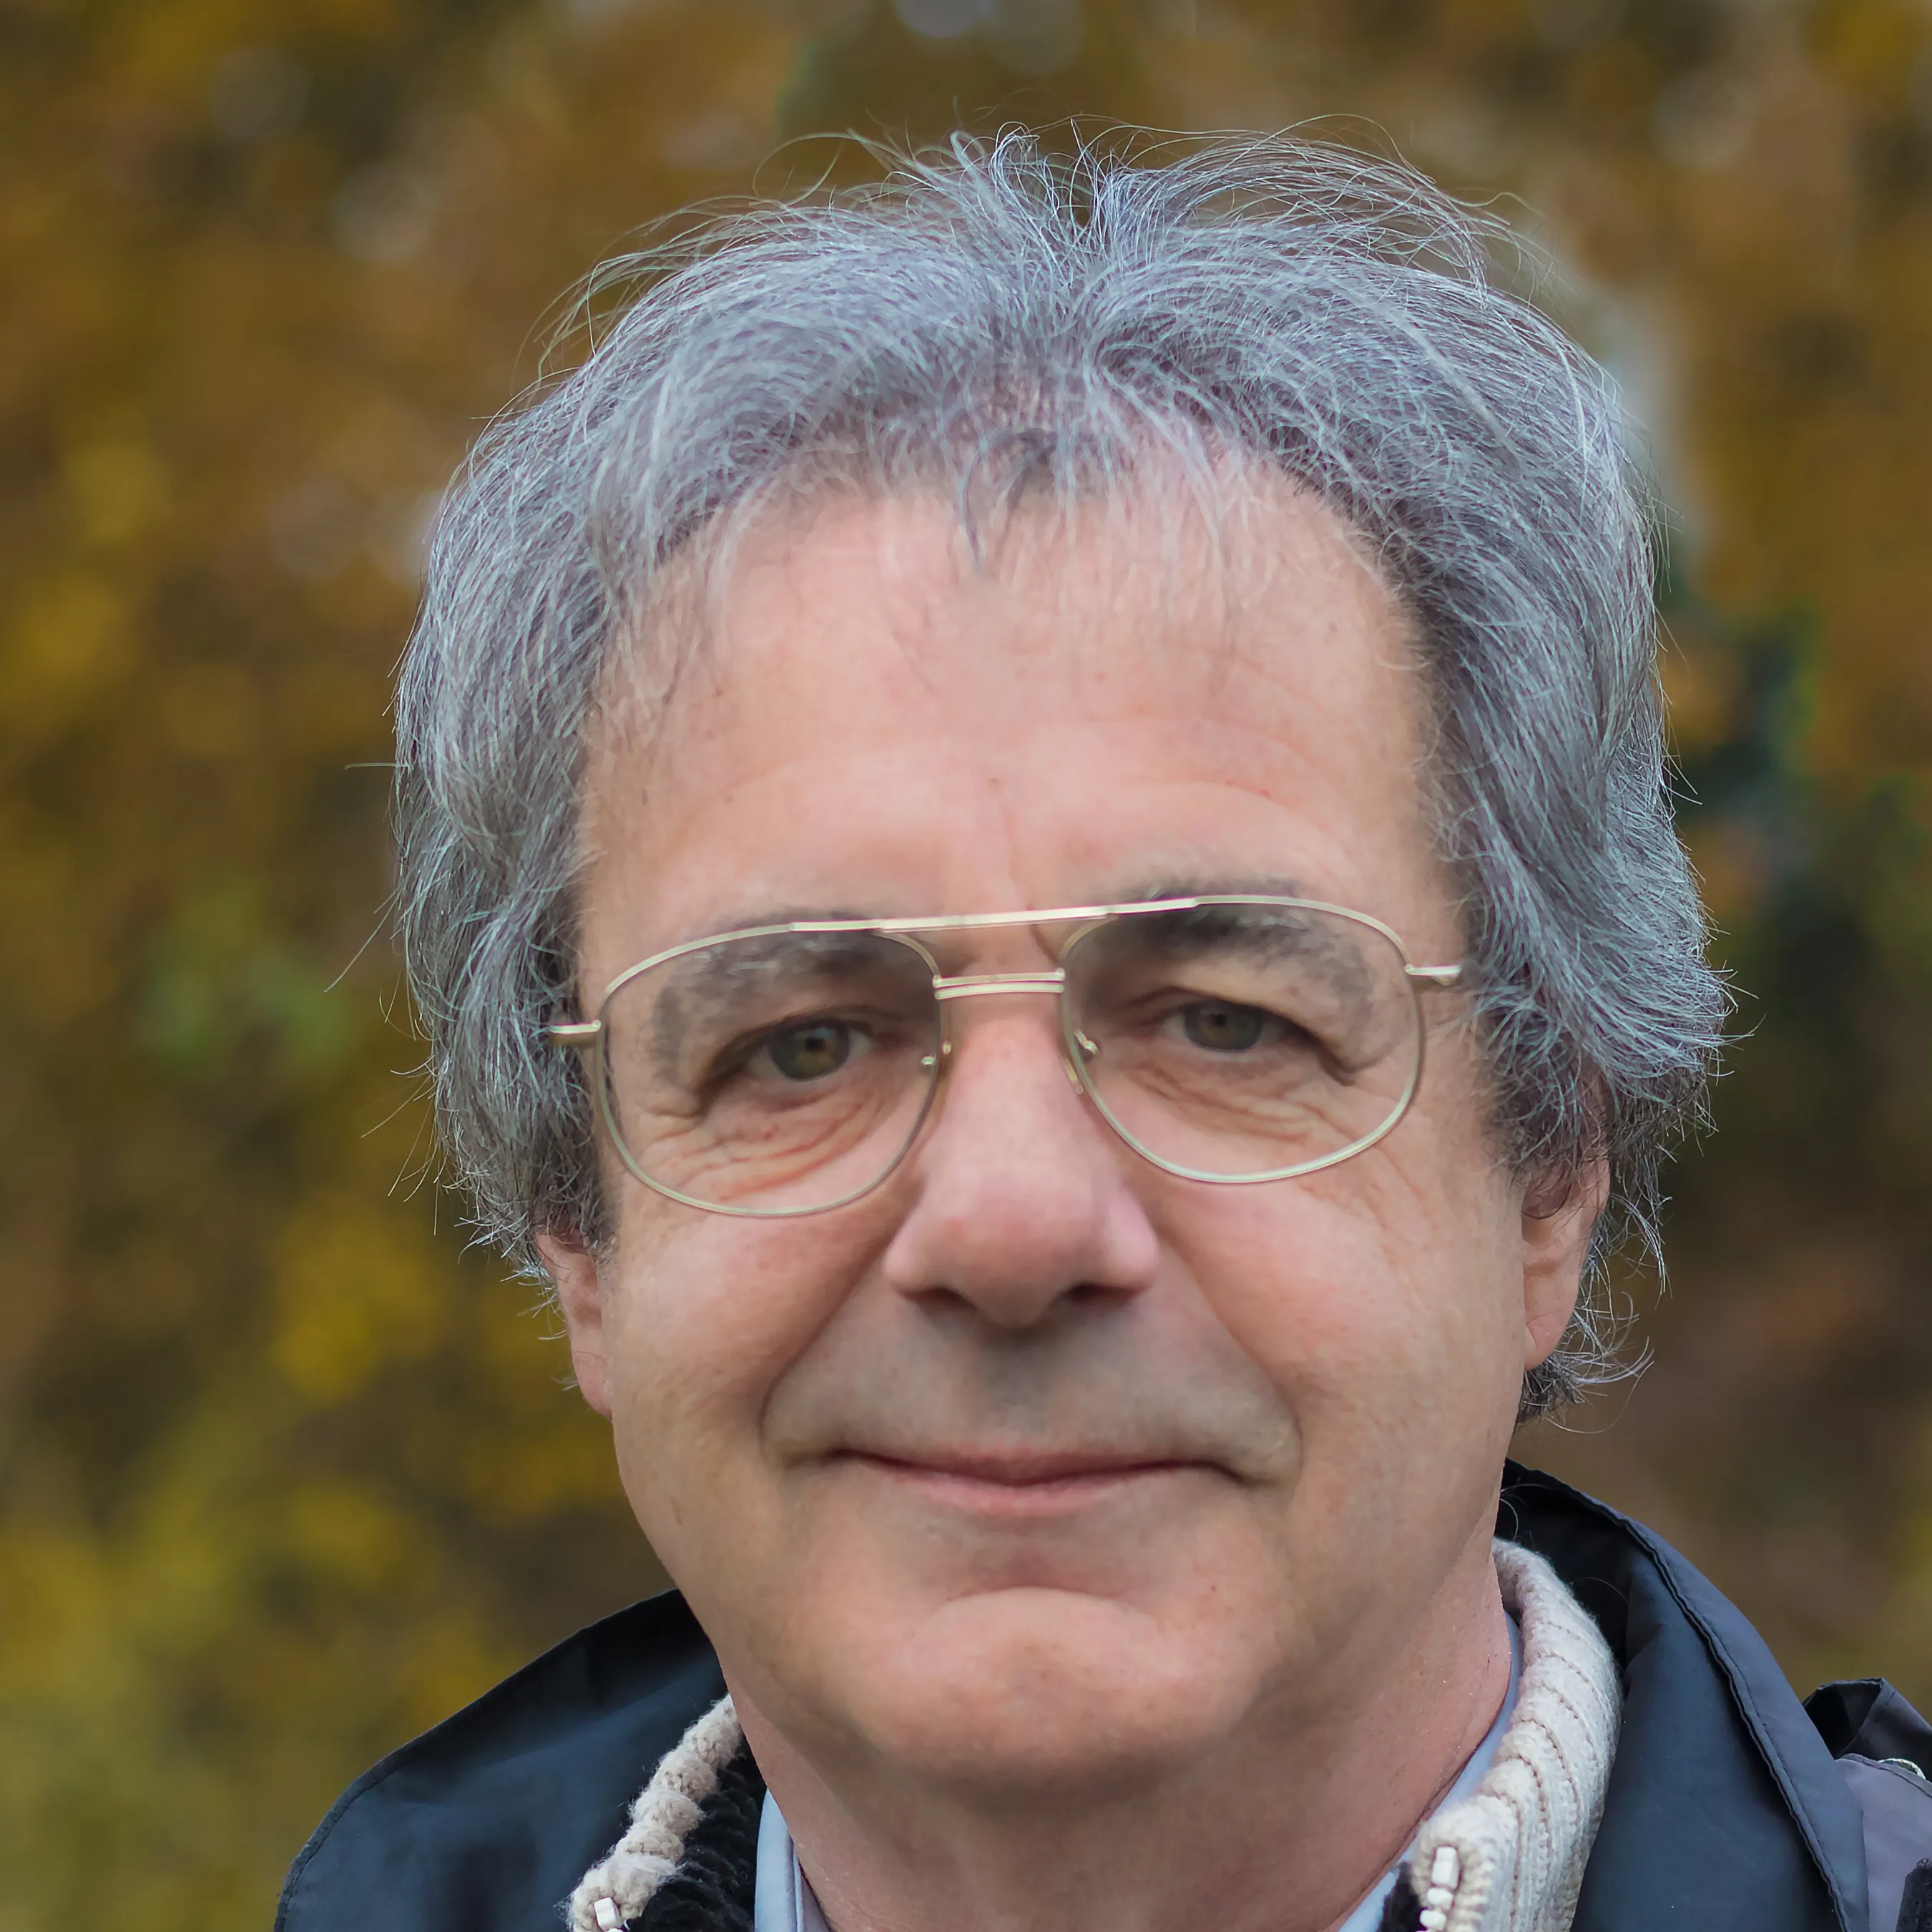
Roger Hunt
To view more of Roger Hunt's work visit www.rogerhunt.photography or follow him through Instagram on @rmhphotographic.
For more of Roger Hunt's birds in flight, visit his Photocrowd page.