Tips Feature
A Quick Guide to Steam Train Photography
with Richard McVeigh
Steam locomotive pictures can lead to evocative and atmospheric scenes. Richard McVeigh talks you through some basic techniques to ensure you capture successful steam engine pictures

'Early Morning Steam'
1. Put in some research to find the best locations
Before you set out to take any images you should make sure you sign up to some mailing lists. These resources always come up with interesting days to attend. Try the following:
• www.facebook.com\30742charters – this group promotes charters around the country on both standard and narrow-gauge railways.
• www.timelineevents.org – they provide a wide range of charters from railways and water to aviation and a lot in between
When I shoot, I mainly go to the Severn Valley Railway in Worcestershire. I've been going there for many years now so know the line reasonably well. They publish the time tables and what locomotives are running and, just as importantly, what way the steam engine is facing – you obviously want to make sure you’re facing its front when it comes towards you. Additionally, Google Maps is very useful for seeking out new locations and access.

‘King and Steam’

2. Use a zoom lens to capture the train and environment
The lens I use most of the time is a 24-105mm zoom (on a full-frame Canon EOS 5D Mark III). Using a zoom lens will give you flexibility to capture both a full frame shot of the train and the surrounding countryside. I try not to zoom out wider than about 50mm when filling the frame with the locomotive, as the lens distortion can tend to either bend it or lengthen it.

‘By the River’
3. Think about leaving your tripod at home
I tend not to use a tripod for my railway photography as it is important to retain flexibility of movement. That said, you could carry a lightweight and portable monopod just in case.
The exception to this is for night shots, where exposures can be several seconds and you’ll need a good tripod to ensure your camera is steady.

‘Late Goods’
4. Set your camera to manual and make sure you slightly overexpose the scene
Set your camera to manual exposure and with an ISO as low as possible, ideally 100. If you use auto, aperture or shutter priority modes, you may find that if the train is far away it becomes a dark object in a well-exposed landscape or a bright object in an over-exposed background. Take a few test shots before the locomotive arrives and expose so it's a little brighter than normal. This way the locomotive, which is normally ether dark green or black, is acceptably exposed.

‘Approaching Arley II’
5. Select a fast shutter speed
Using manual, you can set the speed you want, which is often around 1/250sec. On heritage railways the trains are limited to 25mph so you do not need a very fast shutter speed to get sharp shots. In fact, sometimes I slow it right down to perhaps 1/60th or 1/30th so the wheels and valve gear are blurred, to give the impression of speed. Be aware that this can be a bit tricky as you need to pan to keep the locomotive sharp. You can always practice by honing your panning skills by the side of a road and shooting cars.

‘Heading Home’
6. Get in the right position
Most of my shots of trains are taken from a 3/4 view. That means I shoot from the front and side of an approaching train. I have a line-side pass on the Severn Valley Railway so I can get to different locations that are not accessible to everyone. However, the Severn Valley Railway has many good locations that are accessible without the need to be line-side.
I like to be at eye level with the train so not looking down or up at the subject. That’s my personal preference and means I can include the exhaust without cutting it off at the top of the frame.

‘Early Arrival’
7. Use your camera’s AI Servo function to achieve sharp shots
I shoot using Canon cameras which means I can take advantage of the AI Servo Auto Focus mode with a single focus point, which I select based on where in the frame the locomotion will be. Each camera manufacturer has their own version of this so check your camera’s manual.
Using this mode means the camera and lens track the focus to the moving engine. I normally aim to focus about 1/3 down the side of the train for a 3/4 shot to give acceptable depth of field at an aperture of around f/8. I don't always get it right but in the main it works for me and I'll probably take five or six shots as the locomotion approaches.

‘Steam Through the Countryside’
8. Try not to include any modern detail
If you look through my images you’ll see that they appear almost as if they could have been taken back in the days of steam. That’s a result of the fact that I do not like to include anything that suggests the 21st Century. This is a good way of creating timeless and classic-looking shots.

‘On Shed’
9. Think about your composition
When you arrive at the location, consider the background – is there anything that will add interest, such as a signal or signal box, a tree, or a junction where a joining line can provide a good lead-in. If you can, also look at getting the running line to enter the frame from one of the bottom corners of the frame.

‘Daily Duties’
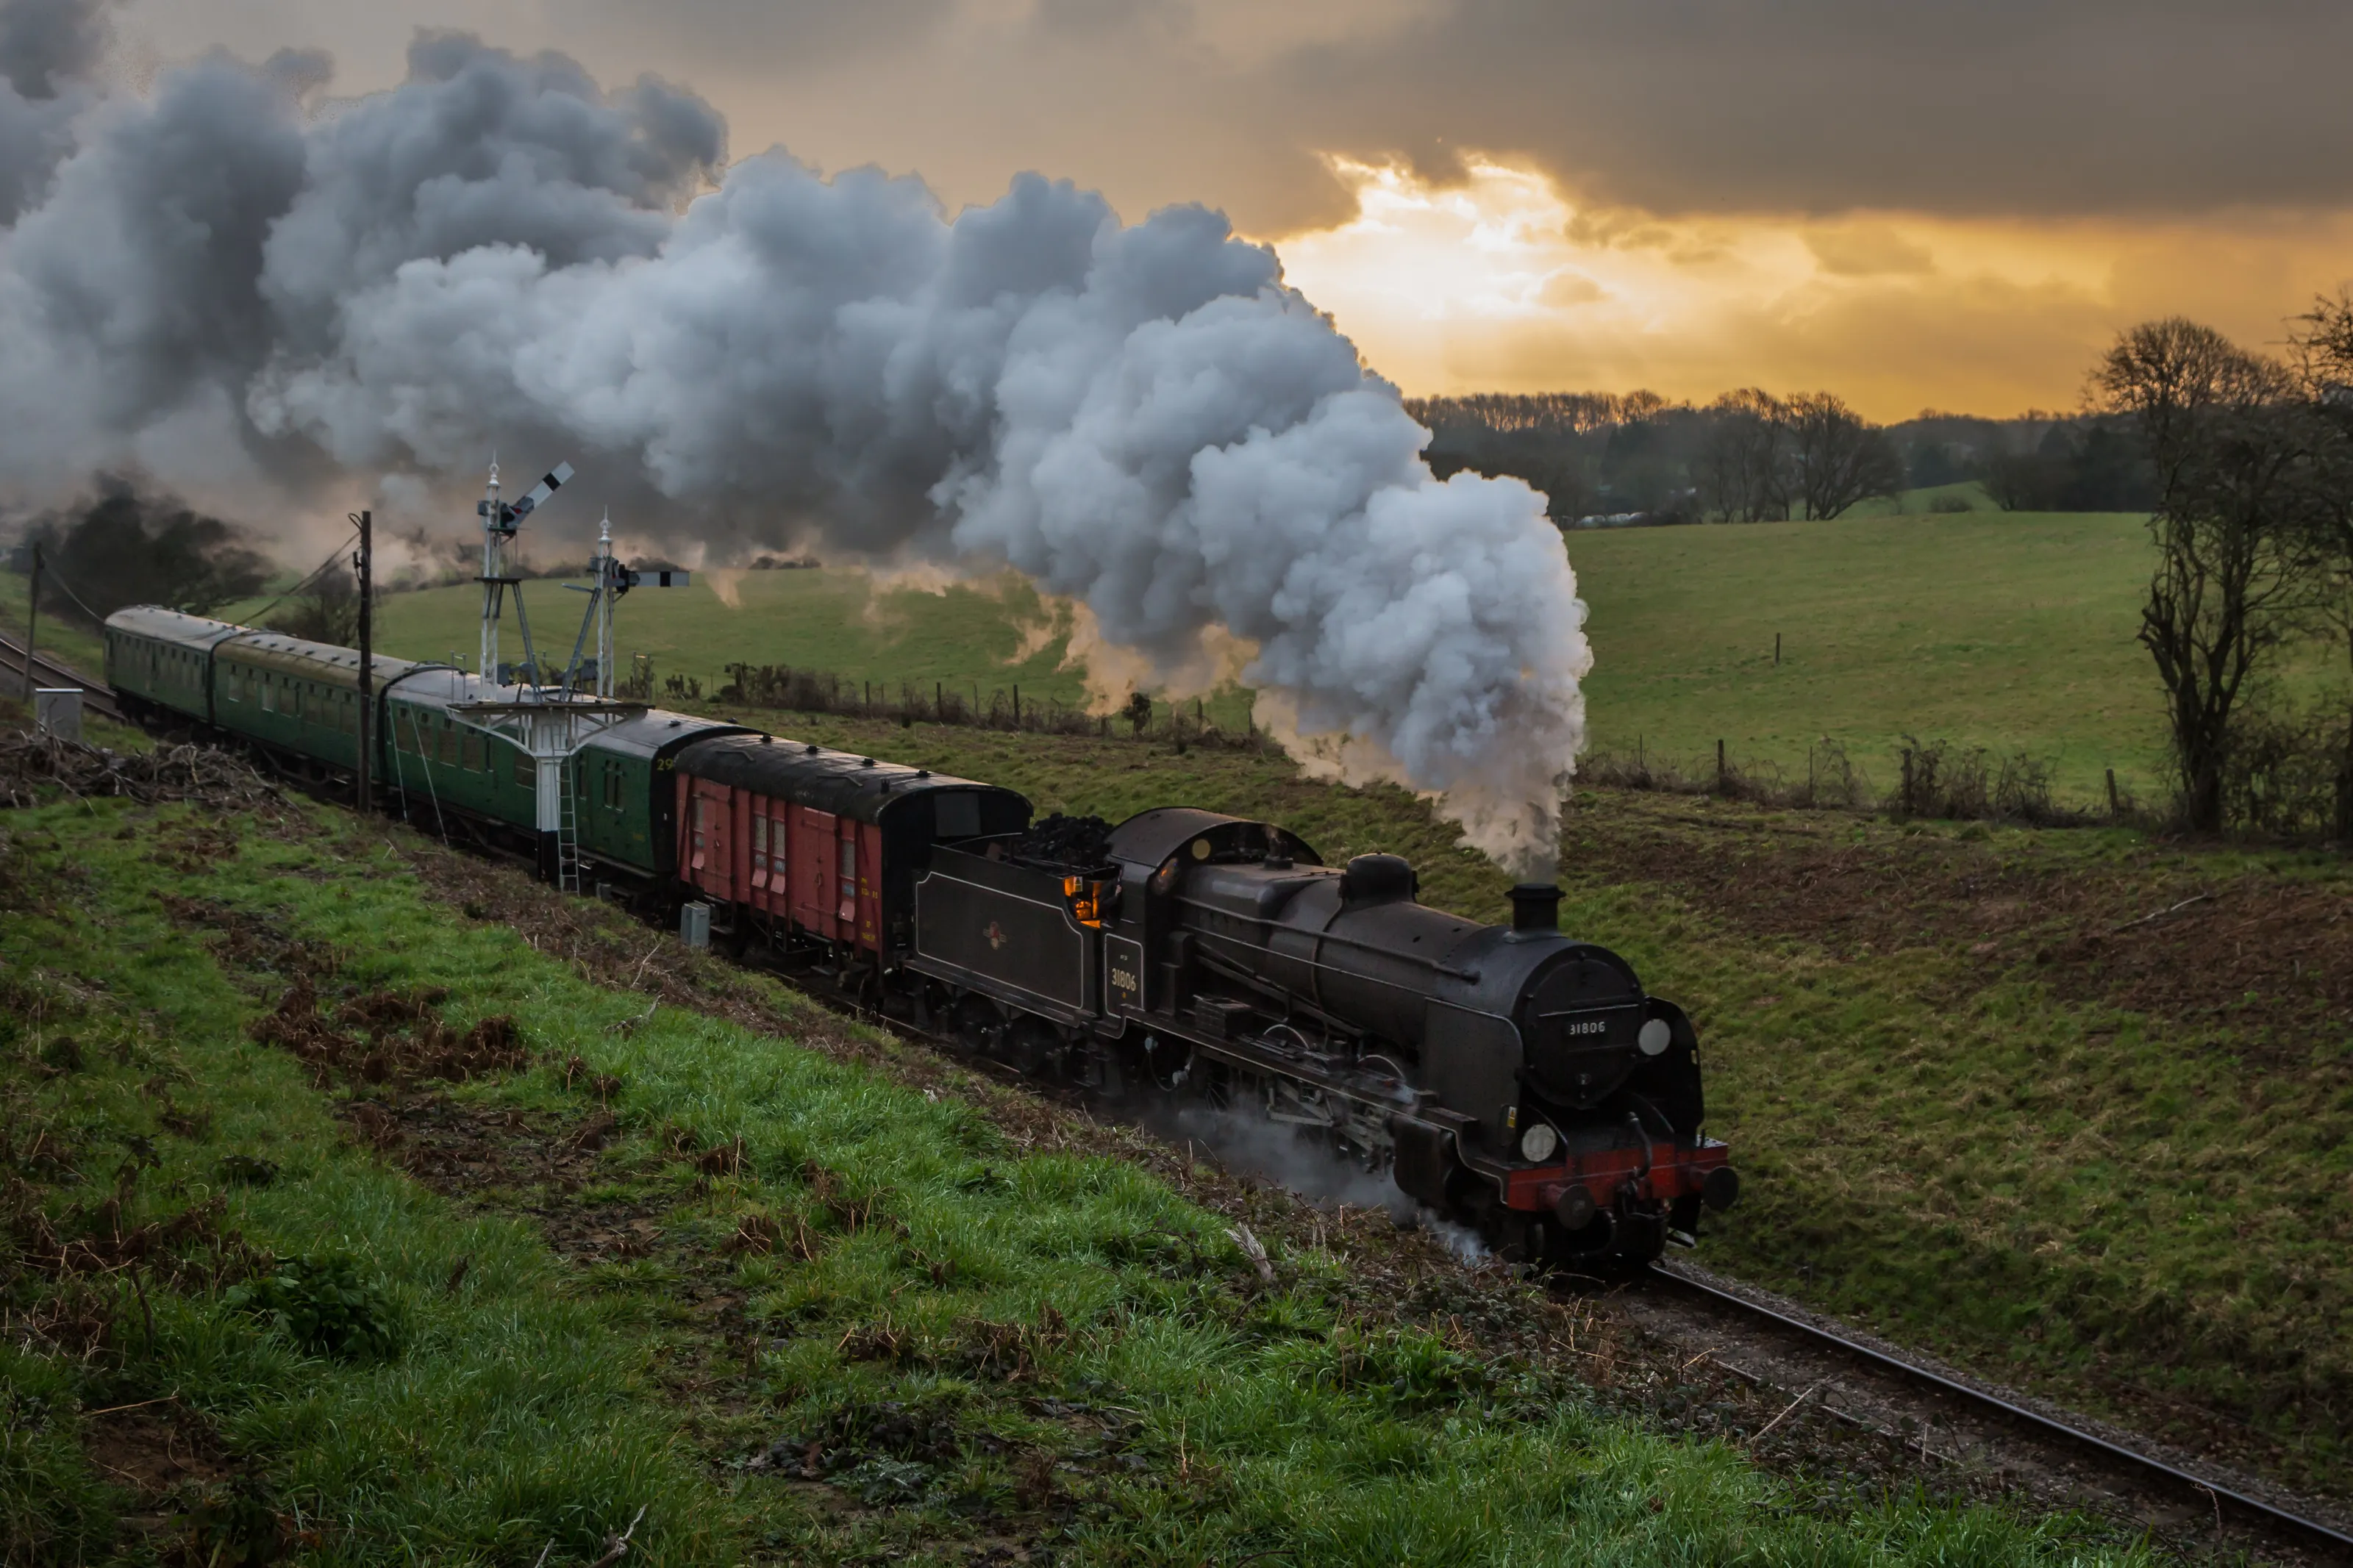
10. Shoot in the cold
A steam locomotive is all about the steam and will be a key feature of any image. On a warmer day, you get very little exhaust so make sure you go out on a day when the temperature is around freezing and steam appears to be coming from everywhere. Then you’ll get a very impressive exhaust with lots of atmosphere.

‘Snow and Goods’
11. Shoot early morning or afternoon
Ideal shooting conditions are a cold bright day with a low sun, so either morning or afternoon is best. Winter is a particularly good time of year as the sun is always fairly low. If the sun is low enough you’ll get the exhaust lit from underneath and if the sun is 3/4 behind the train you can get a great glint down the side of the locomotion.

‘Last Train’
12. Use summer light to your advantage
This doesn't mean you can't shoot in the summer. In fact, on a bright sunny day with the sun behind, you can get some great shots. If you can choose a location that is on an incline, the engine will be working harder and will give more exhaust meaning you don’t have to wait for the cold weather of winter.

‘Through the Fields’
13. Shoot stationary trains for excellent details
Most of my shots are away from stations and people but if you want to get detail shots, stations are the best place to visit. Here you can shoot such things as an engine being topped up with water or close ups of all the 'workings': things like the valve gear, the footplate controls and gauges.
If you want details of the valve gear then you probably want to be on the opposite platform so you have a clear view of the wheels and valve gear which Is not hindered by the platform. While you are there, when it pulls away, you'll get lots of exhaust either from the drain cocks or the chimney.

‘Valve Gear’
14. Include people in your locomotion shots
Most of the heritage railways run single lines so use 'tokens' that the driver must possess to be able to travel over a section of line. These are typically exchanged at stations so shots of the driver or fireman hanging out of the cab to hand the current tokens back to the signalman and to collect the next one are also interesting and help to build a story.

‘Waiting…’
