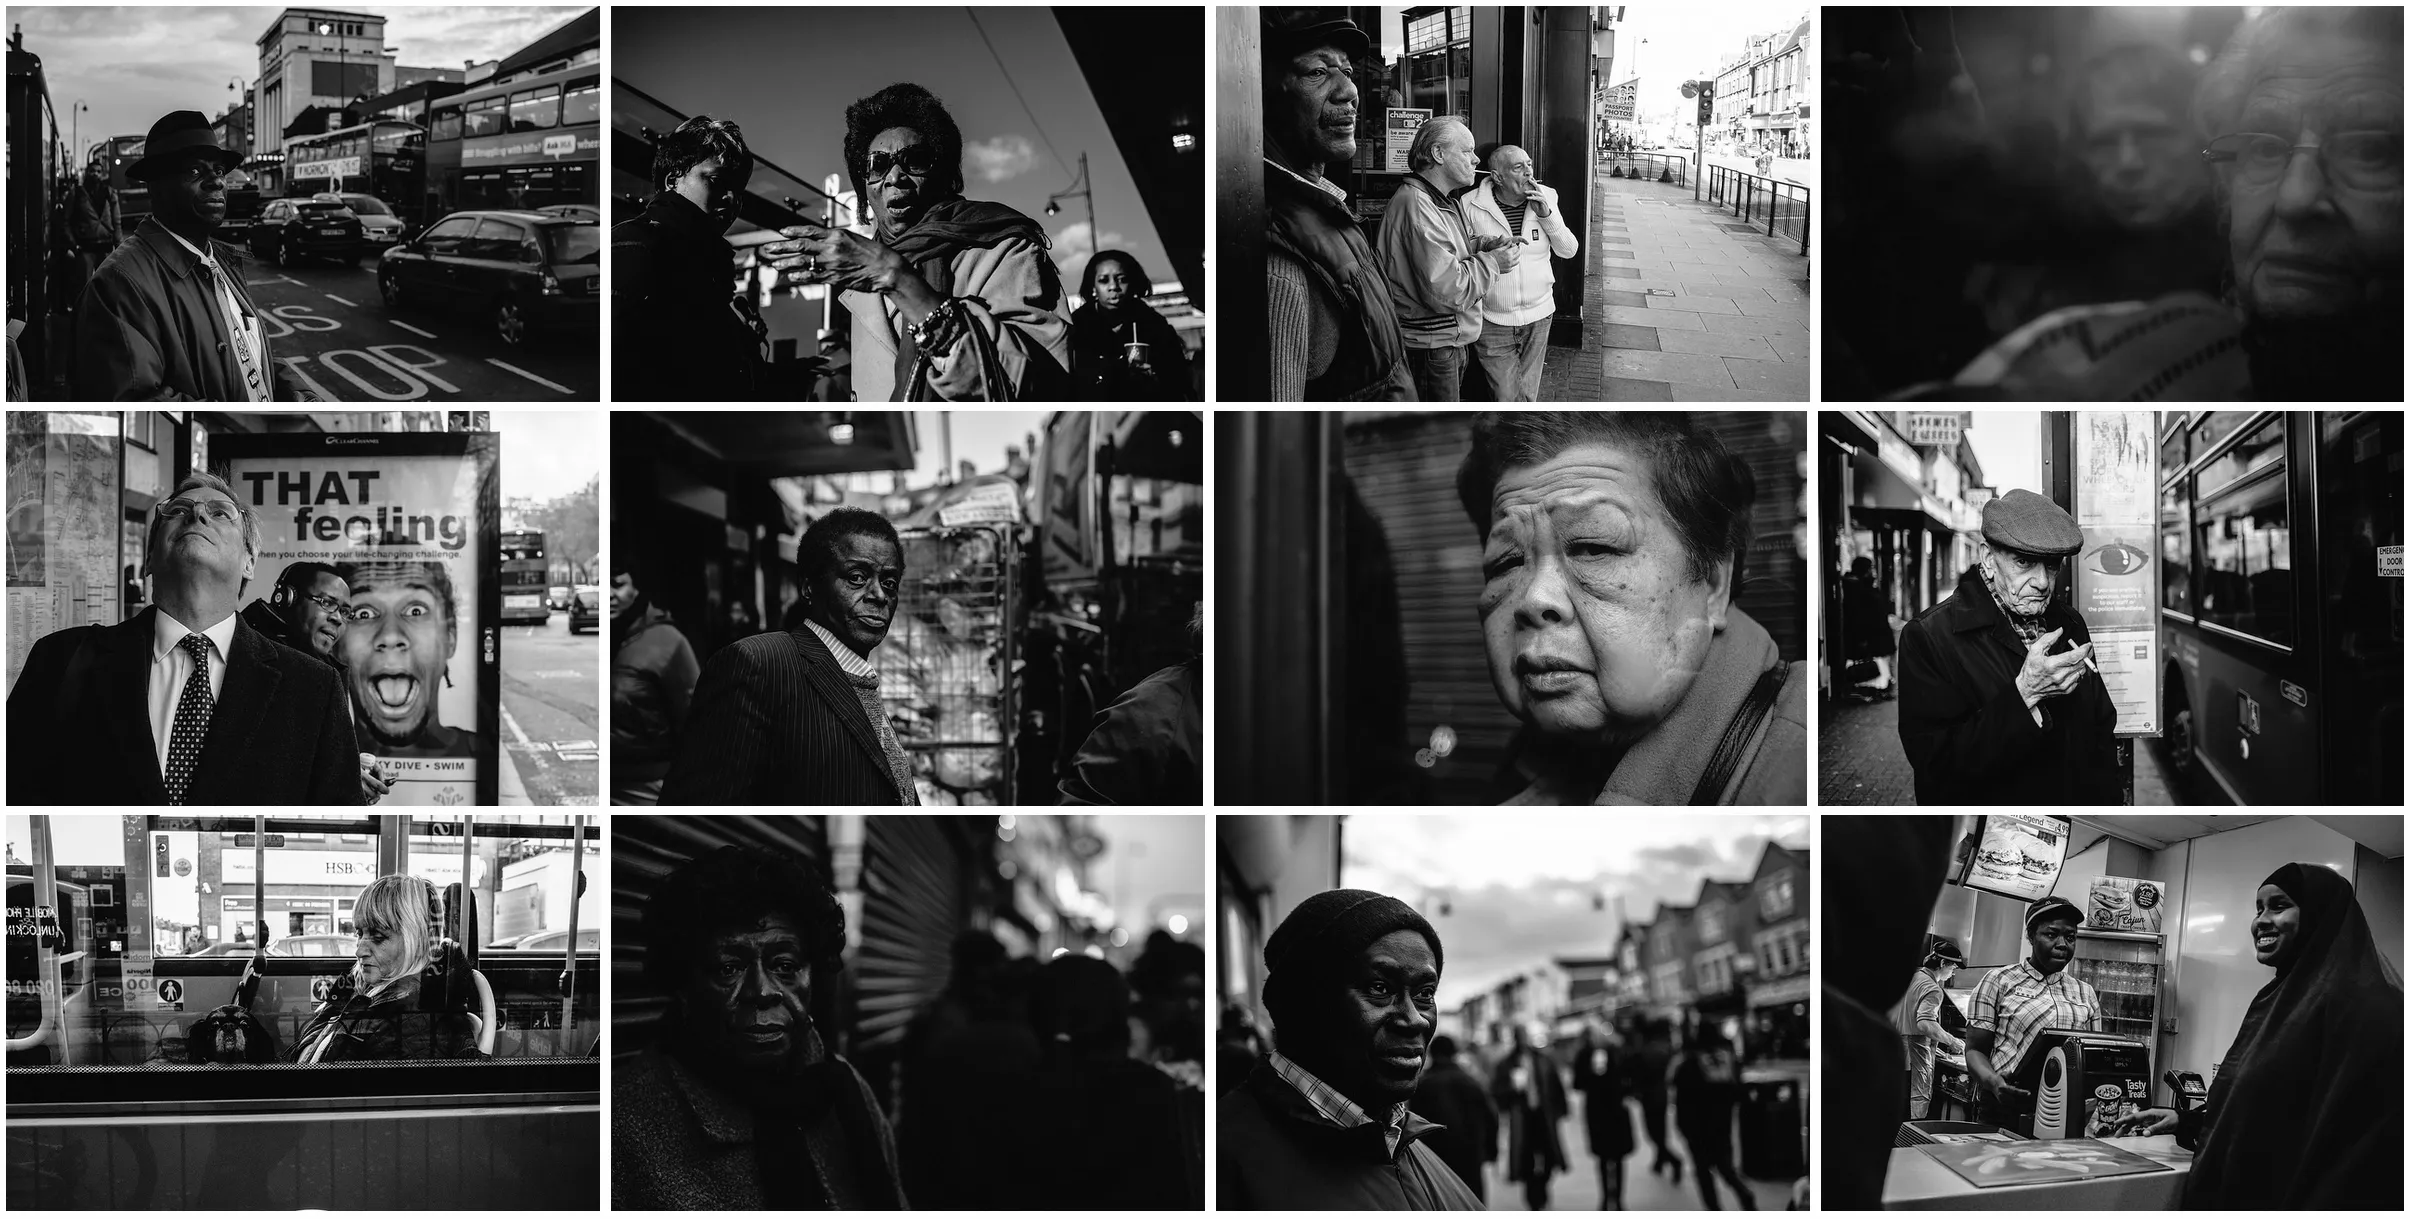
Professional photographer and Photocrowd member Paul Bence is our Expert Judge for the current Street Photography contest. Paul has over 10 years of experience under his belt and some breathtaking imagery to show for it. Here he shares with us his top tips for how to take great photos on the street.
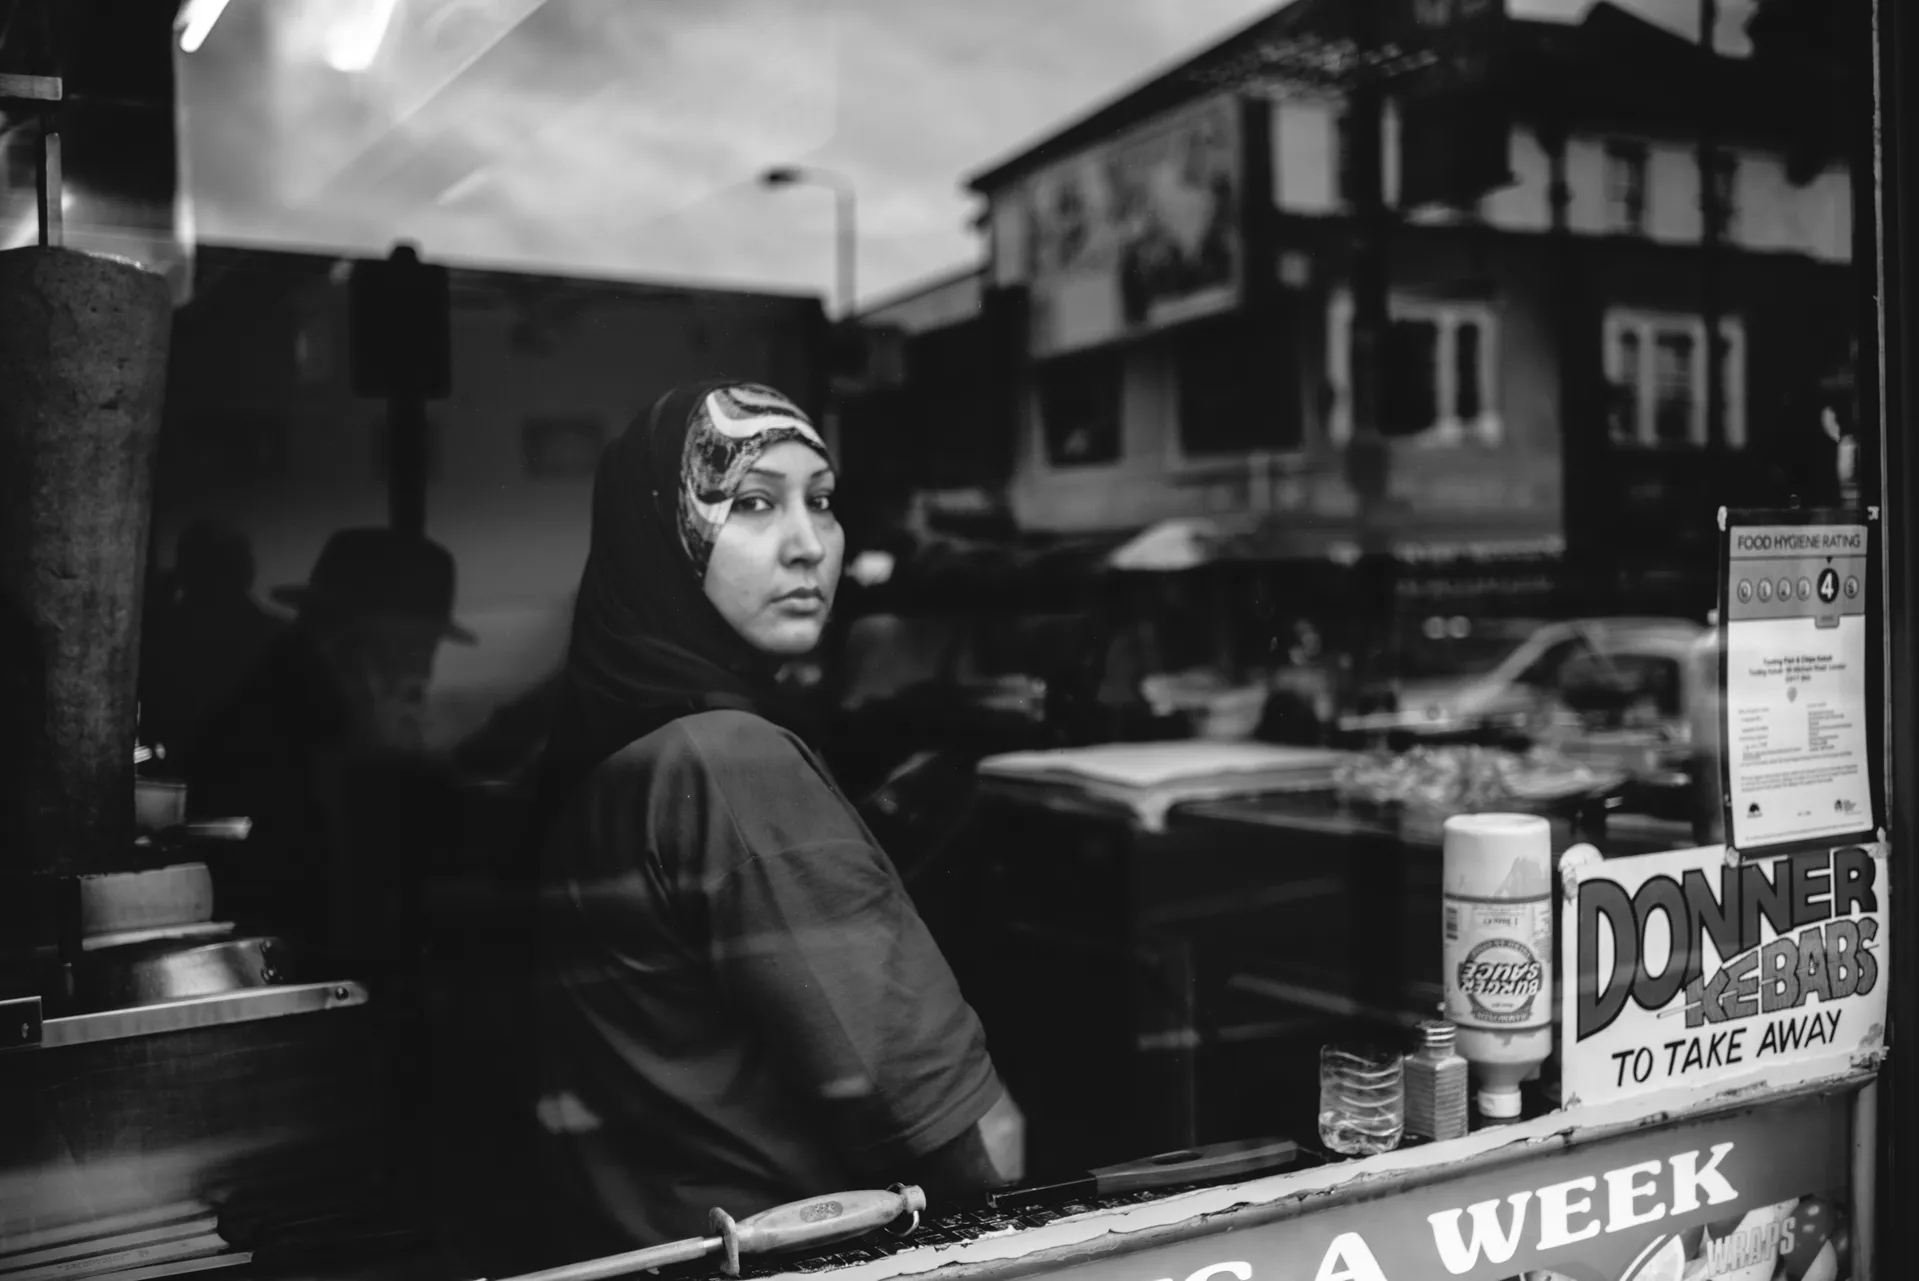
Tooting Kebab Shop, South London © Paul Bence
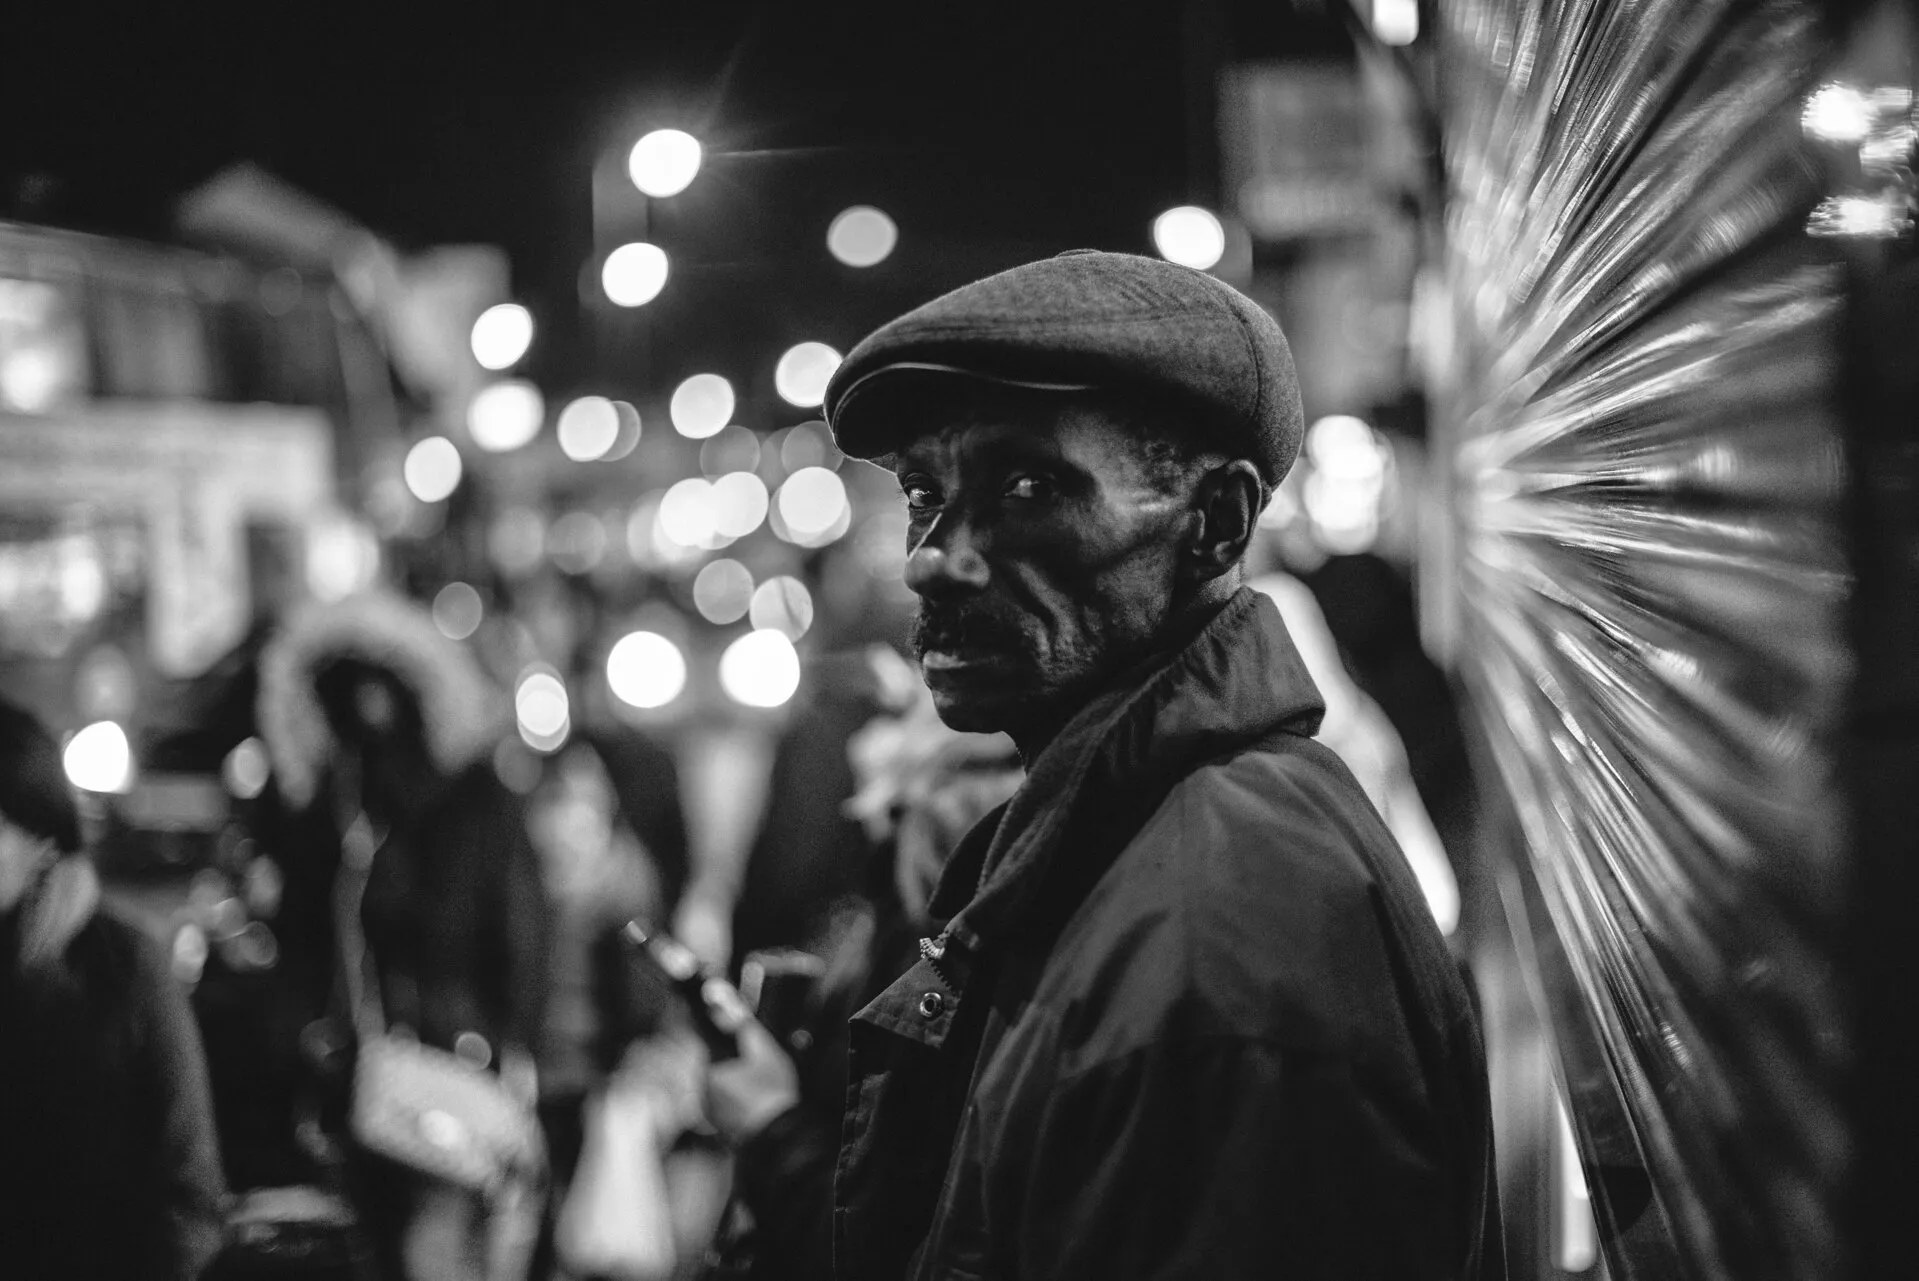
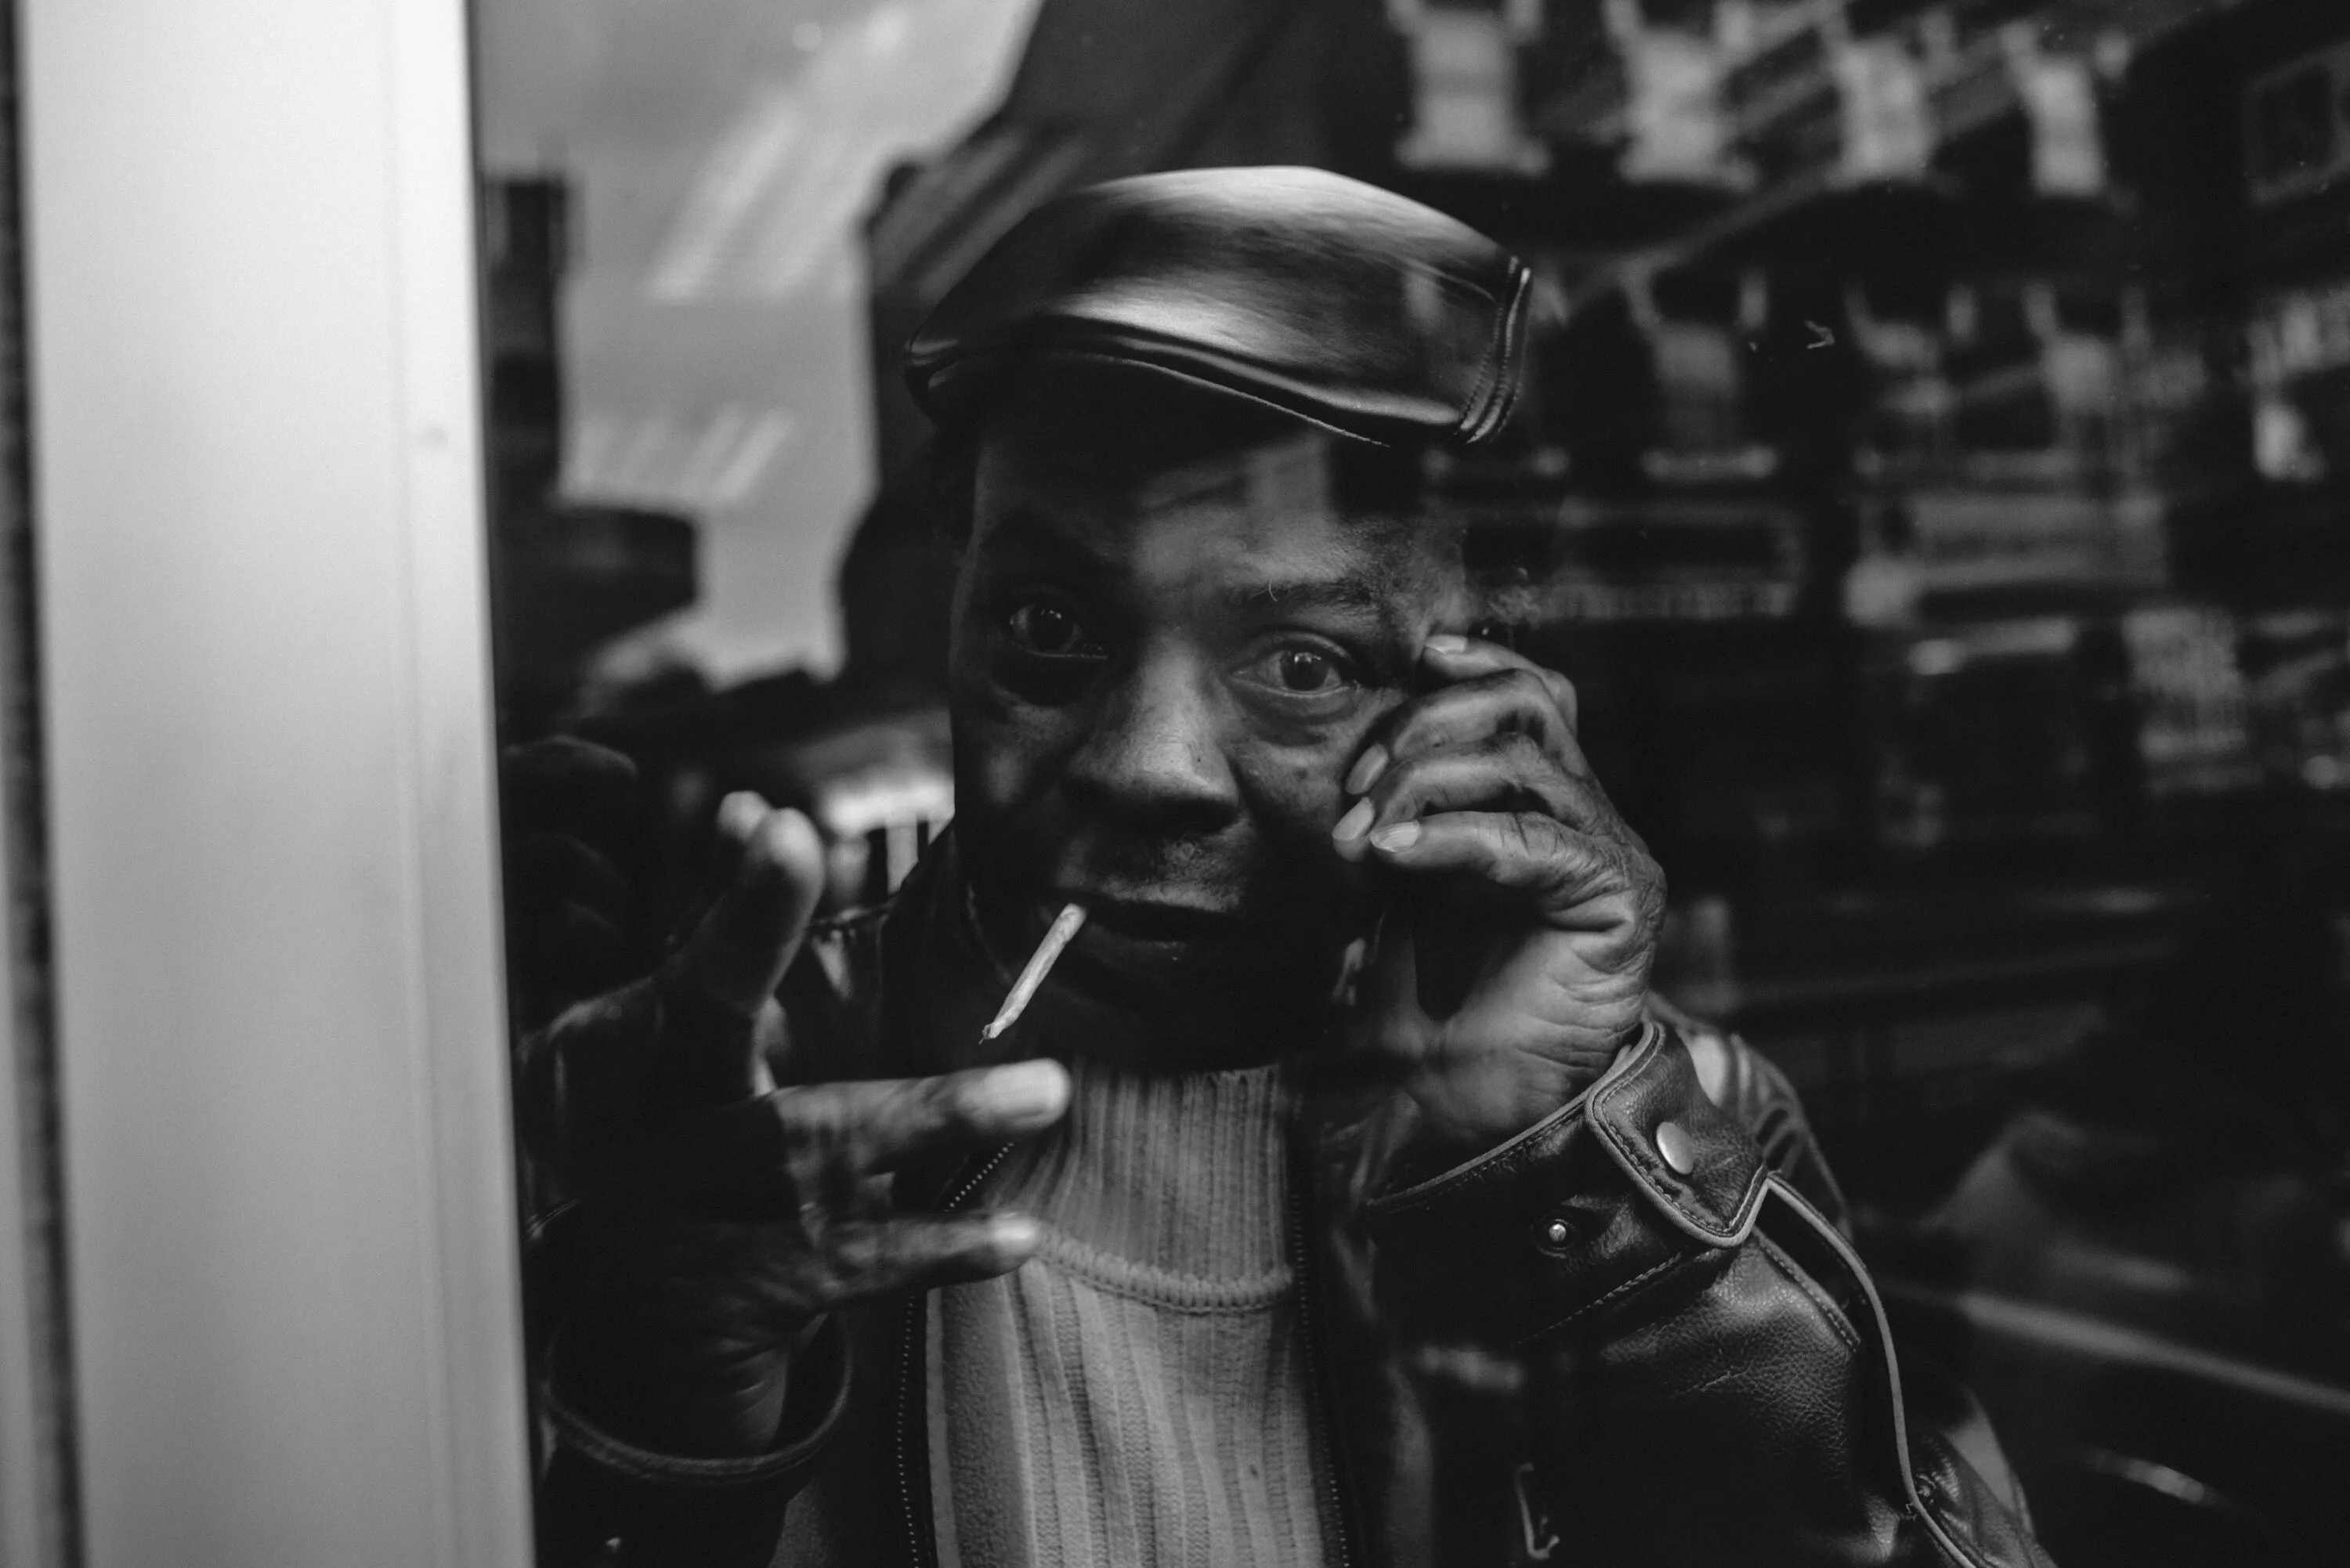
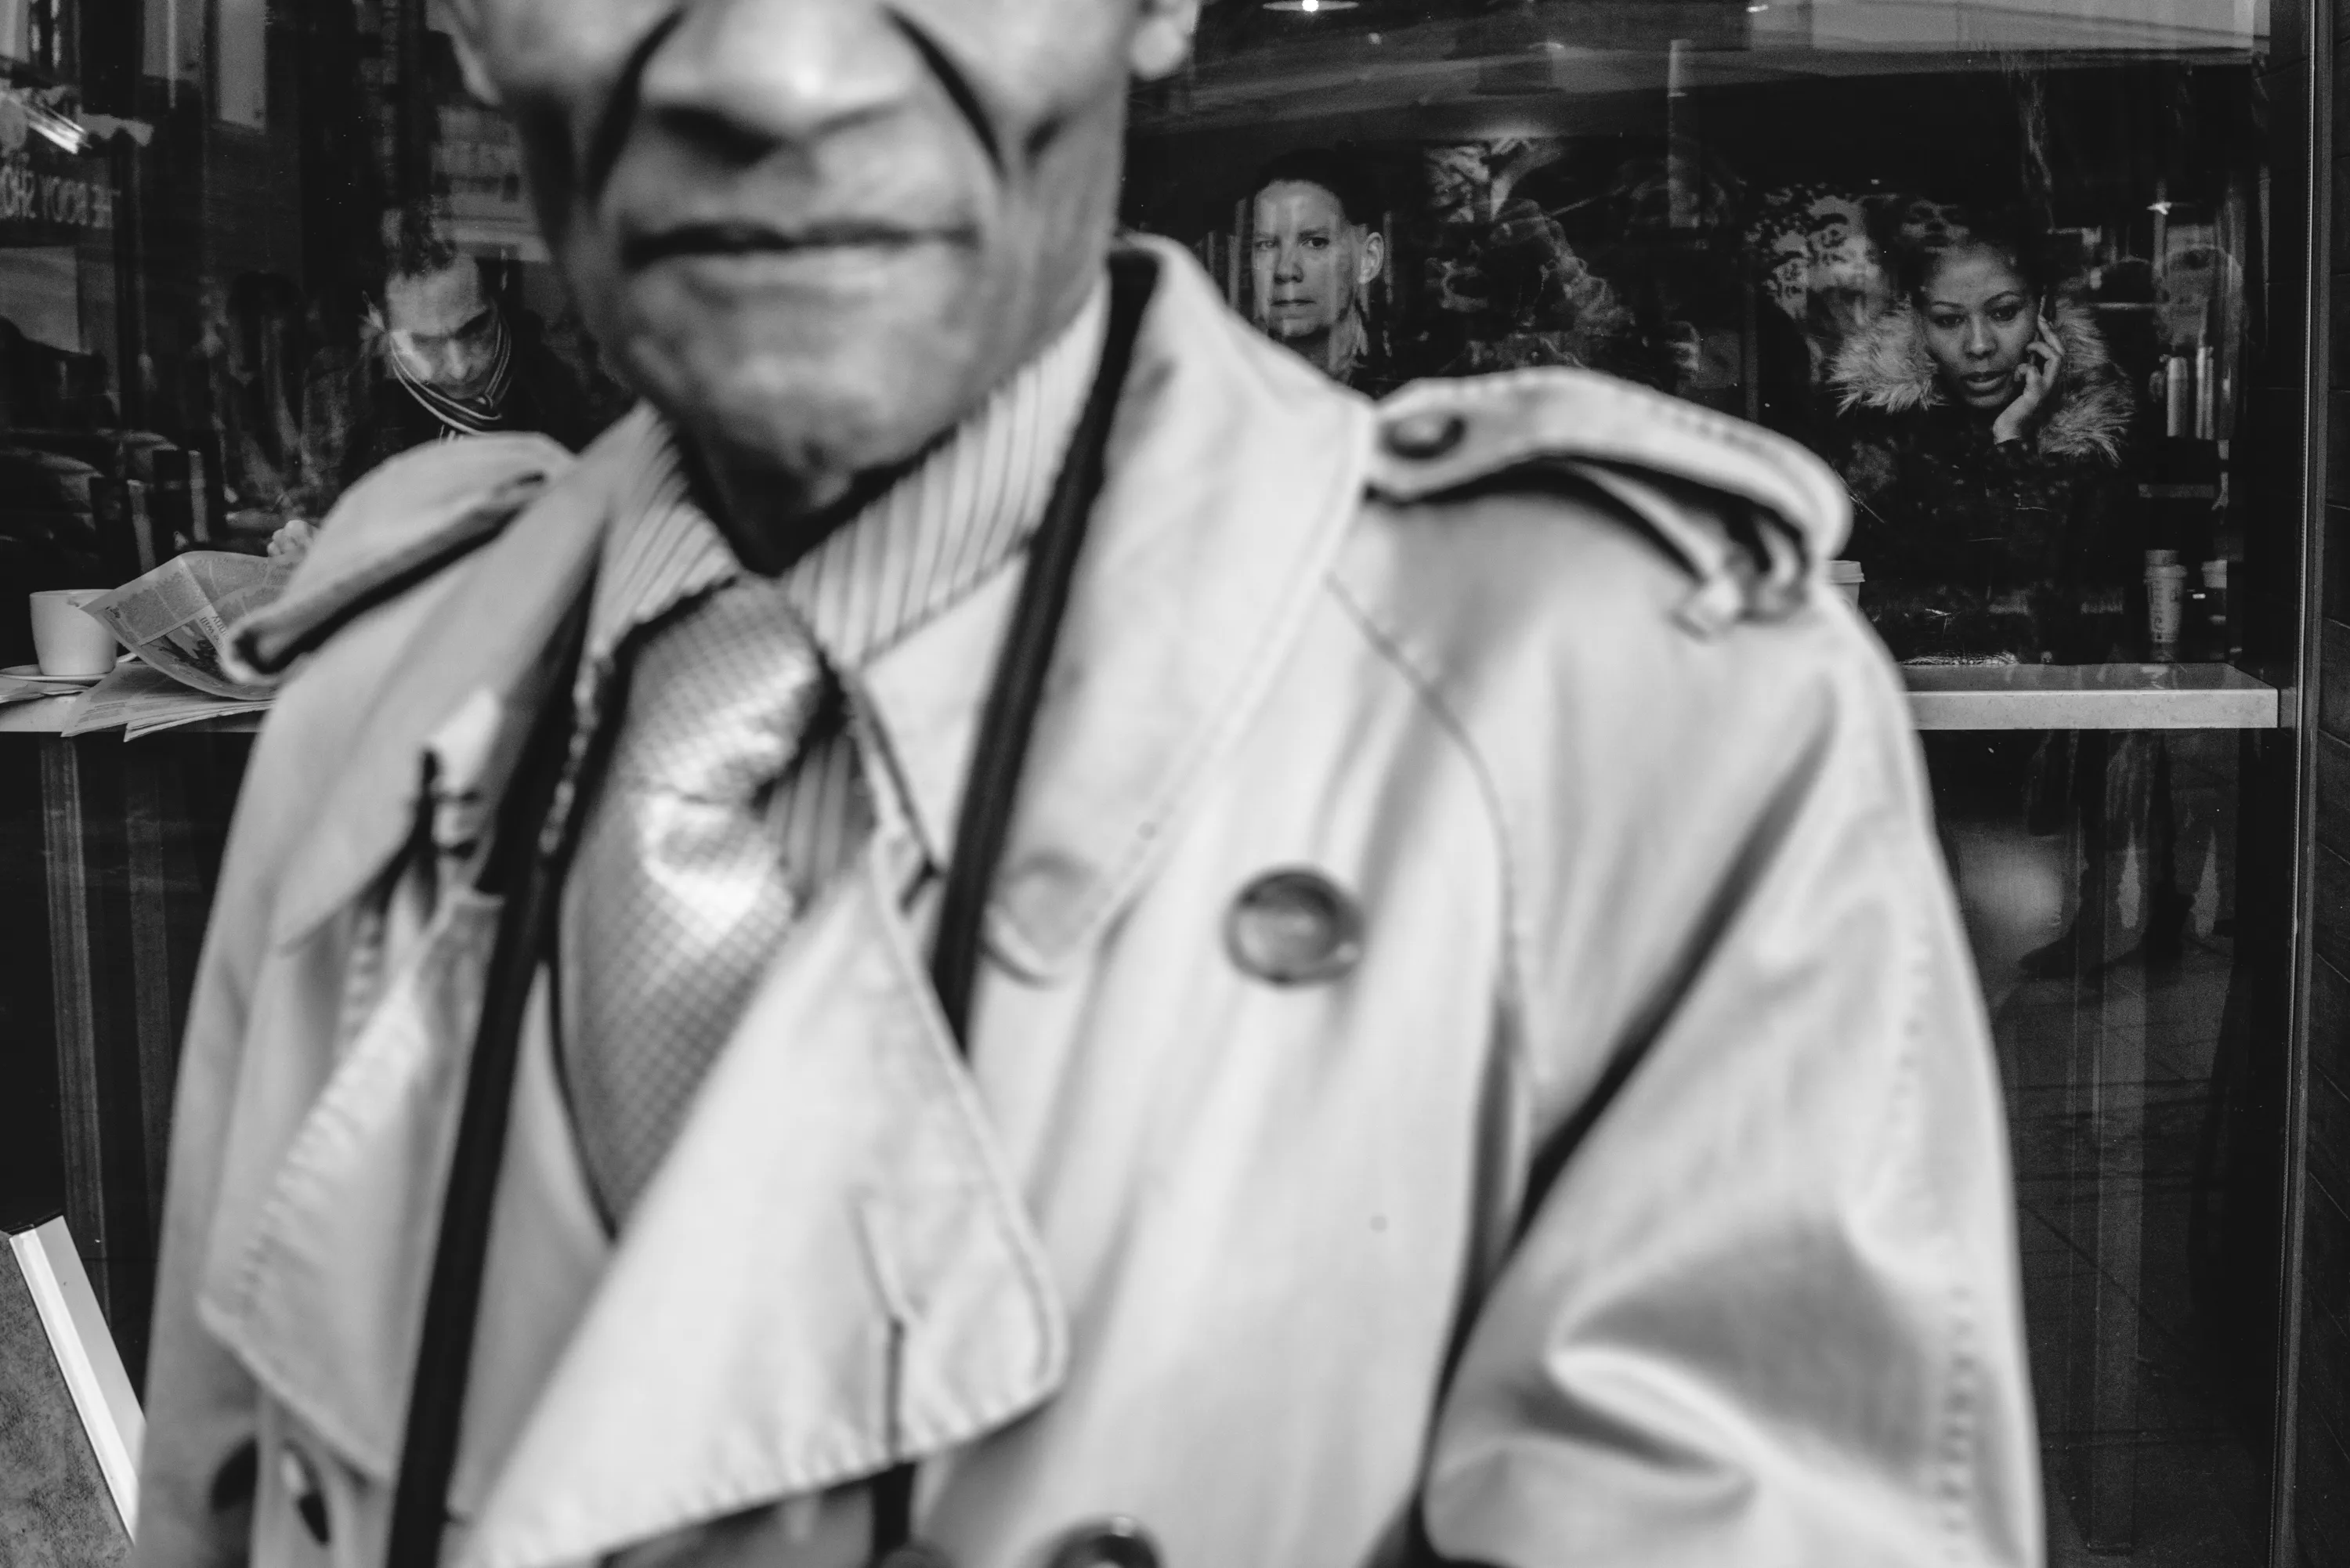
© Paul Bence
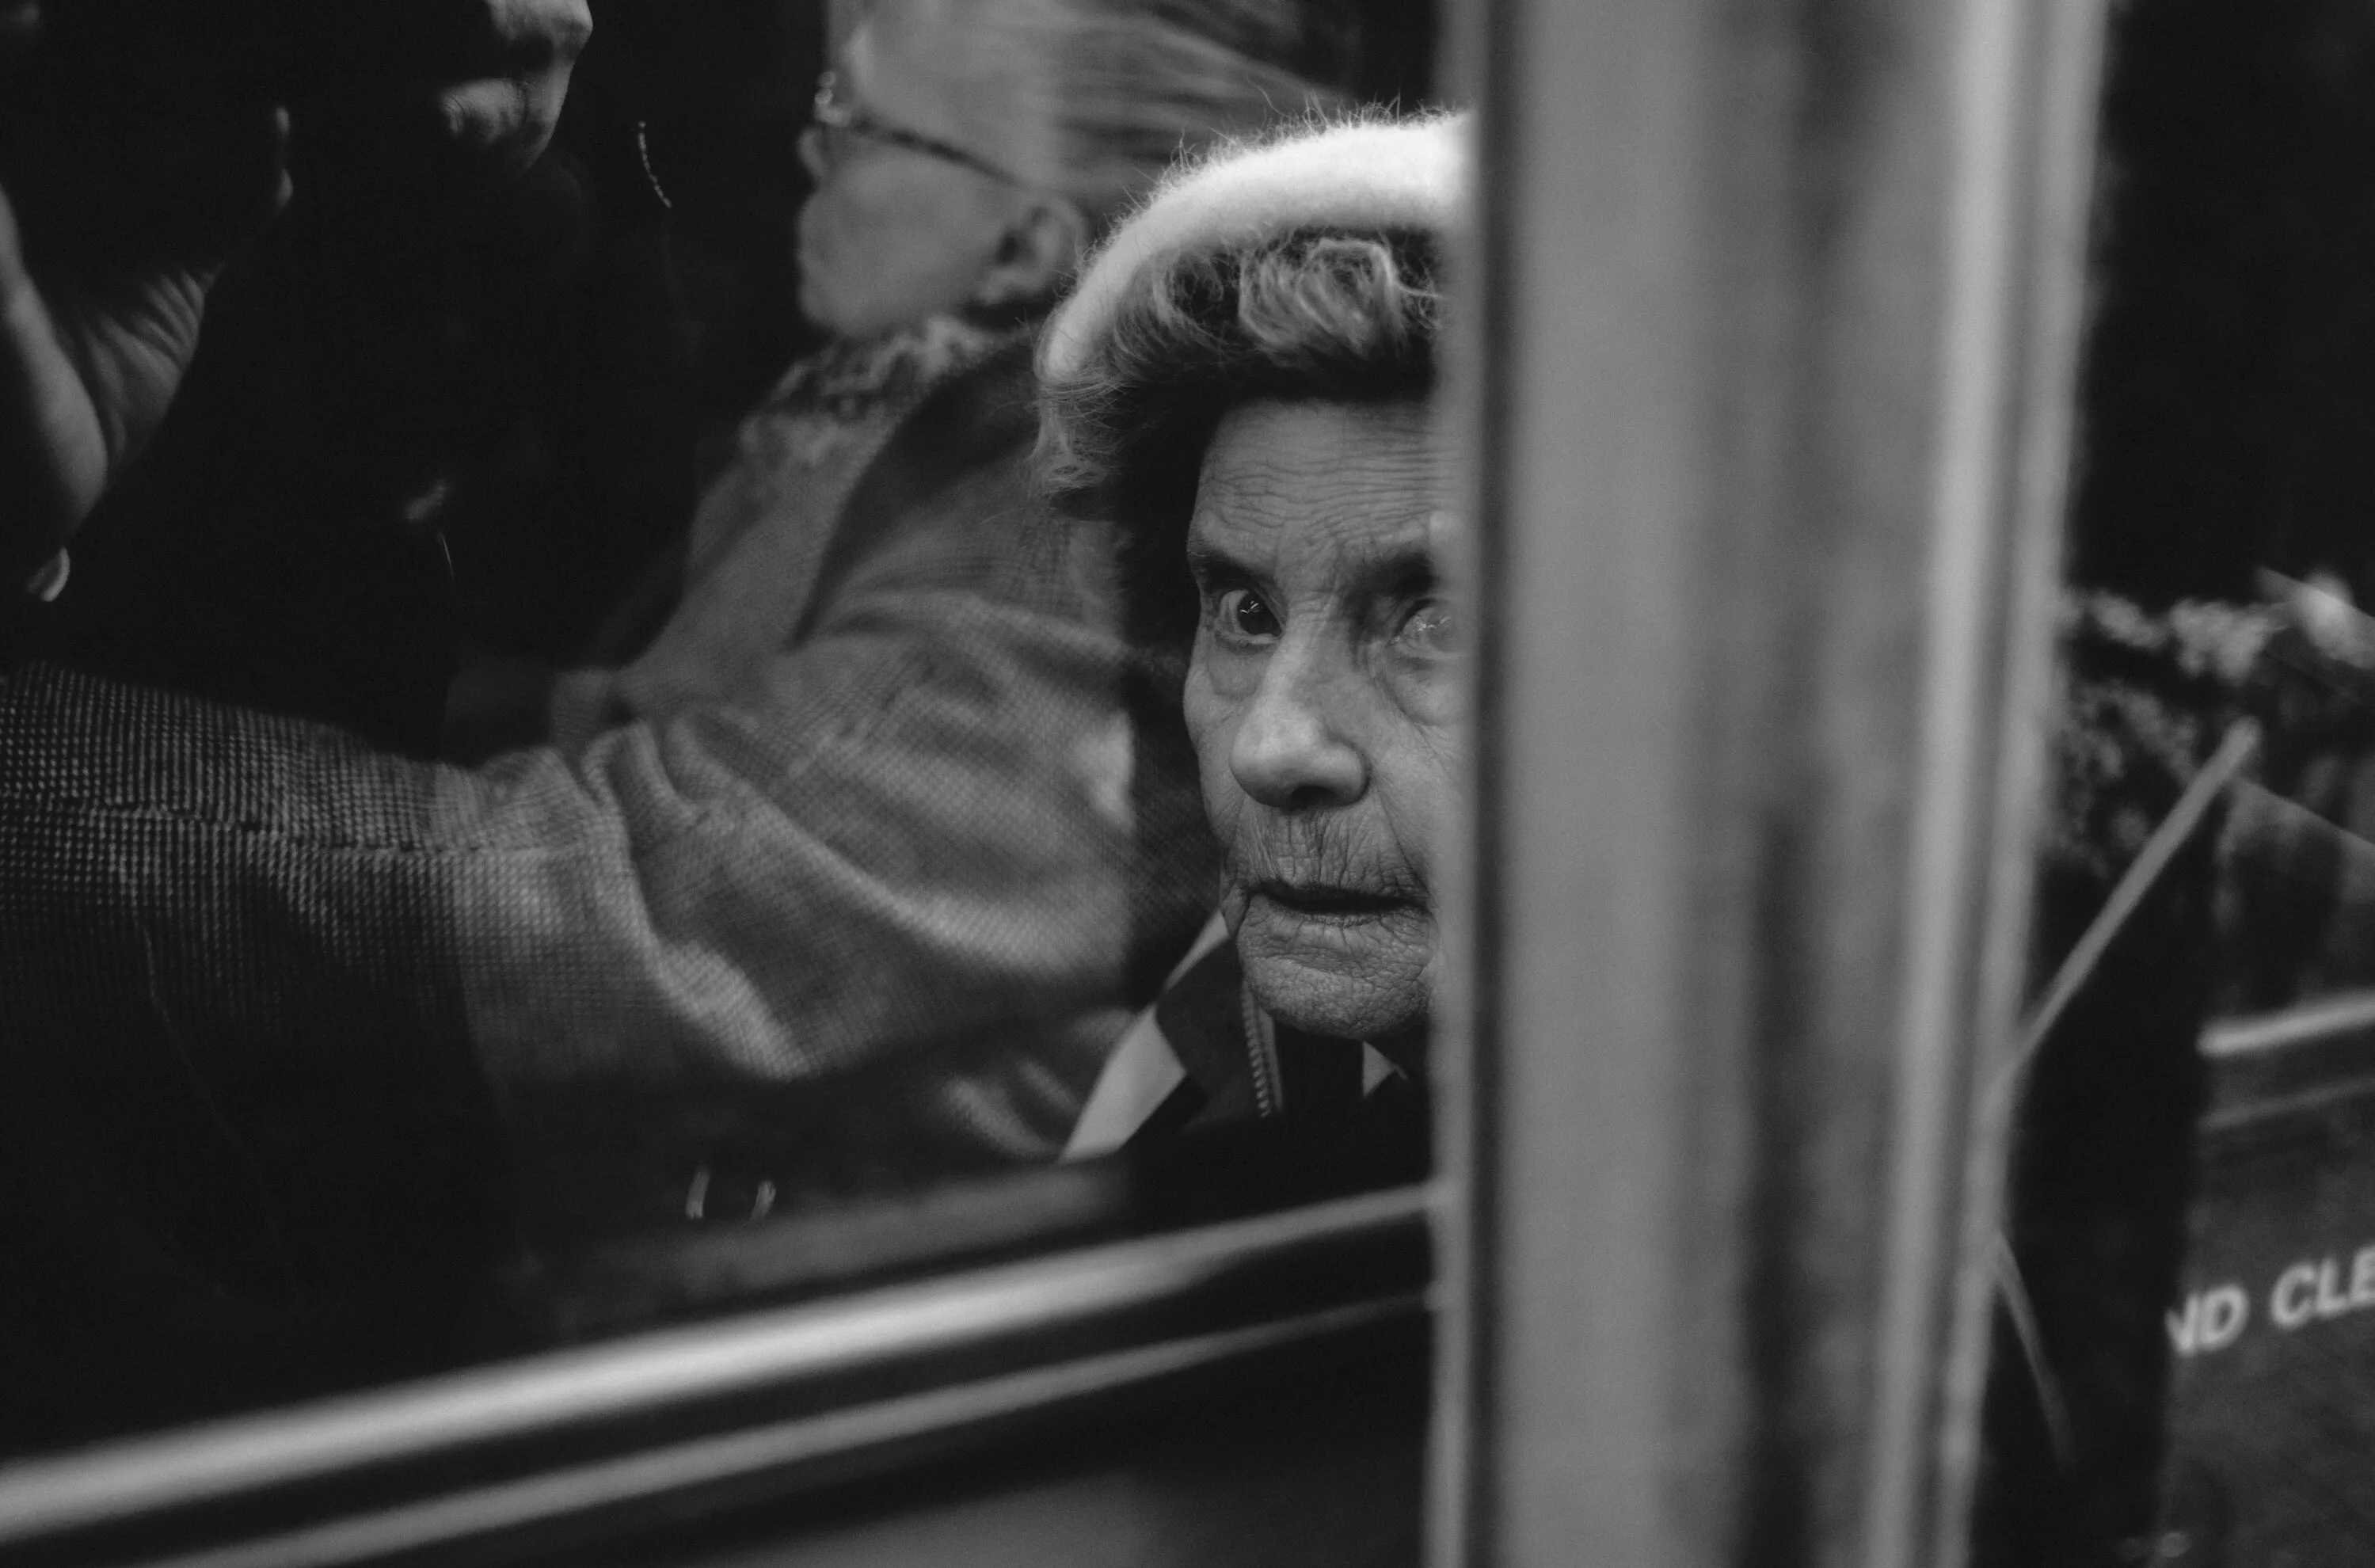
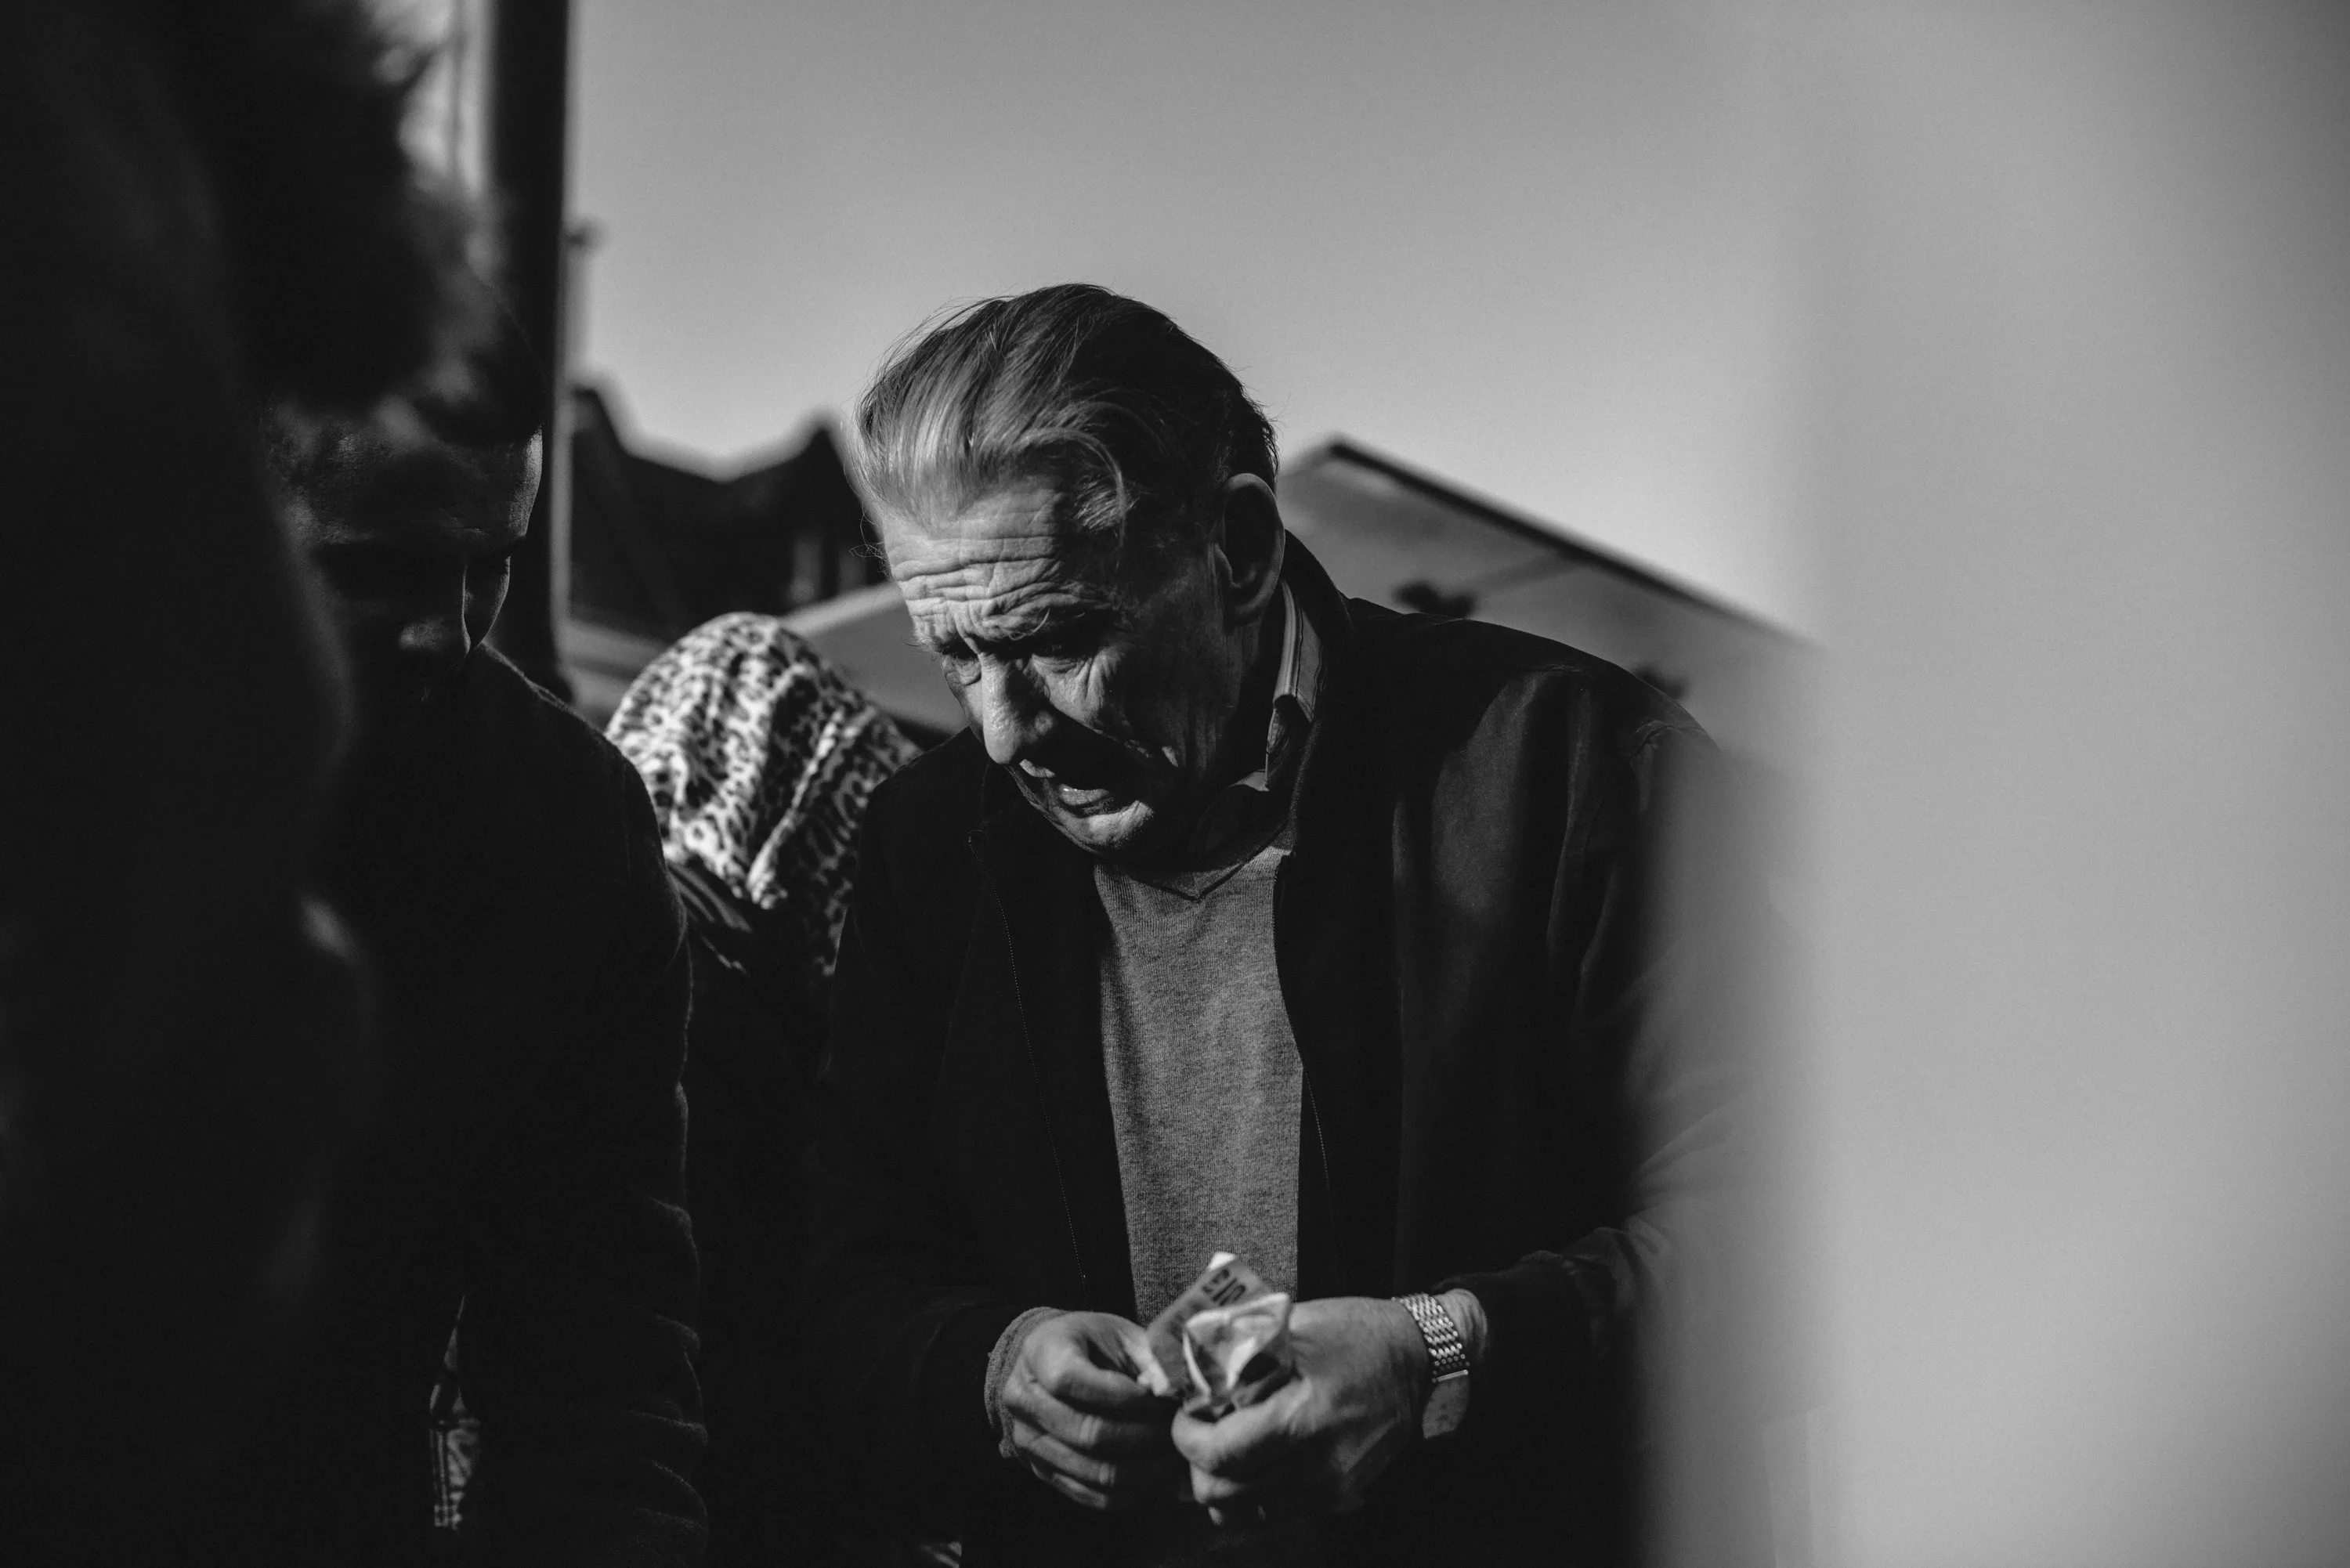
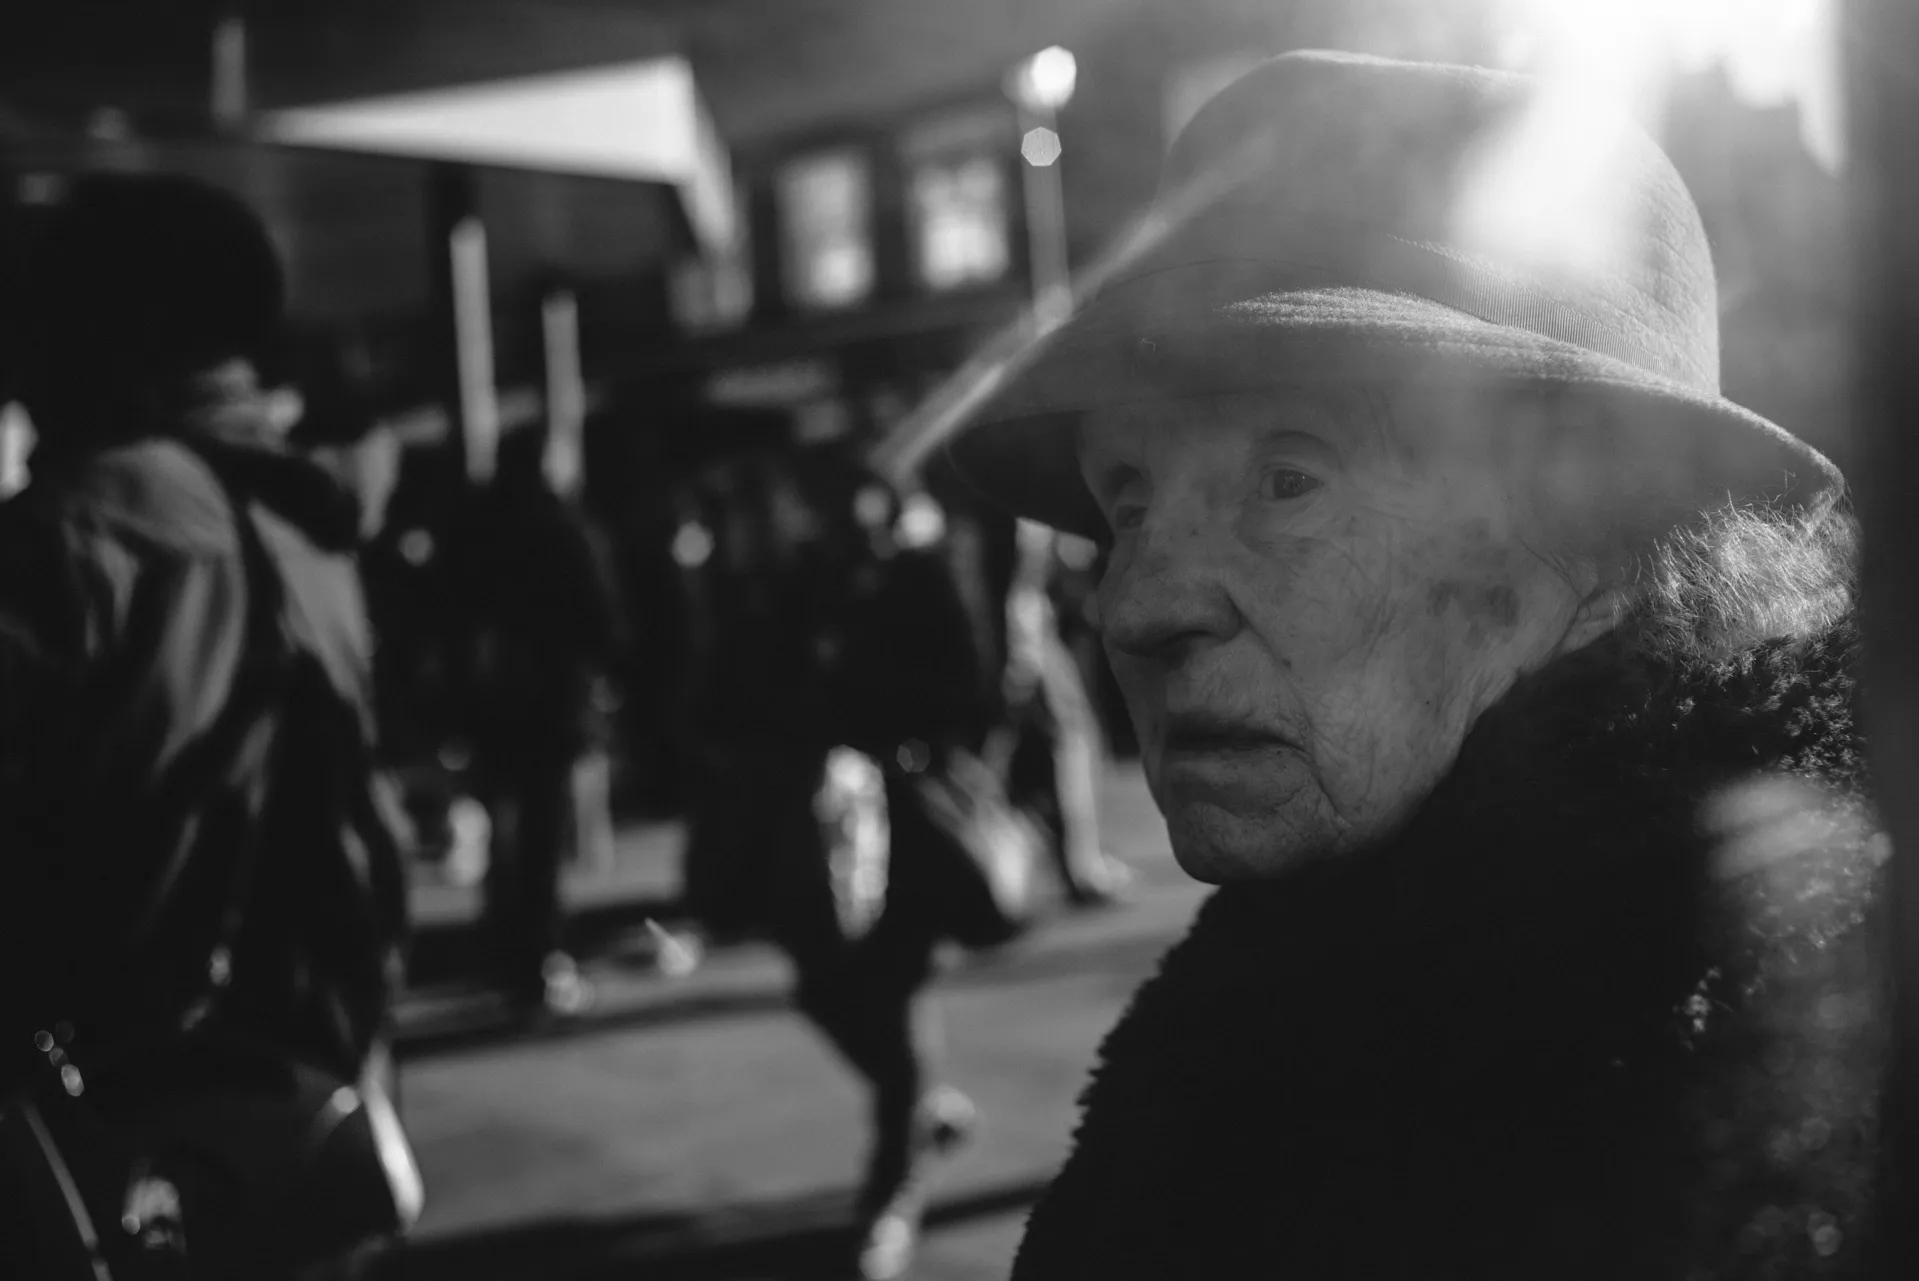
© Paul Bence
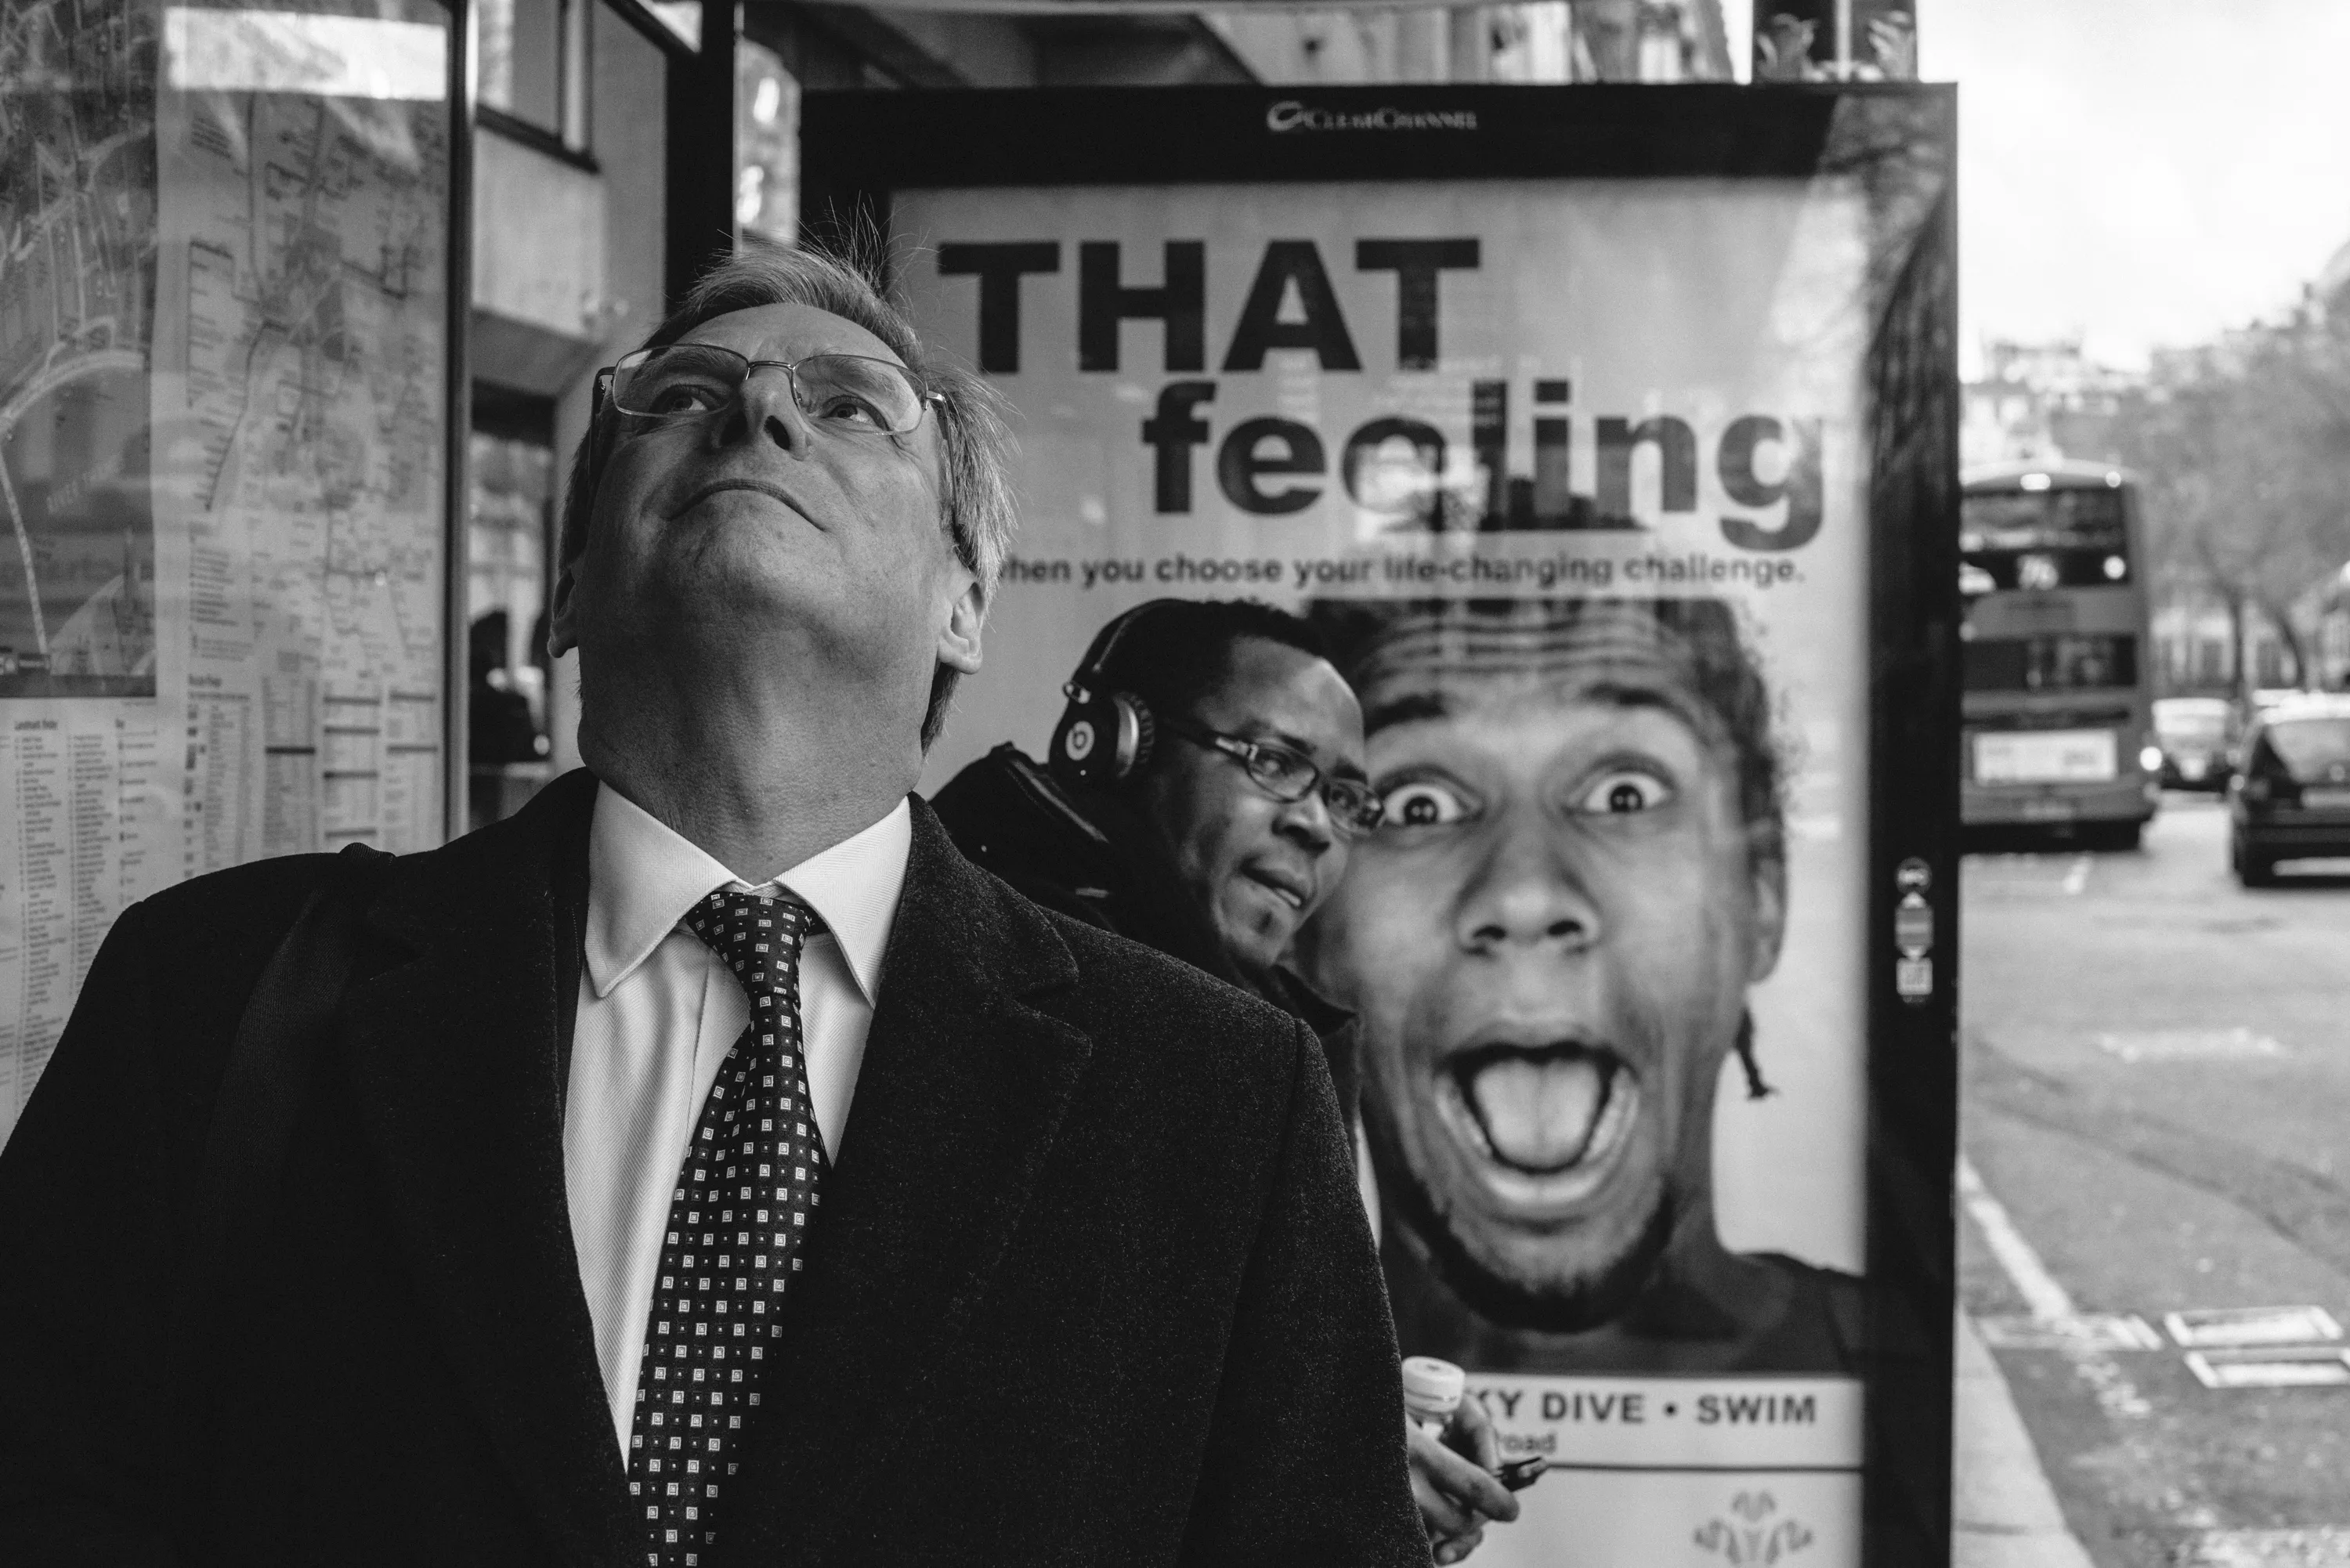
© Paul Bence
© Paul Bence
© Paul Bence