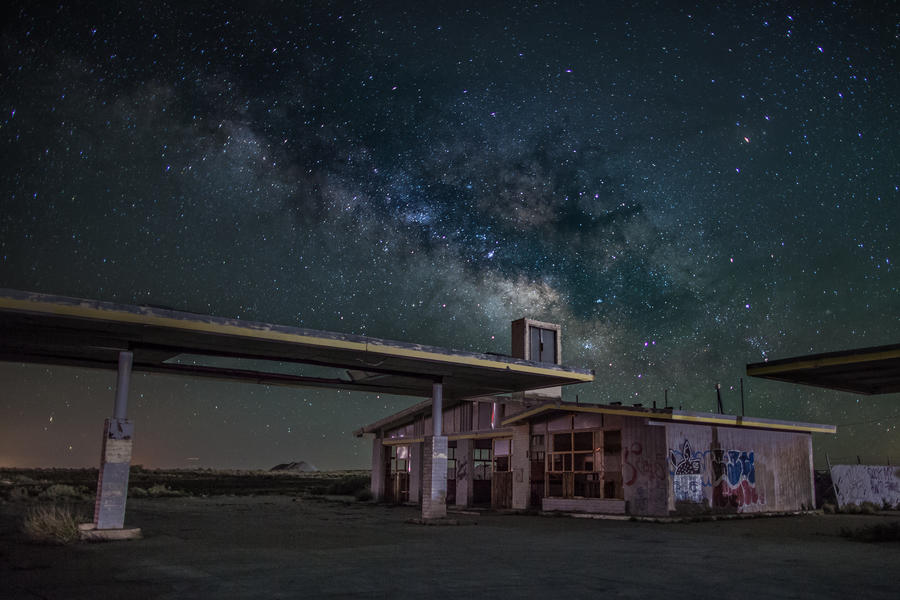
If you’ve ever wondered how to shoot landscapes at night, then Chuck Claude is on hand to give you some basic advice
For as long as I can remember, images of high mountains framing the night sky have been etched into my memory. I love those nights where I can wrap myself up in a sleeping bag and watch the Milky Way etch its gentle arc across the night sky. The night sky always is vibrant and alive, with auroras, meteors, galaxies, nebulae and multitudes of other objects.
Having moved to the American Southwest, I’ve learned to find beauty in mountains, rocky coastlines, deserts and mesas. I often shoot around the Grand Canyon and the surrounding areas, such as Utah and in Monument Valley, though most of the time I find myself in the canyons that are between Flagstaff and Sedona, Arizona. I’m very fortunate to live in an International Dark Sky community, so the surrounding landscapes always have clear skies where the stars shine brightly. Star trails are another popular technique with night sky photography and we’ll look at that in a future feature.
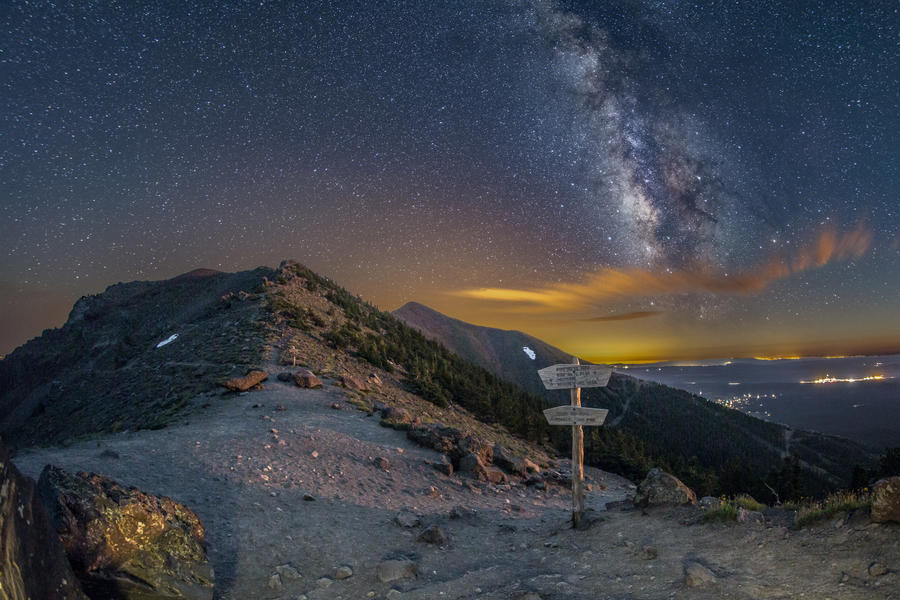
‘Milky Way Over Humphries’, exposure unknown
Use apps to plan your shots
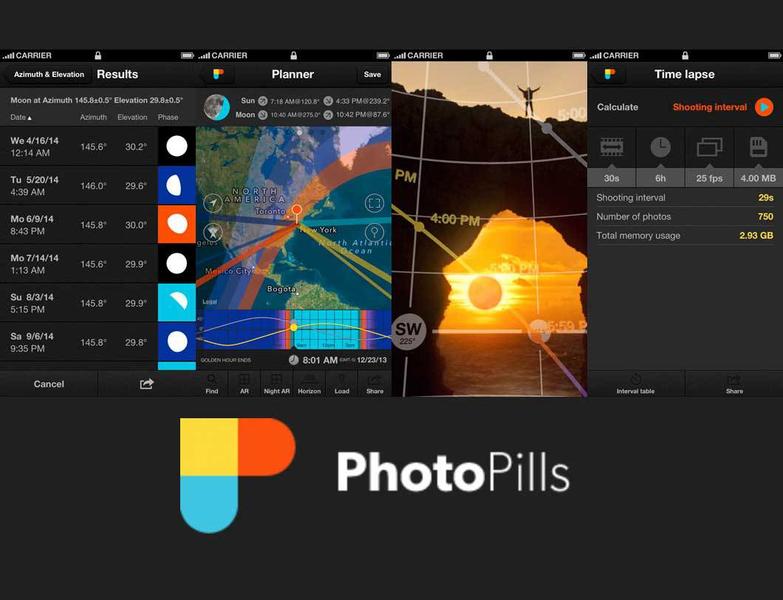
There are two apps in particular that I always use when I visit a location:
• PhotoPills – This app will tell me when the sun will rise and set, the passage of the moon and when the Milky Way will be observable at my location. The app also features a virtual reality function where I can take a picture on my phone and then superimpose those aforementioned details on the image. I can then see when the moon or Milky Way will be visible in relation to the geographic and architectural features I want in the image. Handily, the app also features a hyperfocal table so I can plan focusing strategies and ensure everything in the shot remains sharp.
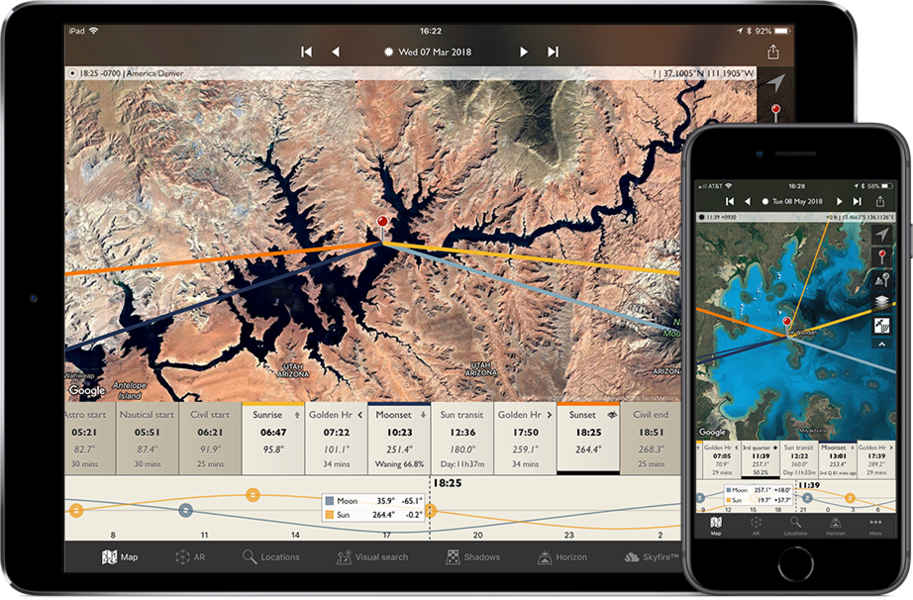
• The Photographer’s Ephemeris – The TPE will give me a graphical representation of light pollution, which will define how bright the stars will be using topographic and satellite images. Similarly, it will also superimpose the sun, moon’s path and the Milky Way.
Be aware of how light pollution will affect your image
The balance of your image’s exposure is highly dependent on environmental illumination either from a slight crescent moon, a nearby city or from intentional illumination. A waxing or waning moon with less than 16% illumination – preferably less than 10% – will provide an even and balanced light in your landscape, for example. The illumination from small communities that are distant can be used in a similar manner, although the light pollution from anything more than a distant small community will actually wash out the stars (much in the same way you won’t see stars over a big city).
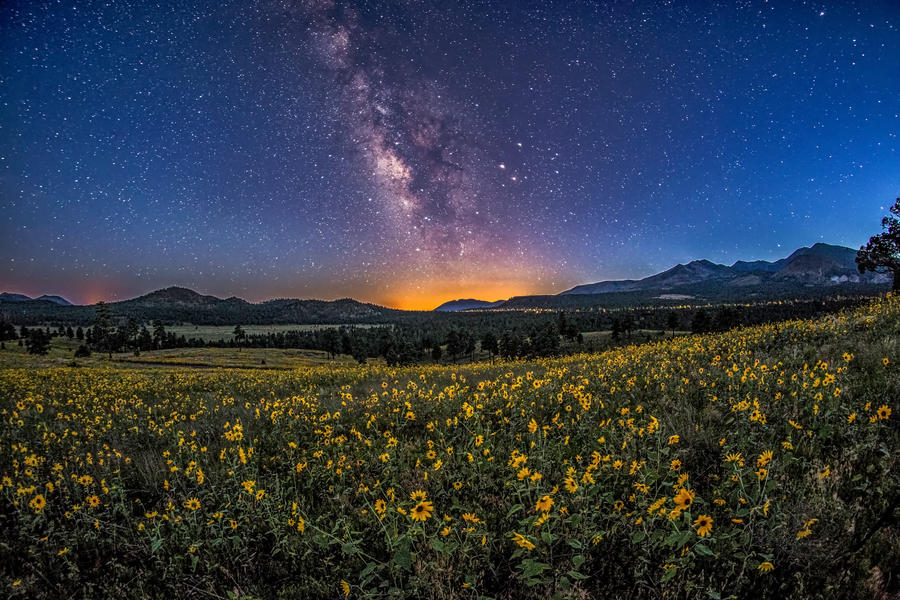
‘Milky Way Over Field of Flowers’, Canon EOS 6D, 30secs, ISO 3200
If you need more illumination on your landscape, bring your own
If ambient lights cannot be leveraged, you can actually use artificial light. I sometimes use a small, flat video LED panel. These can be purchased for a very affordable price if you shop around online. These can have tuneable white balance and intensity settings, so you can take control of the settings. I generally set the colour temperature to 3200K, and the intensity to as dim as the light will go. I’ll then attach the light panel to a tripod and place it at an angle and approximately 10-20m behind the camera. This technique has been gaining popularity recently and often goes by the name ‘low light illumination’.
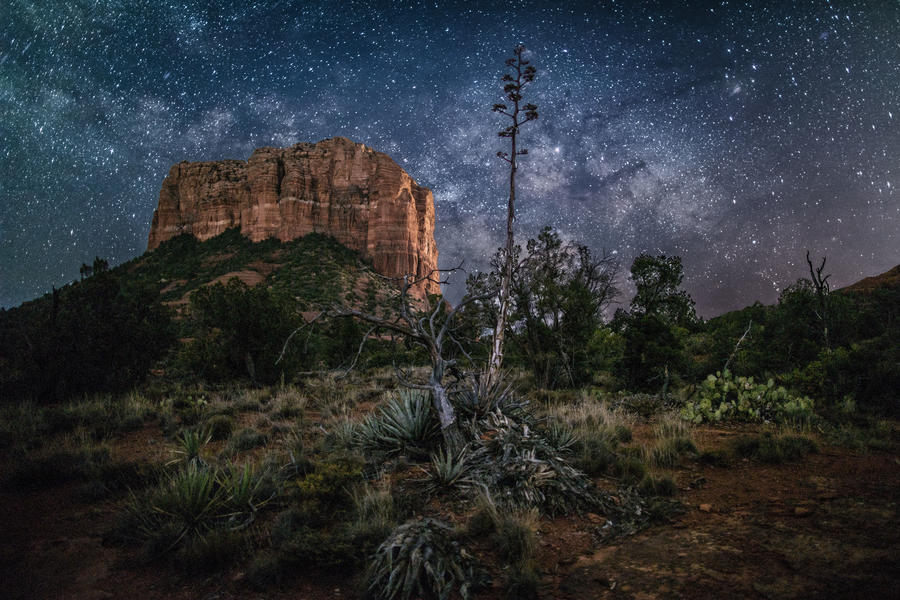
‘Consolation Prize’, Canon EOS 5DS, 24mm, 15secs at f/1.4, ISO 3200
If in doubt, focus stack
Failing all else focus stack. This is where you take several images at varying apertures, exposure times, focal lengths and ISOs and then blend them in post-production. This then brings an overall exposure balance to the final images and also ensures your image remains sharp throughout.
A basic example: one image is shot with a large aperture such as f/1.4 to 2.8 so that a short exposure can be used to minimize star motion while also minimizing the high ISO noise. The second image will then have a narrow aperture to allow for a short hyperfocal distance. This will ensure the foreground is properly focused. The images are then merged in Photoshop.
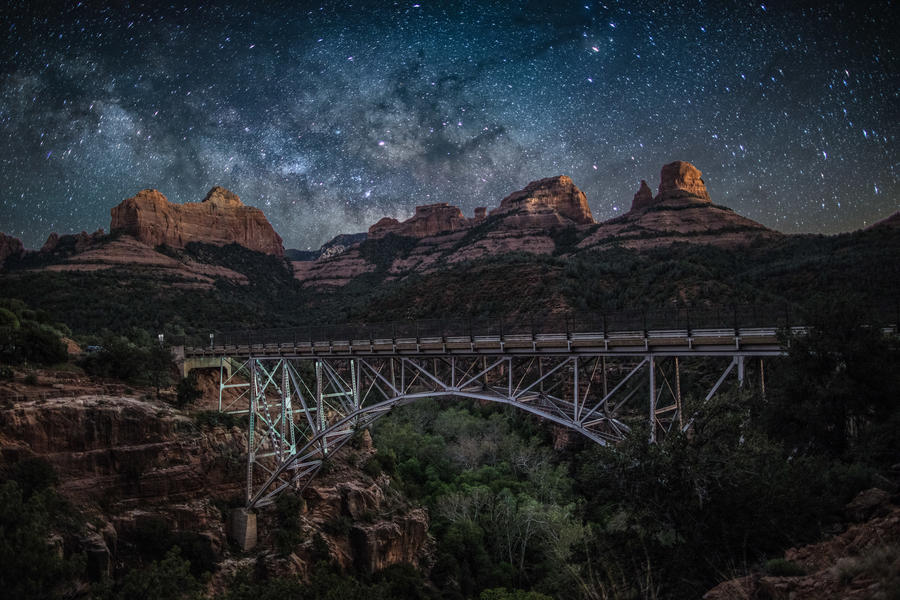
‘Midgley Bridge’, Canon EOS 5DS, 15secs at f/1.4, ISO 3200
Use filters to tackle excessive light pollution
There could well be times when light pollution is critical and, in these cases, you can use either a NiSi Night Intensifier or Hoya Red Intensifier filter. The filters reduce the effect of light pollution while causing an image that is either cooler, as with the NiSi filter, or warmer, as with the Hoya filter. The change in colour balance can be compensated for in Lightroom or Photoshop. While the filters create their own artefacts, they allow for vivid shots that would be otherwise muted or otherwise impossible.
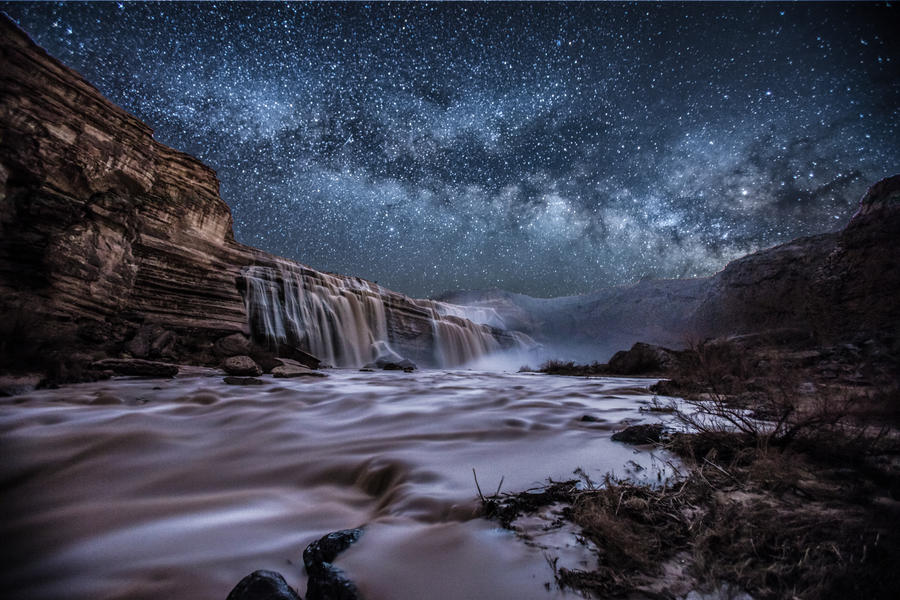
‘Milky Way Over Grand Falls’, Canon EOS 5DS, 16-35mm, 477secs at f/2.8, ISO 800
Check on the optimum times to shoot
As with any type of photography, there are better times to shoot than others. If I want to shoot the Milky Way, it needs to be when the moon is absent (based on when the moon rises and sets). If I want to ensure I shoot the galactic core of the Milky Way, then I know that means shooting early morning in late February and early March. That gradually becomes earlier as spring and summer progress. Eventually, in October, I’m shooting in the two hours after sunset.
There are also optimum times to shoot star trails, generally around midnight until 4 am. The reason is that air traffic is generally lighter at these times. Aircraft use white and red strobe lights, which in a long-exposure image appears as an unnatural series of dots in a straight line among a series of circles of light formed by stars.
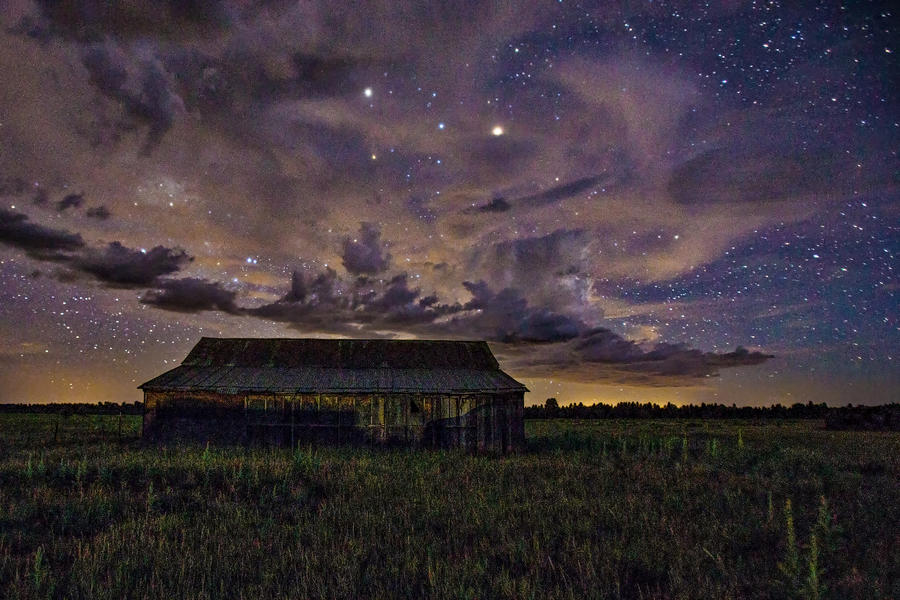
‘Barn After Storm’, Canon EOS 6D, 16-35mm, 30secs at f/2.8, ISO 3200
Embrace the 500 rule
If you want your stars to remain as pinpoints and not trail, you should follow the 500 rule. This involves you taking your focal length and then dividing by 500. This will give you your shutter speed and will ensure your stars remain static in the frame. There are some camps that swear by both 400 and 300, as well, so experiment and see which one works for you.
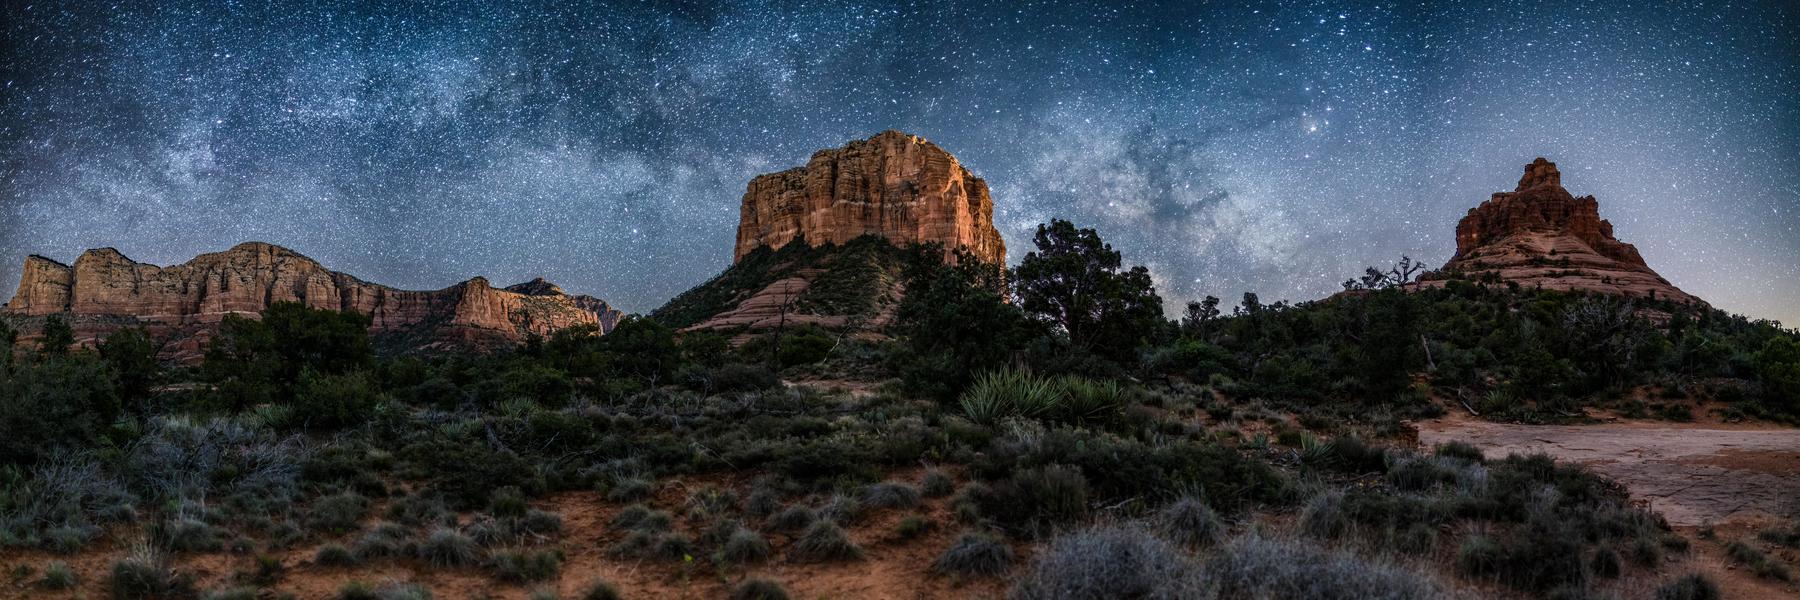
‘Panorama Over Sedona’, Canon EOS 5DS, 24mm, 15secs at f/1.4, ISO 3200
Invest in a sturdy tripod
Make sure you have the sturdiest tripod you can afford. Your shots will last from 10secs for stars as points of light to 5mins for star trails and you may face windy conditions.
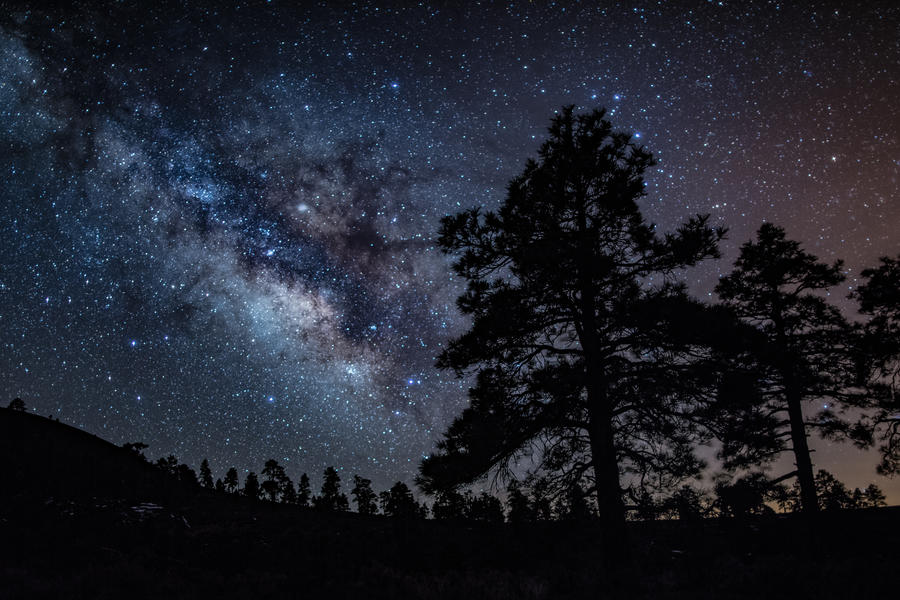
‘Milky Way Tree Silhouette’, Canon EOS 5DS, 24mm, 15secs at f/1.4, ISO 3200
Use remote triggers
Similarly, make sure you have a wireless remote. Remote triggers are some of the least expensive pieces of camera gear and it allows for camera control without the risk of disturbing the camera.
‘Route 66 Gas Station’, Canon EOS 5D Mark II, 24mm, 15secs at f/1.4, ISO 1600
