Technique Feature
Shooting City Skylines at Night
For a really incredible take on the genre of architecture photography, find yourself a good vantage point in a city and capture the sweeping skyline at night. We look at some important tips to help you.

‘Density’ by Tim Allen, Sony ILCE-7RM2, 16-35mm, 30secs at f/8, ISO 50
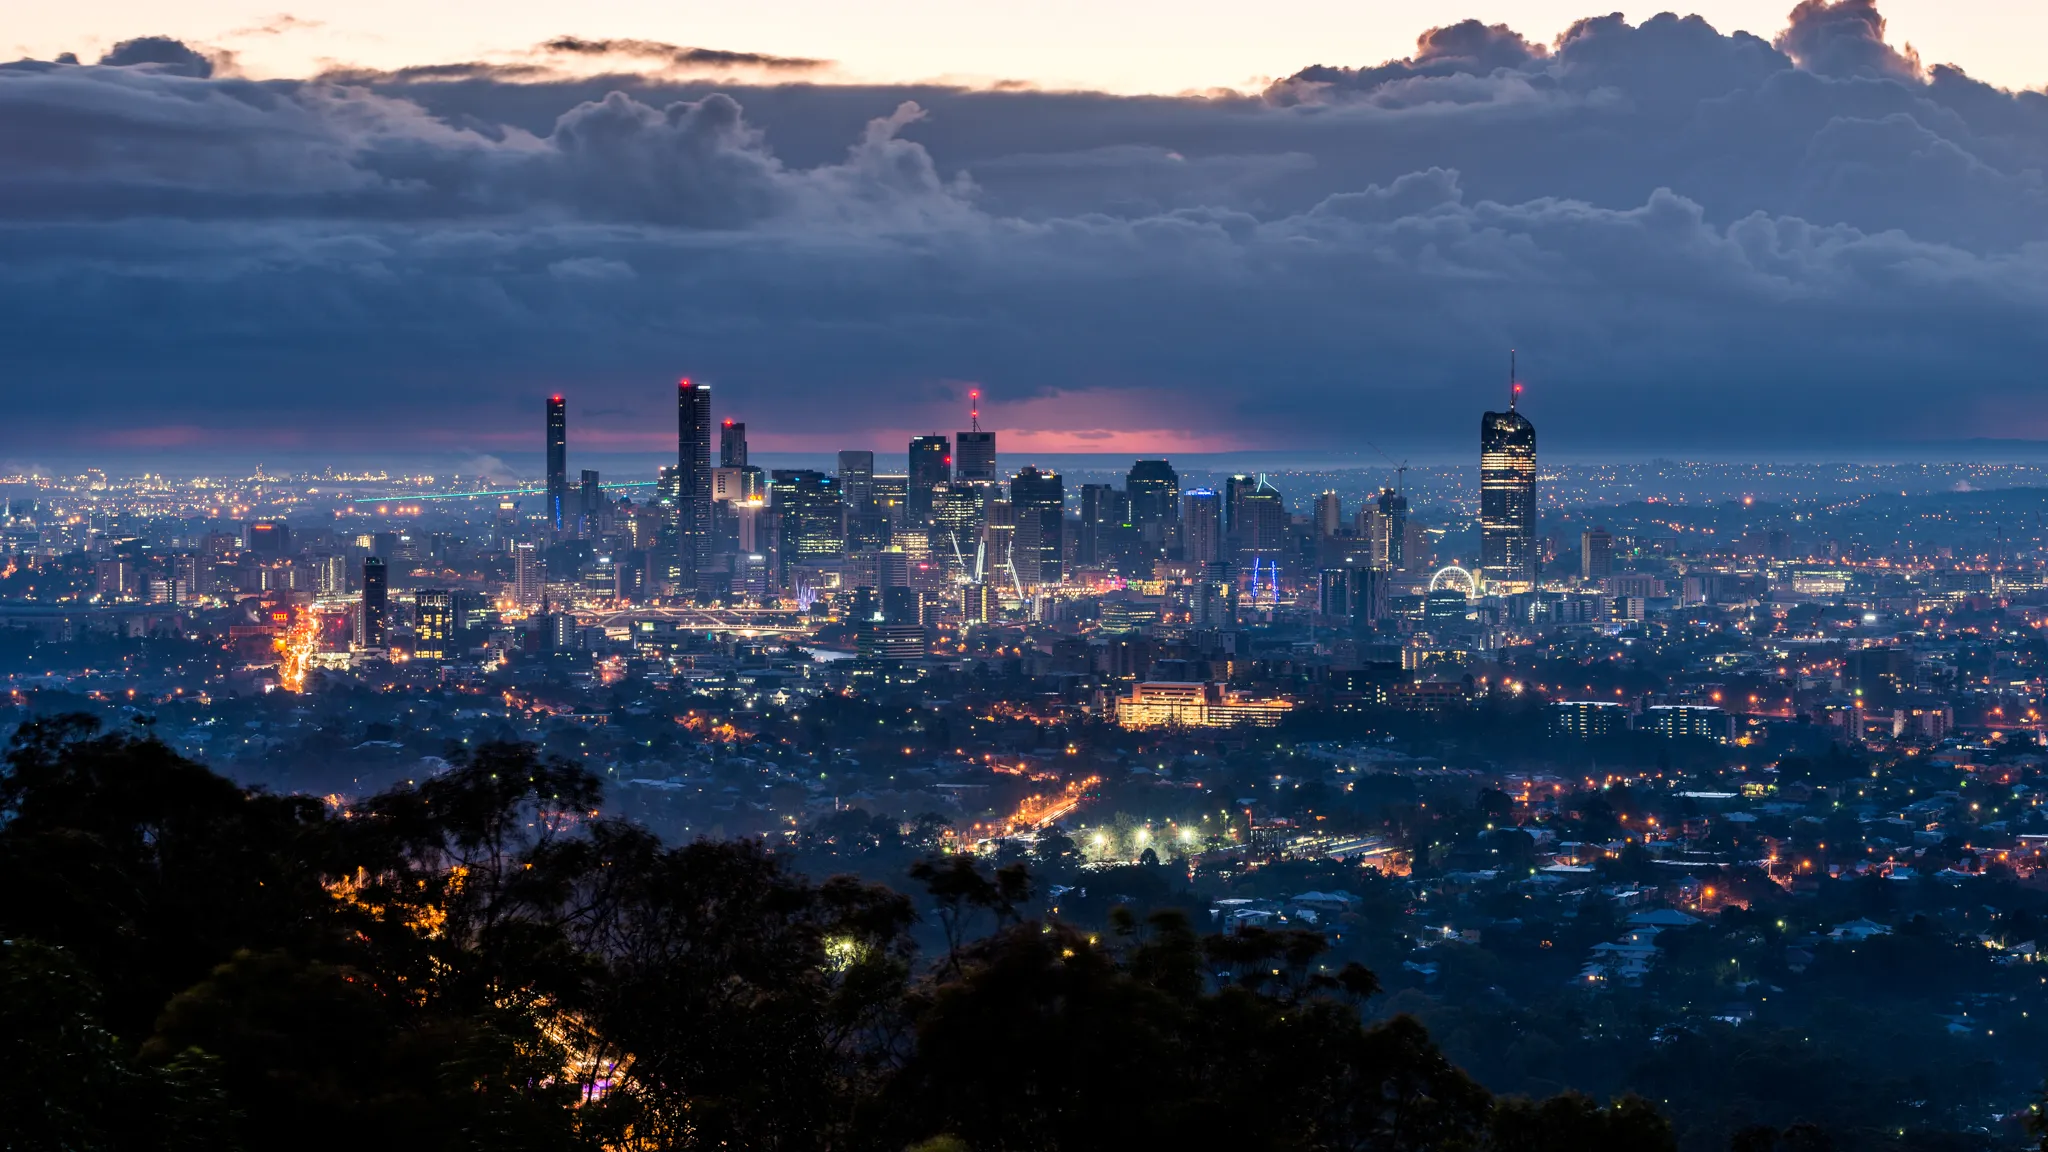
1. Find the best view
Your first priority is to ensure you have a good vantage point that looks out over the city. There are a few options here. Put in some research and find buildings where you can easily gain access to observation decks, rooftop green spaces, or just a window that looks out over the city. If you’re shooting in a major city, places like this are everywhere. You may even be lucky enough to have a friend with a flat that looks out over the city. Another option is to find a multi-story carpark and shoot from the top level. Alternatively, seek out a bridge with a pedestrian walkway.
But then not every skyline has to be from an elevated view. You can shoot from the ground, too. Consider finding an expanse of water and shooting across into the city as in this example.

‘Skyline, Marina Bay, Singapore’, Nikon D800, 14-24mm, 1/2sec at f/8, ISO 50

2. Be careful if you’re shooting through a window
If you’ve managed to access a room and are shooting through glass, make sure the glass is spotless. Place your lens as close as possible to the window and cup the end of the lens with your hand or a cloth to ensure there is no intrusion of the interior’s light.

‘Dubai’ by Wim Solheim, Canon EOS 6D, 24-35mm, 1/50sec at f/2, ISO 1600
3. Select the best time to shoot
There are a couple of times of day that will offer something different to the same scene.
• For really beautiful results, shoot during twilight, otherwise known as the blue hour. This is the hour following sunset where the skyline will be bathed in a cool blue hue.
• Around half an hour later is when you’ll find yourself in night. This is perfect if you want your skyline to be lit up by the artificial illumination of street lamps and the pinprick lights of skyscraper windows.

‘Dubai Marina’ by Alan Millin, Canon EOS 5D Mark III, 17mm, 15secs at f/8, ISO 100
4. Shoot with a wideangle lens
Wide-angle lenses for skylines are the natural go-to lens as they are going to open up the scene and include far more of the observable area. A wide-angle will also make the background appear further away giving your scene depth and scope. If you’re shooting with a full-frame camera then use a 50mm lens or below. If you’re shooting using a cropped sensor then you’ll need 35mm or below. Using a wide-angle means you can include foreground, middle-ground and background.

‘Manhattan’ by Lukasz, Nikon D7000, 17-50mm, 30secs at f/10, ISO 100
5. Experiment with a telephoto lens
A telephoto lens can home in on some of the interesting details that make up the bigger picture. In the urban environment, you’re faced with a number of structurally fascinating buildings. That’s where a telephoto lens can help. You can pick out a part of the scenery and compose it in such a way that it’s isolated from the rest of the scene. Every shot needs a subject, and cropping and framing using a telephoto lens is the best way to achieve this. The lens can compress an image and bring the finer details forward in the composition.

‘Tokyo Tower’ by Scott Sim, exposure unknown
6. Find your lens’s sweet spot
It’s actually not that beneficial to select your lens’s highest aperture (f/32, for example) to get everything sharp. Every lens has a sweet spot where the details are crisp and clean and you’ll need to find yours to get good and sharp skylines. Thankfully, it’s relatively simple.
• Find a good scene as a test subject.
• Switch your camera to aperture priority.
• Set your camera on a tripod and use a remote shutter release.
• Choose a mid-range aperture such as f/10.
• Take an image and then close your aperture down one stop.
• Take another image and then keep moving up the scale of apertures.
• Review your images and determine which one is the sharpest throughout. This image’s aperture is your lens’s sweet spot.

'Hong Kong Skyline at Night' by Ronniechua, Canon EOS 5D Mark II, 15mm, 13secs at f/16, ISO 50
7. Compose carefully
Think about your composition. Too many skyline images suffer from a lack of consideration as to how they are framed and arranged. Don’t rely on the impressive details – their placement in the scene still needs to be thought about. Once good tip is to find the tallest building and place that against the left or right edge. This provides a solid frame that will hold the elements together. Alternatively, ensure there is a good amount of space on the left and right sides of the frame which will contain your skyline and help guide the viewer’s eye to the composition at the centre.

‘Dubai’ by Peter Smith, Canon EOS 5D Mark II, 24-105mm, 20secs at f/13, ISO 200
8. Keep your ISO low
One thing to ensure is that your ISO is kept low. This is particularly important if your shooting at night where noise is more likely to be a factor. The consequence is that this will increase your shutter speed (see below). However, you shouldn’t be afraid to bump up your ISO if you need to. Camera’s such as the Sony A7S II and the Canon EOS 5D Mark III are especially adept at shooting in low light and this means you can bump up your ISO with minimal risk of noise.

‘Electric Dreams’ by Otto Berkeley, Nikon D810, 24-70mm, 30secs at f/9, ISO 100
9. Think about your shutter speed
Your shutter speed is going to largely depend on when you’re shooting (in the blue hour or at night) and will also be affected by your ISO. As you’re ISO is set potentially quite low this will increase the time. Further, your shutter speeds may be quite lengthy.
Each shot will vary in terms of its light intensity due to how much ambient light is coming from your scene at night. In these circumstances, you should shoot a range of images increasing in 10-second increments and see which one is best suited to your vision of the scene.

‘Blue Hour in Bangkok’ by Marcus Burtenshaw, Canon EOS 6D, 15-30mm, 30secs at f/11, ISO 100
10. Bracket your shots
One benefit of shooting several shots is that you can then combine them later to create one overall image that will be well exposed overall and provide a nice palette of colour. This is particularly good at night as it means you can expose for the competing light sources of artificial illumination and the sky. Make sure your camera is set on a tripod and you’re using a remote shutter release to avoid shaking or moving your camera between shots.

‘Singapore Lights’ by Greg Metro, Canon EOS 5D Mark IV, 16-35mm, 2secs at f/9, ISO 400
11. Try a stitched panorama
If you want a seriously epic view of the scene then you take can three or four images and stitch them together in post.
Start on one side of the scene, take one shot and then pan your camera to either the left or right. Make sure the middle section of your first shot sits at the beginning of your next shot. Repeat this step three or four times.
Once you have your final images import them into the pan-stitch software of your choice. Some popular options to consider include:
– AutoPano Pro
– Panorma Stitcher
– GigaPan Stitch
– iPhoto Stitcher

‘Auckland City Night Time Skyline II’ by Chris Pegman, Canon EOS 6D, 70-200mm, 1/6sec at f/9, ISO 200
