Technique Feature
15 Simple Ideas for Forest and Woodland Photography
Forests and woodland are a unique and aesthetic subject for any landscape photographer. We present some words of advice if you’re thinking of venturing out
1. Spend time in your location
As with any photography location, it’s vital to spend time in the area you wish to capture. In the same way a wildlife photographer studies and observes their subject before picking up their camera, you should take some time to simply be in your chosen forest or woodland. Look at the shapes and colours. Notice how each area reacts and changes at various times of the day and in different types of weather. Take a notebook with you and note your observations.

‘The Richness of Nature’ by Krzysztof Tollas, Nikon D7100, 70-300mm, 1/15sec at f/6.7, ISO 100
2. Explore the area
Similarly, you should try and get off the beaten track. Don’t just stick to the pathways. Try and find areas that other photographers would perhaps overlook. Each and every part of a forest will have its own unique qualities. Look for strange arrangements of foliage and trees that seem to have their own character.

‘Woodland Avenue’ by David Hare exposure unknown

3. Get up early
Talk to any landscape photographer and they will tell you the best time to shoot is in the hour following sunrise and the hour before sunset. This is the legendary golden hour when the light is at its most ethereal and beautiful. You will also find low raking light that streams through the trees giving you gorgeous backlit images and a perfect contrast between illuminated areas and deep shadows.
Arriving early at your location also means you may witness misty conditions that are so popular in forest woodland photography. Not only is this an atmospheric condition, it is also a perfect way to diffuse the light of the early morning.

‘Eaton Park (Norwich) by Matthew Dartford, Sony ILCE-7RM2, 35mm, 30secs at f/6.3, ISO 500
4. Don’t rely on the golden hour
However, with so many images taken during the golden hour, it might be nice to see something taken at other hours of the day. While landscape photographers generally avoid midday as the overhead sun tends to flatten out a location, this can work in a forest as the light is diffused by the tree canopies and will give you beautiful dappled light across the forest floor.

‘Into the Woods’ by Alan Coligado, Sony NEX-6, 18-55mm, 1/40secs at f/7.1 ISO 400
5. Shoot whatever the weather
There are no perfect conditions for a forest and woodland area. Every type of weather has something to offer, whether it’s the misty conditions mentioned earlier, expanses of white snow or atmospheric rainfall. Miserable conditions are especially nice in forests as it will give the landscape drama and a folkloric feel.

‘Air’ by Nuno Candido, Nikon D90, 50mm, 1/3sec at f/9.5, ISO 220
6. Shoot with a telephoto lens
It may seem like the obvious thing to want to show off as much of the location as possible, but a telephoto will a good choice if you want to compress your scene and bring your background elements forward. This will keep the composition tight and will fill the frame. A telephoto lens will also help to keep all your verticals straight.

‘The Way of Witches Finger’, Canon EOS 6D, 100mm, 8/5sec at f/13, ISO 100
7. Shoot with a wideangle lens
A wideangle lens’s most obvious virtue here is to give a wider view of the area and to push the background details out to give your area a more expansive feel. One good creative option is to attach a wideangle and look up at the tree canopies. This will create converging lines and make the treetops look both further away and as if they are spilling in from every angle of the frame.

‘Redwoods’ by Heather Allen, Nikon D800, 16-35mm, 1/400sec a f/5, ISO 1000
8. Don’t leave your macro lens at home
If you have one, make sure you carry a macro lens. Forests and woodland are a hotbed of fascinating small details, textures and colours that you may miss if you’re focussed only on the big picture. The thing to remember is to carry a small portable reflector as light conditions will be gloomy at such a small vantage point. You should also consider carrying an off-flash camera.

‘Pine Forest’ by Kris Lucas, Sony ILCE-7, 50mm, 1/4sec at f/2.5, ISO 200
9. Attach a circular polariser to your lens
A polariser is not just a great way for removing reflections from water and glass; it also works as a way to bring out the vivid colours of foliage – greens will be greener and autumn colours will burst with orange and red.

‘The Edge of Light’ by Verity Milligan, exposure unknown
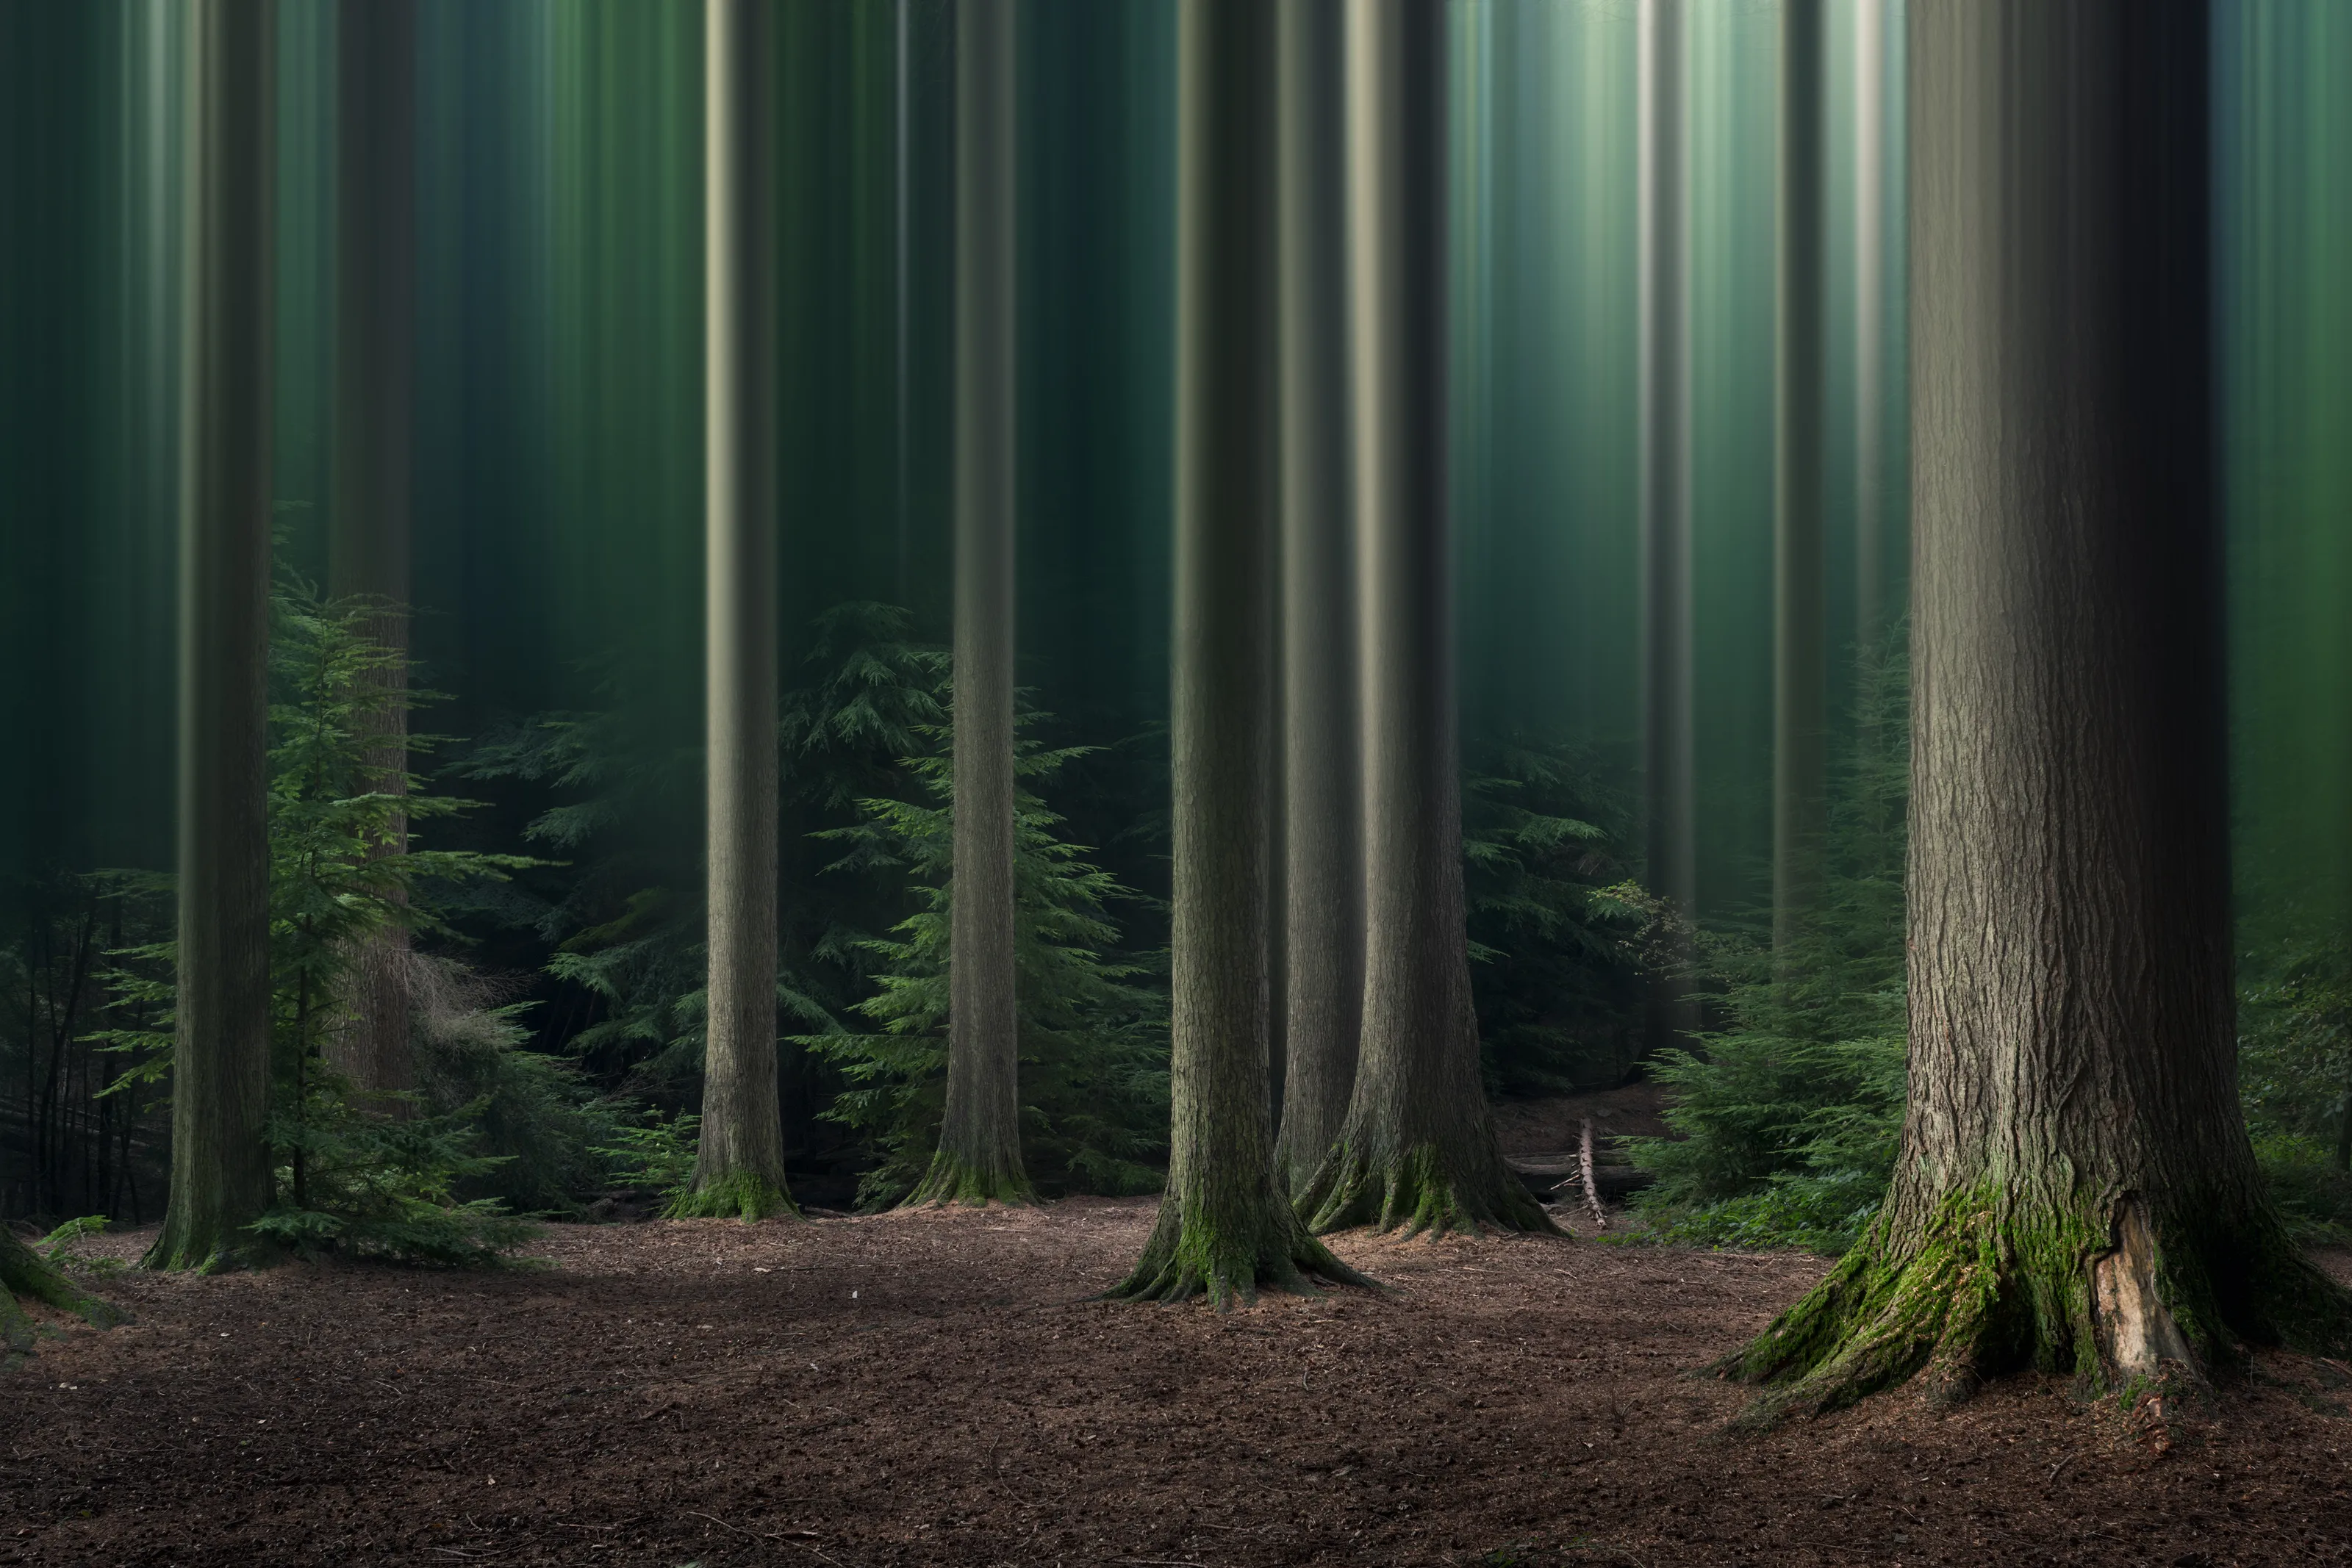
10. Experiment with your shutter speed
There is a popular technique doing the rounds and you can see an example below. This is a result of attaching your camera to a tripod, selecting a slow shutter speed and the slowly tilting your camera upwards. This creates a beautiful and strange painterly quality.

‘Blurred Forest’ by Artur Szczeszek, Nikon D7100, 40mm, 20secs at f/13, ISO 100
11.Experiment with your aperture
Don’t feel that every single element of your composition has to be in focus. A shallow depth of field with just a single foreground feature in focus will give your image depth and add aesthetic value. You can use this to highlight a specific element of your scene and guide your viewer’s attention.

‘Hues’ by Lee Acaster, Canon EOS 5D Mark II, 100mm, 1/400mm at f/2.8, ISO 100
12. Go abstract
Forests and woodland consist of multiple forms, textures and colours. Try and draw attention to these by creating an image that is a little ambiguous. For a full guide to this visit our article by top landscape photographer Lee Acaster

‘Sunblast’ by Matthew Dartford, Sony ILCE-7RM2, 100mm, 1/500sec at f/2, ISO 200
13. Use the natural formations of the area to guide your composition
Forests and woodland are, in terms of formation, relatively simple. Look at any scene and you’ll see that they consist of a series of lines, whether it’s the strong forms of trees or the pathway that leads you through the forest. Look for leading lines to guide your eye through the scene, as in this example below. Be aware of good strong foreground such as a spread of grass or, at certain times of year, a bed of bluebells.

‘Bluebell Wood Morning’ by Peter Orr ARPS, Canon EOS 5D Mark II, 70-200mm, 1/50sec at f/11, ISO 200
14. Take a tripod
While shooting handheld is an option, you are likely to face slightly slower shutters speeds due to thick canopies masking the light. A tripod, particularly one with a geared head, will help you to take your time, finetune your composition and ensure all levels are straight.

‘Thetford Forest’ by Matthew Dartford, Canon EOS 5D Mark III, 70-300mm, 10secs at f/13, ISO 100
15. Leave the area as you found it
Always be mindful of your surroundings. Make sure you pick up after yourself, try not to disturb the location and certainly don’t break off branches and twigs because they’re interfering with your composition. A landscape photographer must, with every step, be a conscious and ethical visitor to all locations.

‘Untitled’ by Matthew Dartford, Canon EOS 5D Mark III, 24mm, 1/5sec at f/9, ISO 100
