We see so many scenes in colour, but perhaps you should consider the expressive qualities of monochrome landscapes. We take a look at some key tips.
1. Be expressive
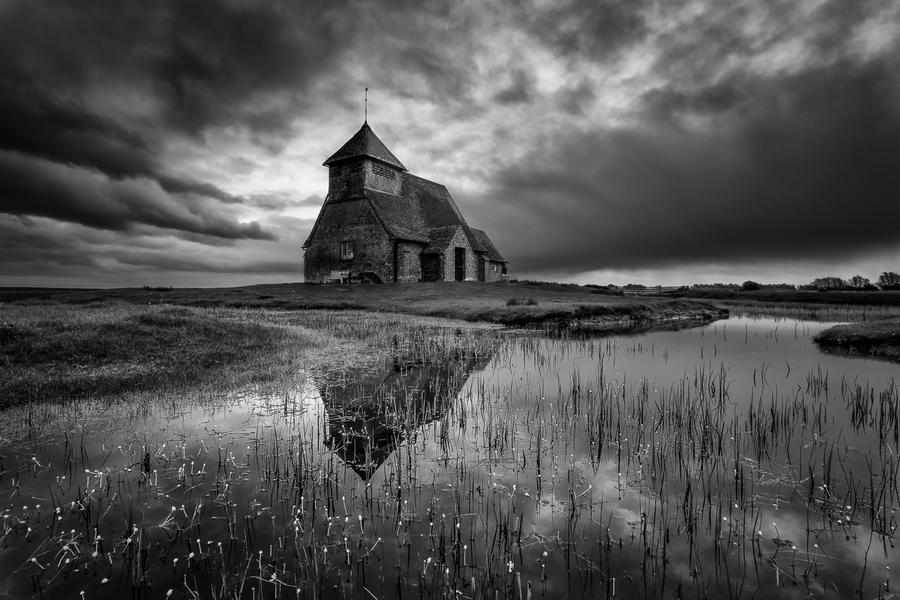
Black & white’s most obvious application is that it inherently feels like a more artistic and emotional expression of the scene. The great black & white landscape photographer, Ansel Adams, described successful landscape images as a ‘matter of feeling’. Black & white allows us access to the inner beauty of a scene and circumvents the distraction and barrier of colour.
‘Church on the Marsh’ by Justin Minns, Canon EOS 5D Mark II, 17-40mm, 1/2sec at f/11, ISO 100
2. Keep it simple
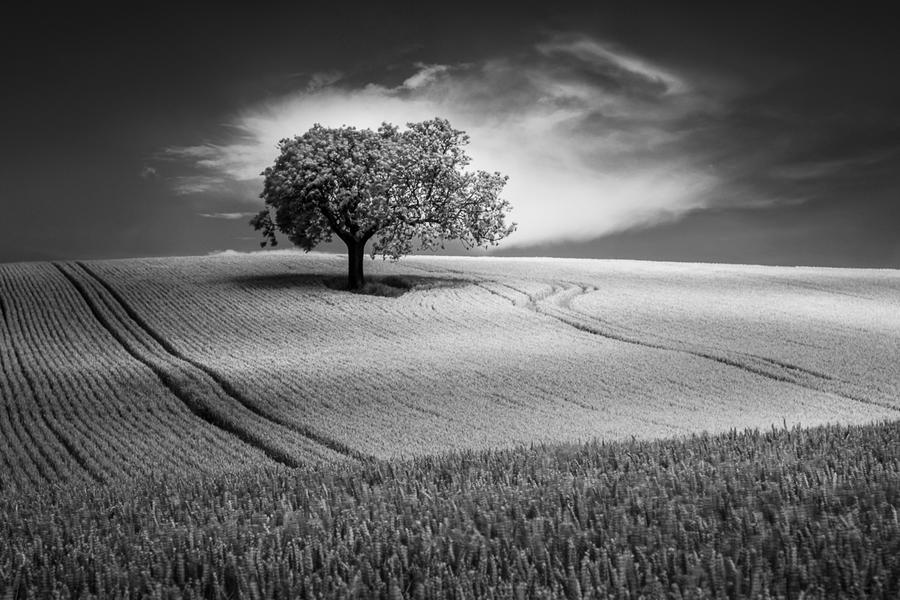
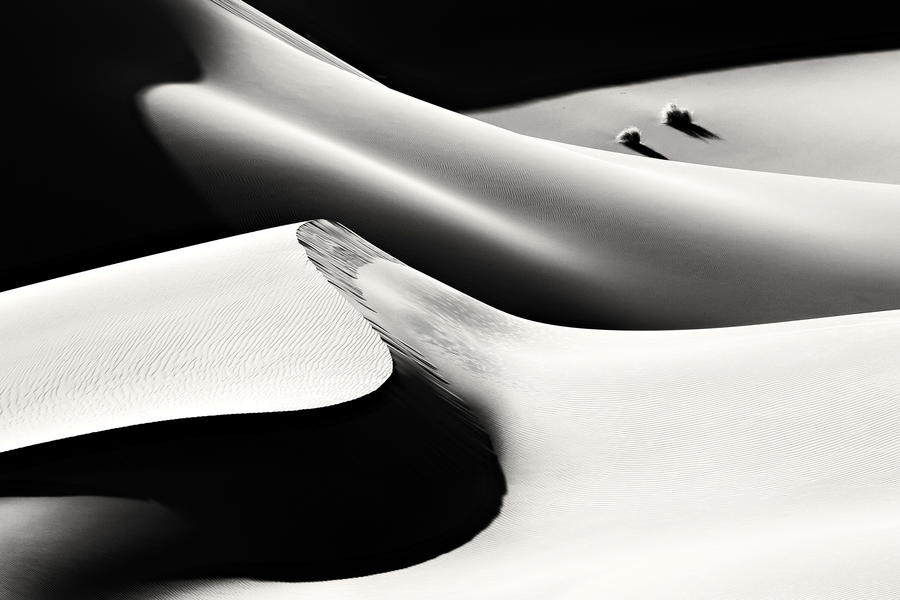
More often than not, landscape photographers fail by simply attempting to include too much in the scene. It’s a simple trap to fall into when you witness a breathtaking landscape and believe that simply shooting it is enough and to include every detail. However, black & white allows you to reduce your scene and instead focus on the simpler and more formal elements of your composition. Rather than looking at a landscape and thinking about how you can include more, think instead, ‘How can I include less?’
‘Light and Shade’ by Justin Minns, Fujifilm X-Pro1, 50mm, 1/3sec at f/1, ISO 400
3. Experiment with long exposures
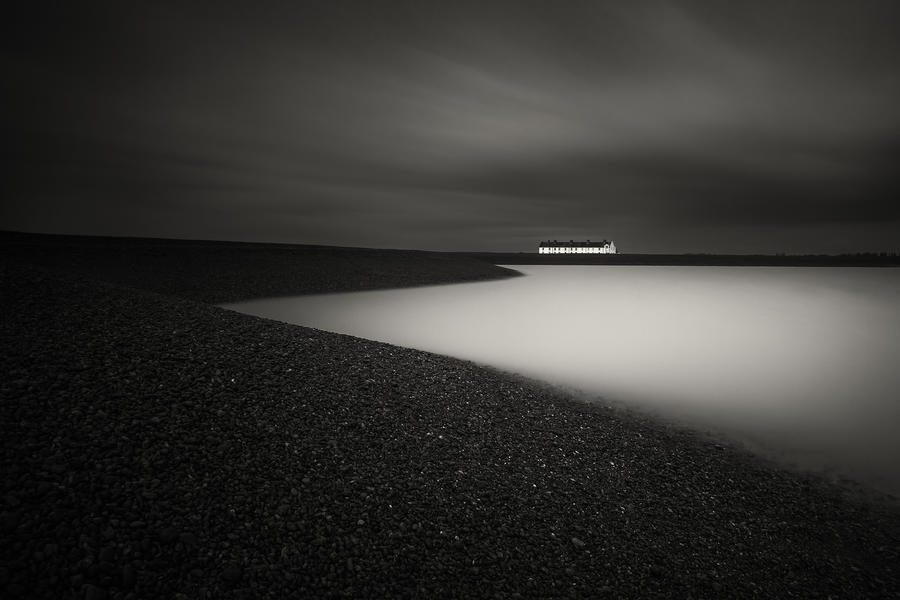
Look through any selection of black & white landscapes and you’ll begin to notice that long-exposure photography is a popular method to experiment with. Lengthy exposures (sometimes several minutes) can work wonders for a scene and reduce it down even more. This can have the effect of making clouds appear as sweeping brushstrokes or the surface of the ocean or a lake look as though it is made of glass.
‘At the Edges’ by Lee Acaster, Canon EOS 5D Mark II, 17-40mm, 180secs at f/9, ISO 100
4. Achieve balance
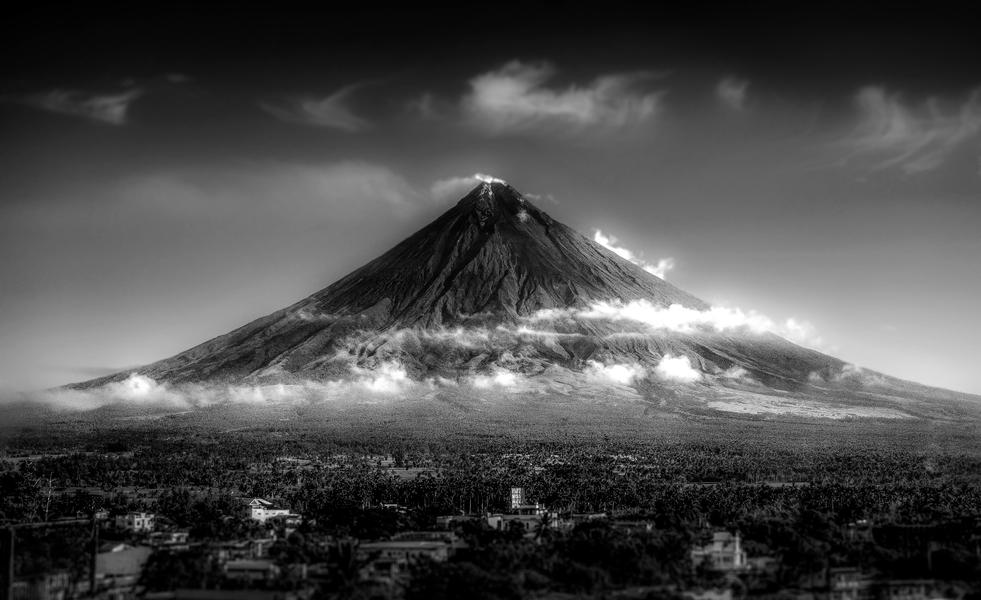
When you begin to see the world in simpler terms, you can begin to get a more intuitive understanding of how particular elements, both compositional and thematic, relate to one another. This works on a more surface level when attempting to arrange your scene (such as leading lines, the golden ration or framing), but you will also notice the more poetic instances; for example, how the rush of waves seems to mimic the sweep of clouds in the sky. These moments of visual synchronicity are not always immediately apparent but with time they will become second nature.
‘The Majestic Mayon Volcano’, Nikon D5100, 18-55mm, 1/400sec at f/4.8, ISO 100
5. Look for the light and dark
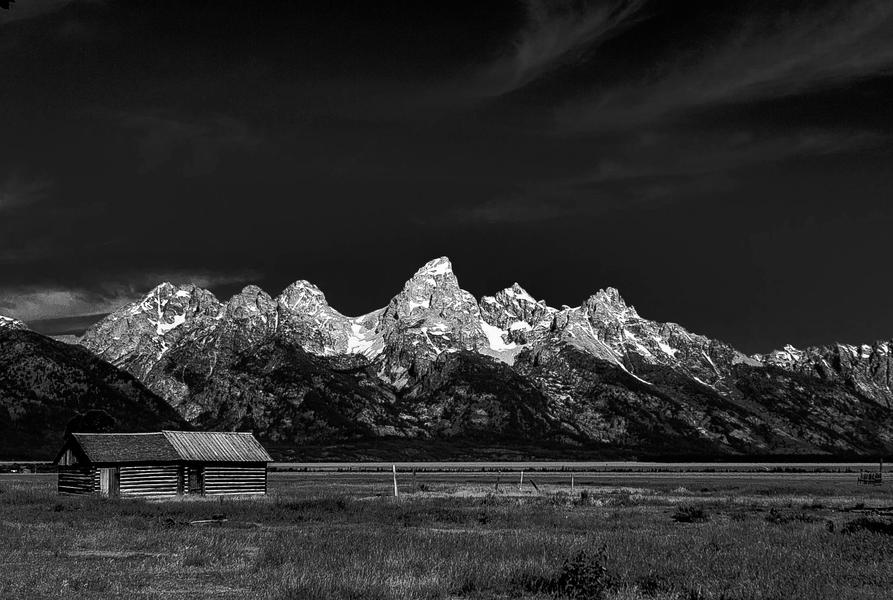
Balance occurs not just in the composition but also in the way in which light appears in your scene. Using black & white to emphasise the light and dark areas of your landscape will give your images atmosphere and a more three-dimensional feel through its tonal contrasts (the variations between the light and dark areas). Notice how a scene changes throughout the day – which areas are thrown into deep, dark shadows and which are revealed beneath splendid light? Revisit a location at various times of day (and year) and see how it changes.
‘Grand Teton National Park’ by Jen Schadoff, Canon EOS Digital Rebel XT, 10-22mm, 1/1250sec at f/4.5, ISO 100
6. Look at the zone system
With time, you’ll begin to identify how areas of light will translate to your image, especially if you put in the time to study the work of Ansel Adams and his famed zone system. This system placed a numeric value on each degree of shade and light, starting at 0 for pure black, through to 5 for middle grey and ending on 10 for pure white with no detail. This meant that even in the trickiest conditions, such as backlighting or extreme tonal contrasts, Adams could meter his scenes accurately and walk away confident he had the shot in his head. This is a method that is crucial for you, even if you’re shooting digitally, so that you can take control of your camera’s manual functions.
‘Life’ by Mohammadreza Momeni, Canon EOS 5D Mark III, 70-200mm, 1/125sec at f/11, ISO 200
7. Pick the season
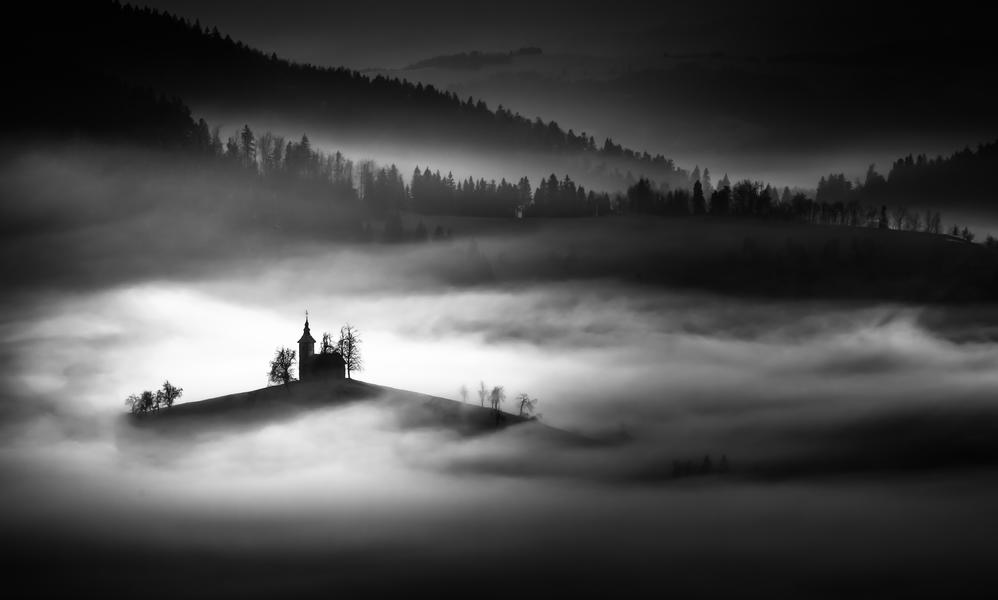
Every season has its own virtues but for the purposes of black & white landscapes, autumn and winter are the real winners. This is when the clouds take on the veneer of marble, the low light offers raking columns of light and dark, and the moody weather lends your scene a dramatic edge. This is also when you’re most likely to find mist and fog, two conditions that will truly elevate your shot (and will also help to diffuse the light).
‘On the Hill’ by Sandi Bertoncelj, Canon EOS 7D, 70-200mm, 1/320sec at f/20, ISO 100
8. Look for distinct textures
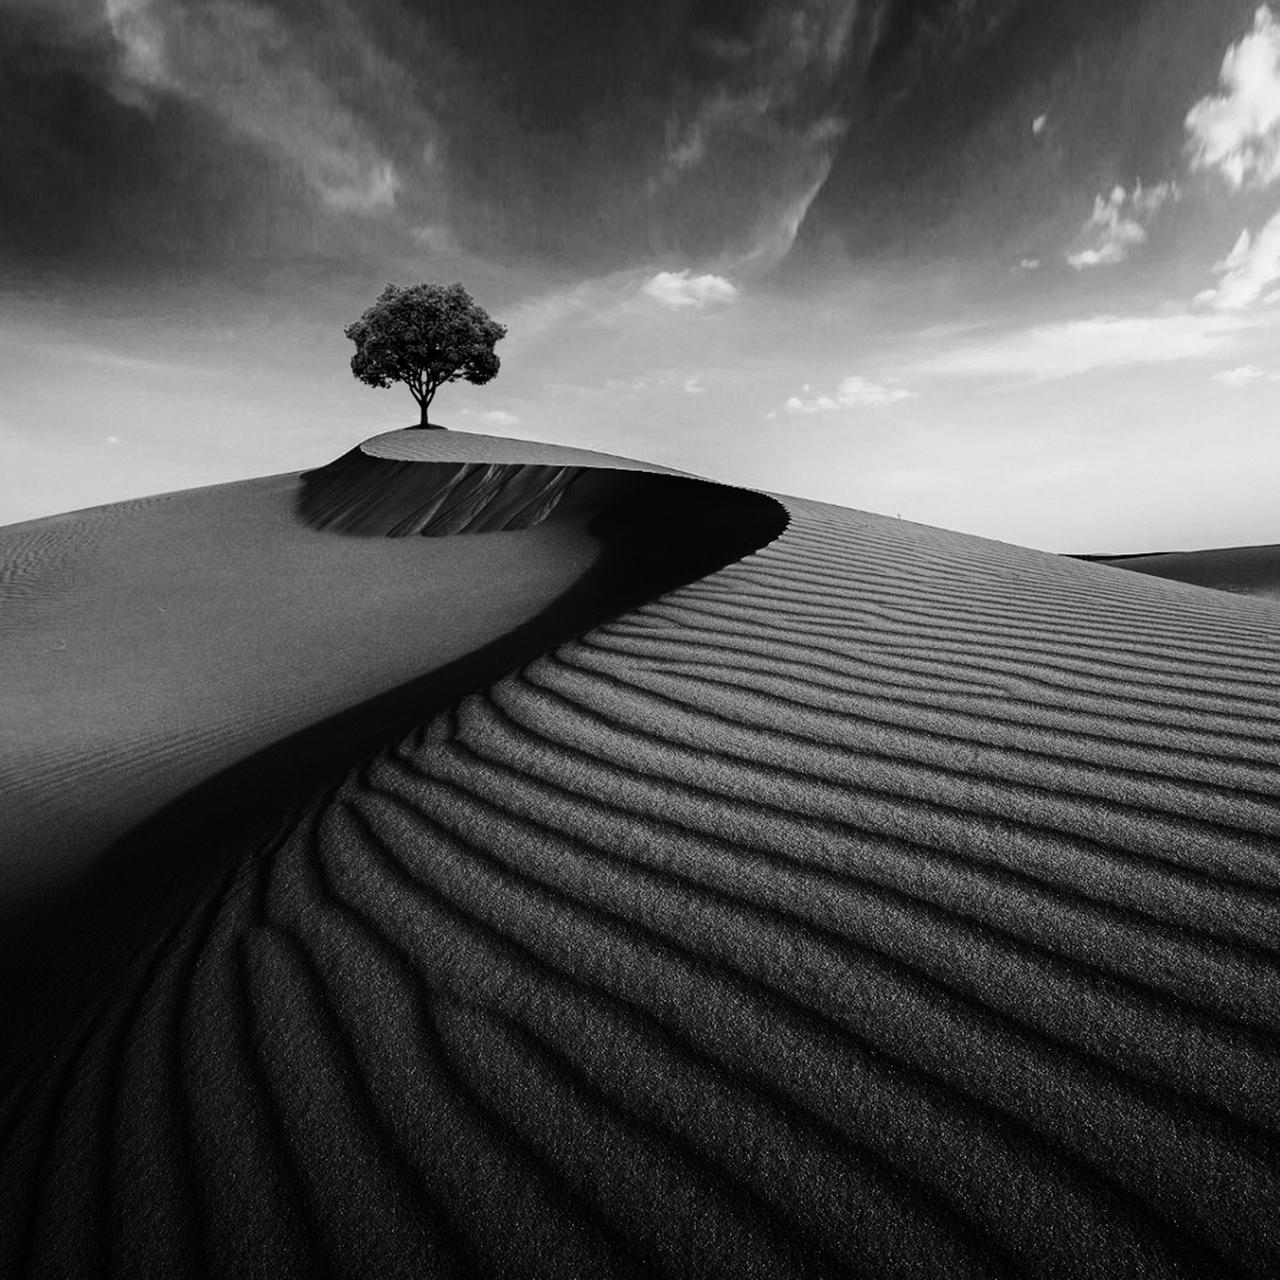
Every landscape is the sum of its parts and this includes the distinct details of its textures and patterns. These can be found everywhere, whether it’s the wind patterns in a desert’s sand or the erosion of a rock or cliff face. Black & white is a perfect way to draw your viewer’s attention to these elements, particularly if you place them with the foreground and use them to lead our eye into the scene.
‘Untitled’ by Hardik Pandya, exposure unknown
9. Shoot in black & white mode
The majority of today’s cameras will possess a function that allows you to set your shooting mode to black & white. You should consider committing to this if you truly want to shot monochrome scenes. In this way, you can see right away if your scenes are translating properly to black & white. It will also be easier to adjust your exposure to better suit the scene.
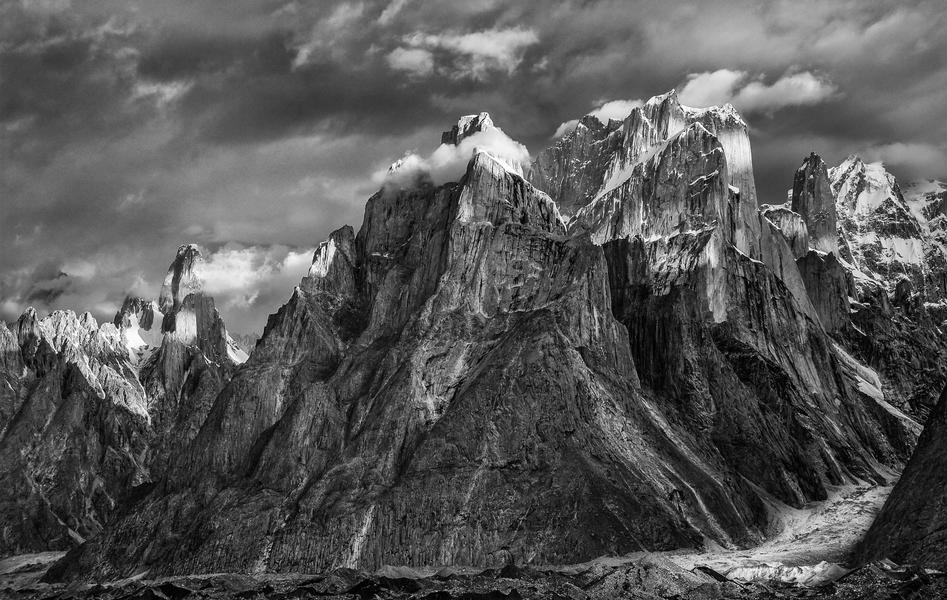
‘Trango Towers’ by George Robertson, Nikon D300, 38mm, 1/200sec at f/8, ISO 200
10. Use filters
For many landscape photographers, filters (polarisers, graduated, neutral density, etc.) are perhaps the key component that allow them to take brilliant black & white images.
A polarising filter, for example, will help to increase the contrasts of your scene (as well as reduce the reflections on the surface of water). If you’re looking to darken a blue sky, then try a yellow, orange or red filter.
You could also consider a graduated neutral density filter, which is clear on the lower half and then gradates into a darker tone at the top. You can get either soft or hard grads which will determine how strong the transition from light to dark is. This filter will help to balance the sky and ground, particularly if your sky is very bright.
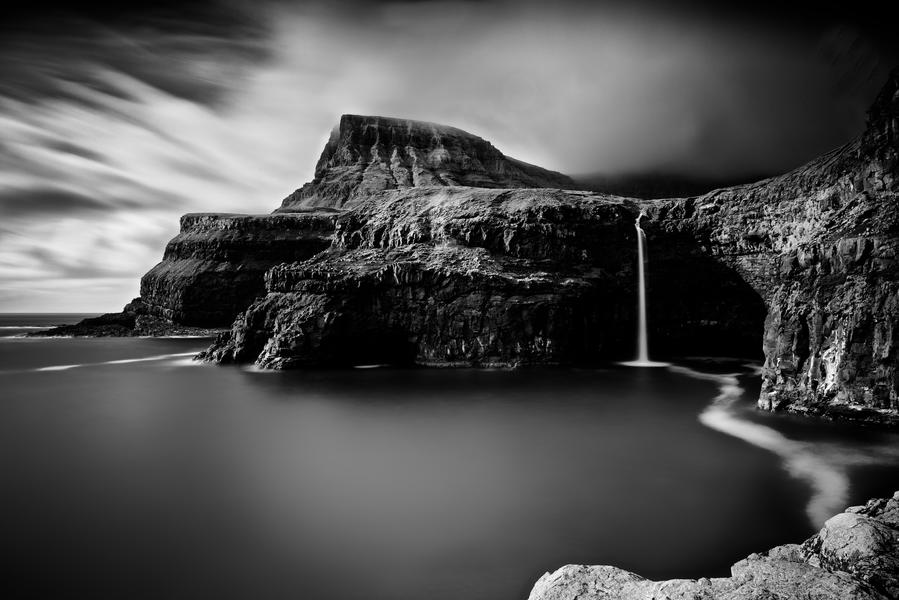
A neutral density filter is used to increase the length of your exposures in order emphasise movement and motion blur. How much blur will depend on the strength of your filter (3, 6 or 10 stops).
‘The Falls at Gasadalur’ by Trevor Cole, Nikon D800, 24-70mm, 997secs at f/14, ISO 63
