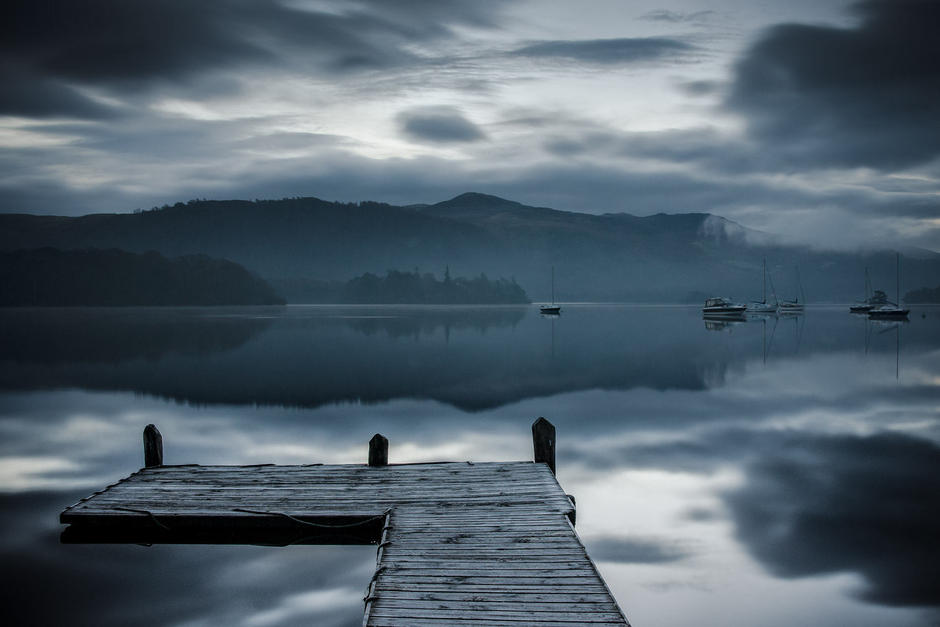
© Alan Ranger
“Landscape photography is the supreme test of the photographer, and often the supreme disappointment.” – Ansel Adams.
This landscape photography guide should help you to reduce the disappointments when making a landscape image. There are of course many variables and often the most important one, light, is not under your control. However, if you implement as many of these 100 landscape photography tips as possible then you will be on your way to more consistent and better quality results.
This guide to landscape photography is also available as a Z-card pocket handbook. The wallet sized pocket guide folds, like a slinky, and fits into a protective plastic sleeve for safe storage in your camera bag. At a pre-launch discounted price of £4.95 this is a must have quick reminder and insightful tips whenever you are on location to use. Top 10 Tips to Better Landscapes.
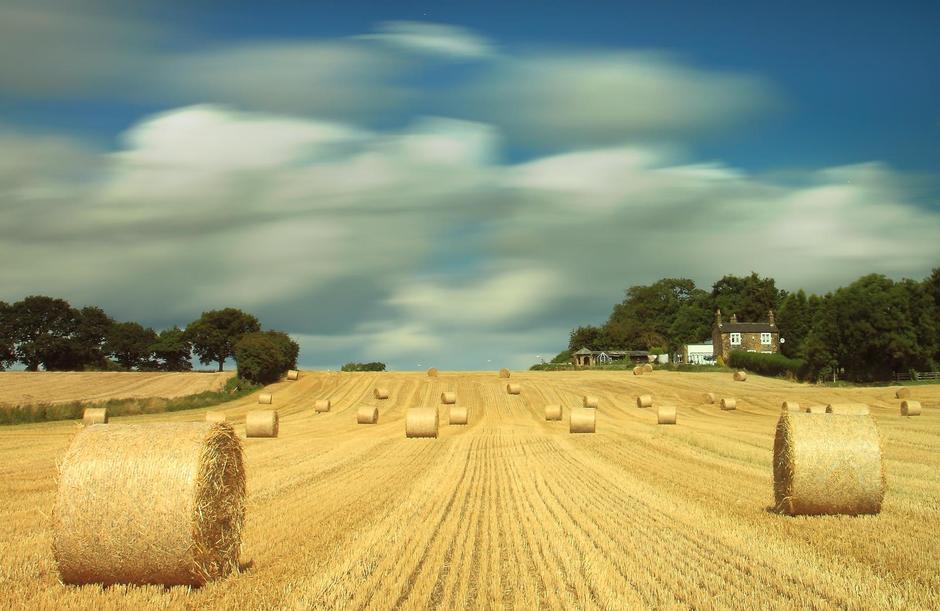
© Nick White
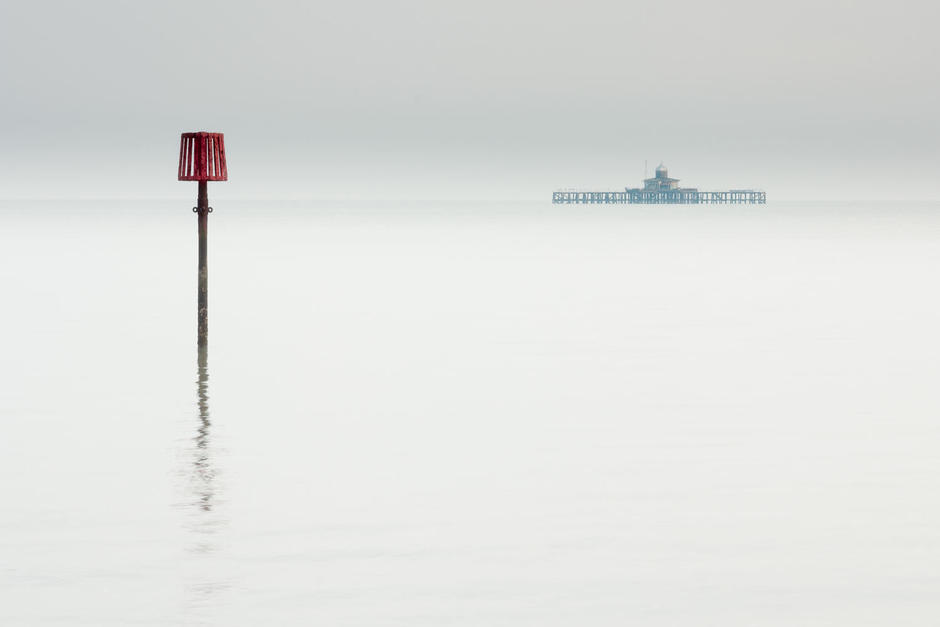
01 Preparation
Plan and have a backup
1) Practise your skills locally first, find a place you can visit easily.
2) Check weather/tide forecasts regularly for conditions that suit.
3) Use the ‘The Photographers Ephemeris’ to check where the sun rises.
4) Research the location and look at photos taken there for ideas and spots
5) Ideally visit a location first, without camera, just to scout the best spots.
6) Prepare a shot list before you go, but be open to adapting things.
7) Stay overnight near the location so you are there early & refreshed.
8) Try to shoot early morning or late evening if you can for the best light.
9) Let someone know where and when you are going.
10) Have a fully charged phone with you, but be aware signal can vary.
There are many things that don’t go according to plan, especially the weather, so be prepared to have a ‘plan b’ and backup locations to shoot at if travelling.
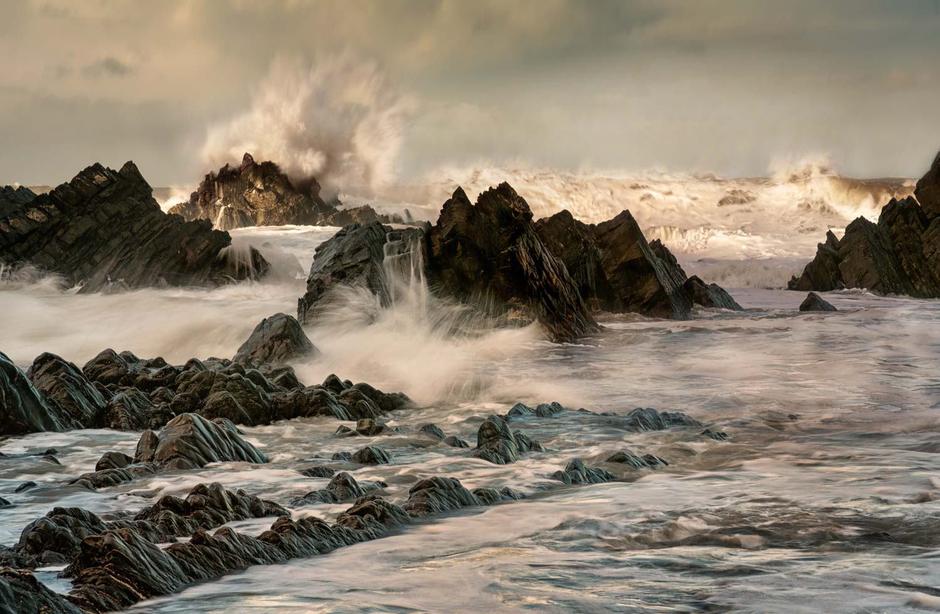
© Alan Ranger
02 Acquisition
Get the right tools for the job
1) Hire a pro lens for the weekend – it will reward you with quality.
2) You need a decent tripod that is versatile and sturdy.
3) You need filters – polariser, graduated neutral density and ND’s.
4) You need a cable release.
5) You need at least one spare battery .
6) You need a large memory card, empty and formatted.
7) You need a kneeling mat for low level shots to cushion your knees.
8) You need a head torch to see inside your bag and where to walk.
9) You need appropriate clothing and footwear for all weather – all day!
10) You need a ‘Hoodman Loupe’ so you can see your photo on the LCD.
The equipment list is extensive and expensive so where you can, borrow, hire or purchase over time and invest in the best you can afford each time.
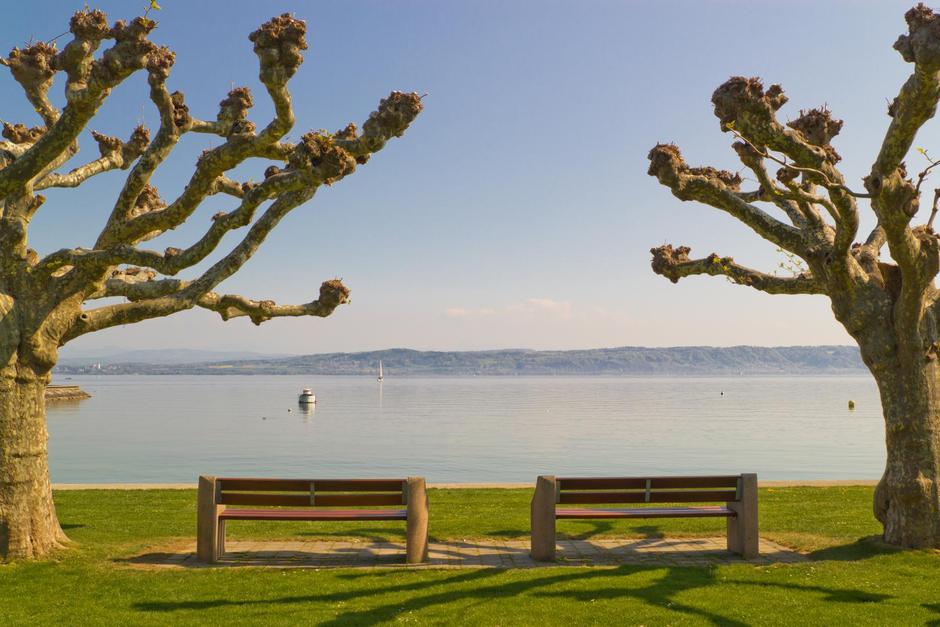
© Colin Brown
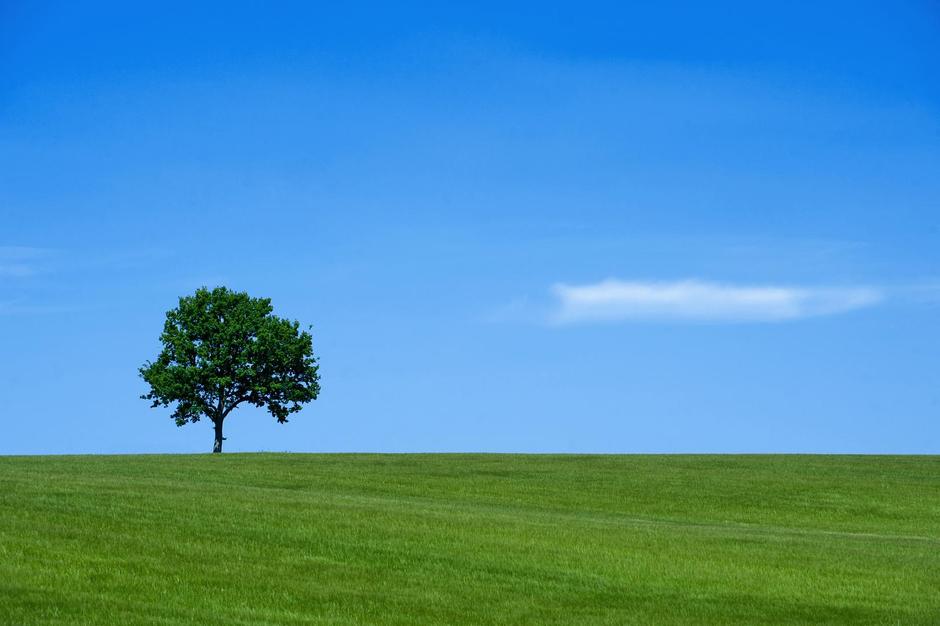
03 Observation
Take time to get in the zone
1) Start off without your camera – just use your eyes to look.
2) Look at what catches your attention and why.
3) Look for a focal point to anchor the eye in the shot.
4) Look for foreground interest.
5) Look for leading lines and direction flows.
6) Look for patterns, symmetry and tones in the scene.
7) Look for contrasting or complimentary colours and textures.
8) Look whether to include or exclude the sky.
9) Look for potential movement and how to capture or freeze.
10) Look for direction of light – try to get sidelight.
When you arrive on location, unless there is some amazing photo opportunity immediately, take the first 20 minutes to just observe and get yourself into the zone. Look for potential shots before you get your camera out of the bag.
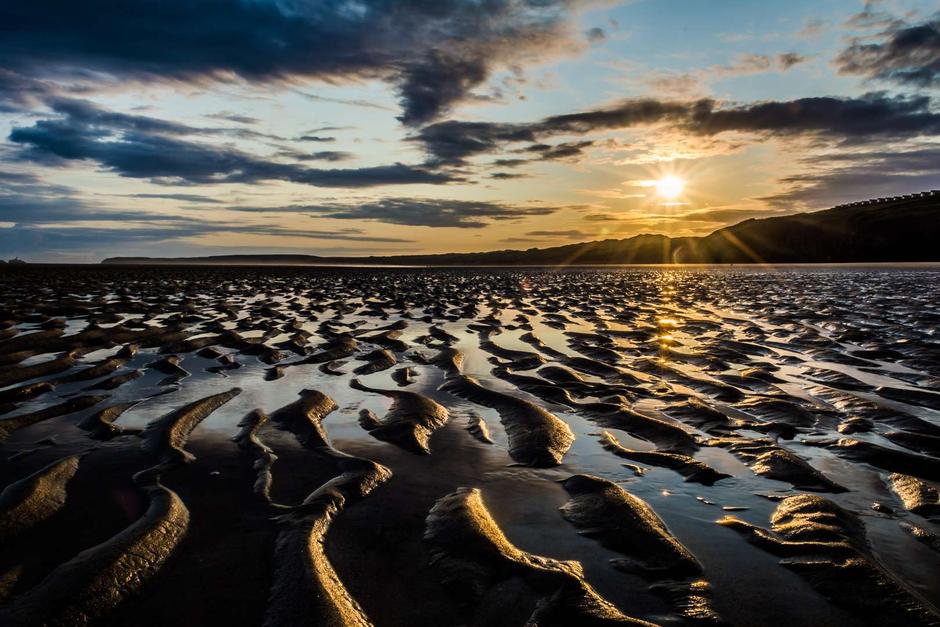
© Alan Ranger
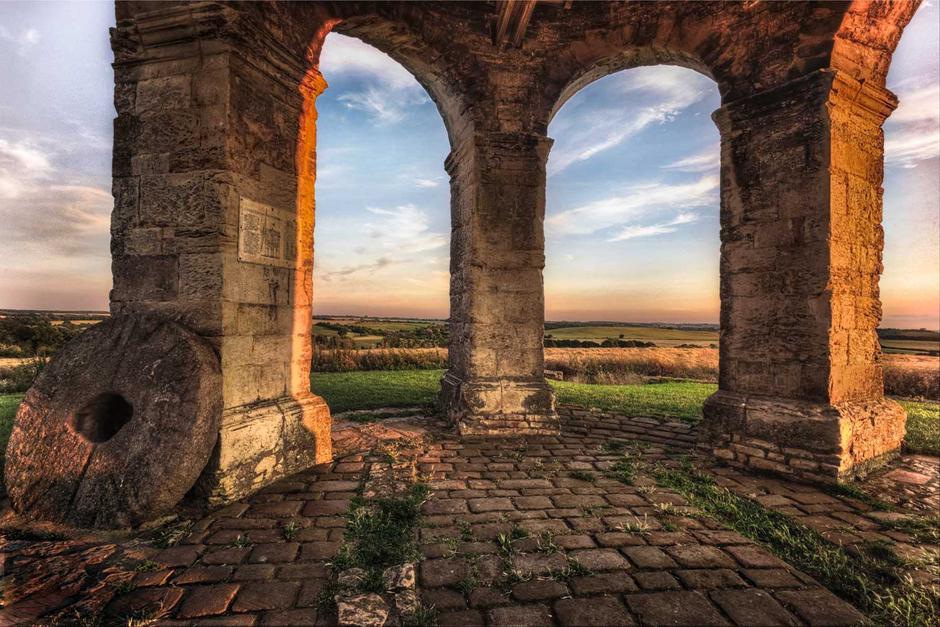
04 Execution
Start naked
1) Reset camera settings.
2) Use a tripod.
3) Turn off image stabilisation.
4) Take a custom white balance.
5) Set camera to AV/A (aperture priority).
6) Start with Aperture F11 but be prepared to change.
7) Focus one third into the scene or calculate hyper focal distance.
8) Remove all filters – let the lens be naked.
9) Use a cable release or 2 second self-timer and or mirror lock-up.
10) Take your test shot.
Lenses are at their sharpest without any filters or other glass in front of them, so start with a naked lens and only dress the lens (add filters) when required – use as few filters as possible rather than stacking to many together which will also cause vignette.
© Brian Kirby
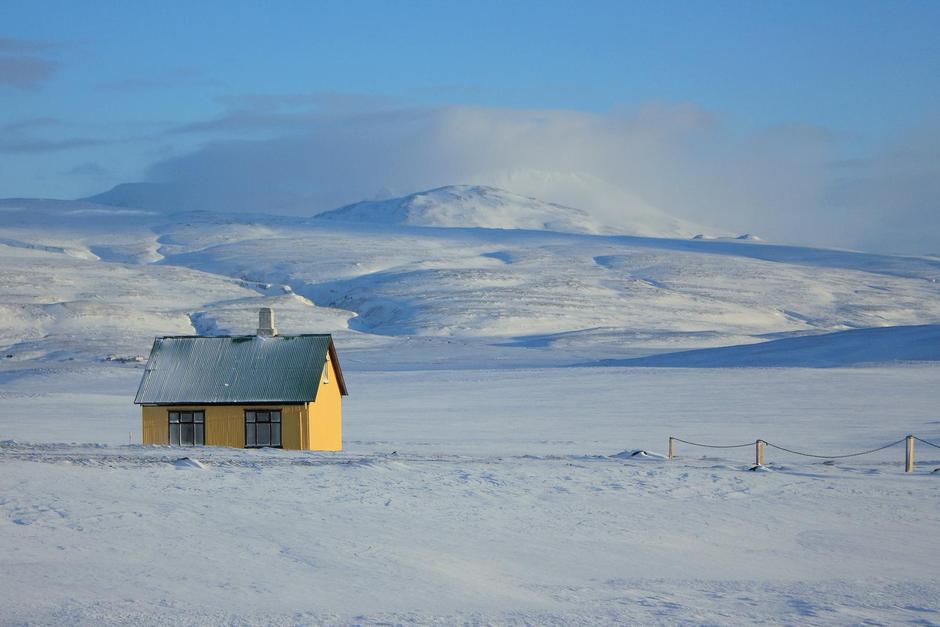
05 Validation
Evaluate and check again
Review your shot and check for:
1) Wonky horizons.
2) Empty or fussy foregrounds.
3) Intruders on edges of the frame.
4) Poor composition – no narrative and intention.
5) To much in the scene – not simplifying the picture.
6) Blown out or dull sky.
7) Image sharpness and depth of field.
8) Clipped shadows or blown highlights - histogram.
9) Over use or wrong position of graduated neutral density filters.
10) Flat or dull light.
You can’t fix all these things at home – so get it right in camera!
© PHJulien
06 Variation
Experiment and be patient
1) Use filters to improve the exposure and dynamic range.
2) Experiment with aspect ratio – landscape/portrait and 16:9/3:2/4:3.
3) Point of View – change your position to change angles and perspective.
4) Look for potential changes in weather and light.
5) Shooting on the edge of a storm are often the best conditions.
6) Change lenses and focal lengths to vary perspective.
7) Don’t just shoot the big vista, look for smaller scenes and shots.
8) Be prepared to be disappointed – sometimes the light just doesn’t work.
9) When one exposure isn’t enough – focus stack using lens sweet spot.
10) Stay put – the best images come from being patient and ready.
It’s natural to think once you have nailed a shot you need to move onto another. However I have learnt through experience and patience that the best shot often materialises when I have remained in the same spot and waited for the right light and conditions to emerge.
© Lawrence Hookham
07 Inspiration
When things don’t work as you expected  1) If it’s windy try and use your body as a wind break for the camera.
2) Always use the lens hood to prevent ‘flare’ and light reducing contrast.
3) Don’t rely on autofocus alone, use single focus points or manual focus.
4) Don’t use apertures past F16 unless you need to slow your exposure.
5) Shoot in RAW so you can capture the best digital data possible.
6) Be original and don’t just shoot the obvious shots - experiment.
7) If it’s not working then fill the frame - only include what’s necessary.
8) If you don’t own graduated neutral density filters you can bracket.
9) Don’t be afraid to make mistakes, we need the negatives to develop.
10) Give yourself mental breaks from the camera - go back to observation.
This may sound odd to some people, but sometimes to get myself in the zone and clear my mind I put my earphones in and listen to music to help me become inspired – just make sure you pick something appropriate to listen to that lifts you and helps you to sense.
© Alan Ranger
08 Simplification
Less is more
1) Can you restrict your composition to just 2 or 3 elements.
2) Have you left enough space to allow subjects to breathe.
3) Do subjects stand in their own space - no overlapping or colliding.
4) Zoom to isolate subject and compress distance.
5) Go minimalist – sometimes the best images say the least.
6) Look for layers in the landscape – prominent or subtle.
7) Look for simple symmetry, patterns and lines – use space.
8) Look for texture and focus differentiation to emphasise subjects.
9) Make sure you image tells a story or shows intention clearly.
10) Subject + Composition + Lighting - are the 3 tenets of an image.
Simplifying shots is often the turn key to becoming a better photographer and making photos with more impact and appeal. It takes time for your eye and mind to see the extraordinary in the ordinary so been patient and persistent but always keep it simple.
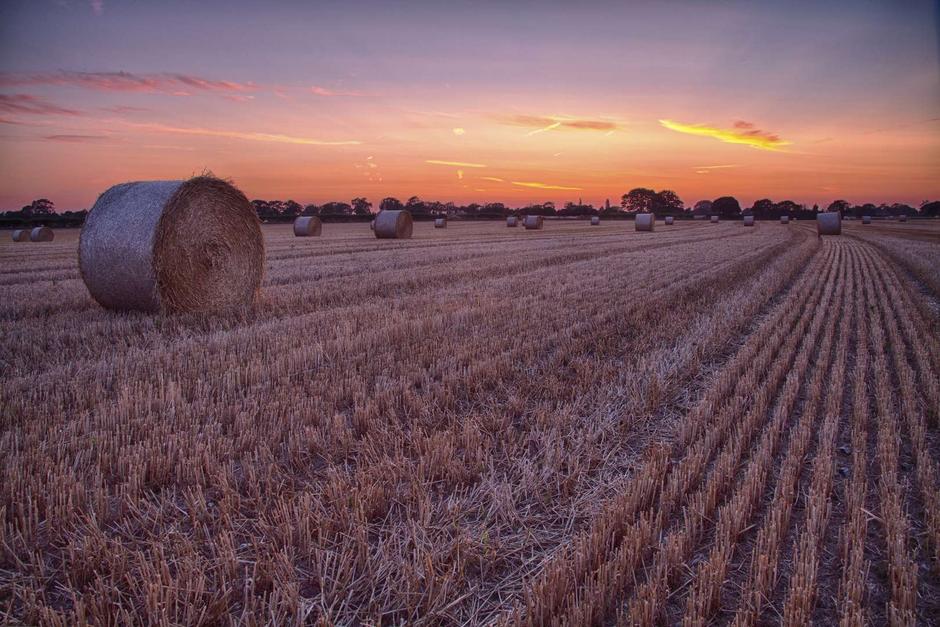
© Mark Stimpson
09 Repetition
Return to the same spots
1) Shoot throughout the seasons.
2) Shoot at different times of day.
3) Shoot in different weather.
4) Shoot in different positions.
5) Shoot with different a lens.
6) Shoot in different styles – macro, abstract, vista, mono...
7) Shoot with different intentions and moods/
8) Shoot with an open mind and fresh approach every time.
9) Give yourself a project to photograph the same place every month.
10) Find a local location and own it – make it yours.
Returning to the same location time and time again will really improve your eye and techniques. The familiarisation of the subject will enable past mistakes to be avoided but also challenge you to look for new and fresh ways to photograph at the location each time.

© Alan Ranger
10 Adjudication
Does your image tick the boxes?
1) Does the image convey the photographers intention?
2) Does the image grab your attention and hold it?
3) Does the image appeal to any senses?
4) Does the image focus on one simple element?
5) Does the image show an original view or unique perspective?
6) Does the image make the best use of light and shadows?
7) Does the composition lead the eye around the frame?
8) Does the image make use of forms, pattern, textures and tones?
9) Does the image avoid loss of details in the shadows and highlights?
10) Does the image show sharpness & depth of field appropriately?
Critiquing your own images is always hard because we become ‘emotionally’ attached to the subject and situation. There are no hard and fast rules for good & bad images but trying to be objective and ‘judge’ an image’s merits or flaws can help all of us improve.
Alan Ranger is an award-winning landscape photographer. Check out his website here.
There are 6 other Pocket Guides in the series: