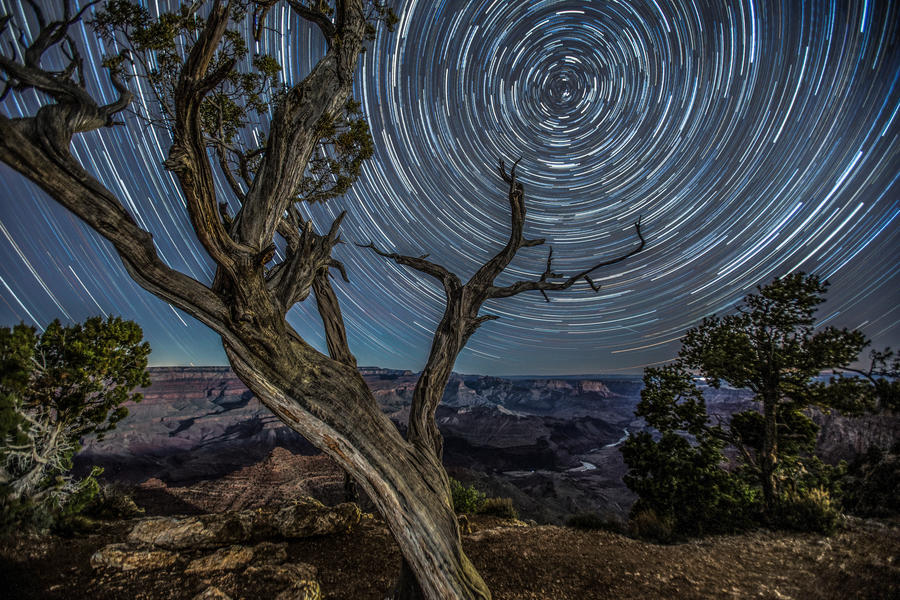
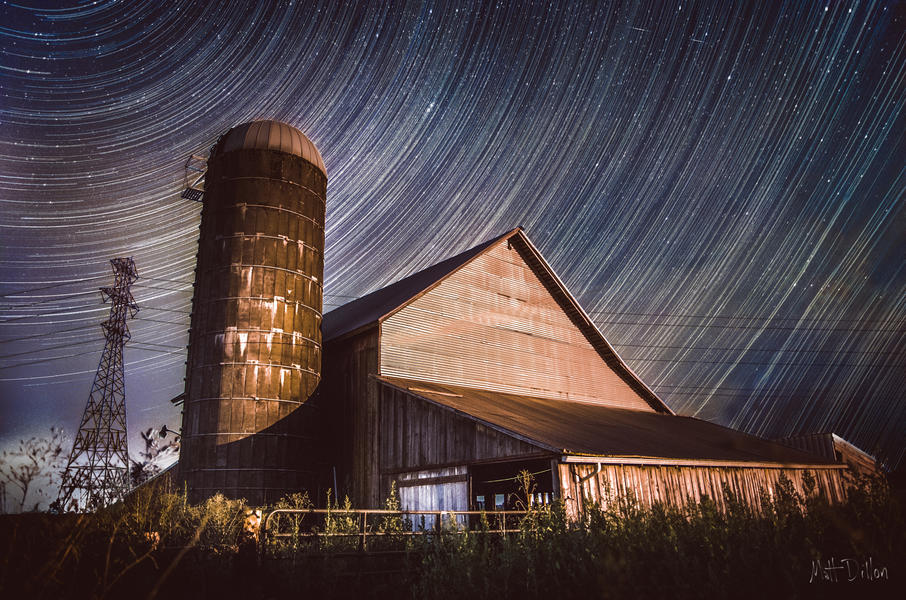
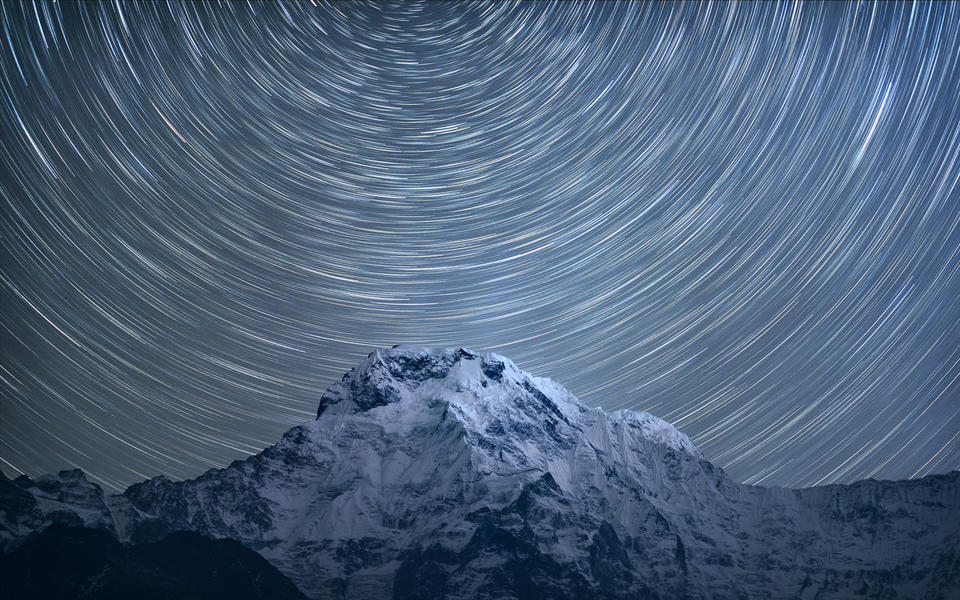
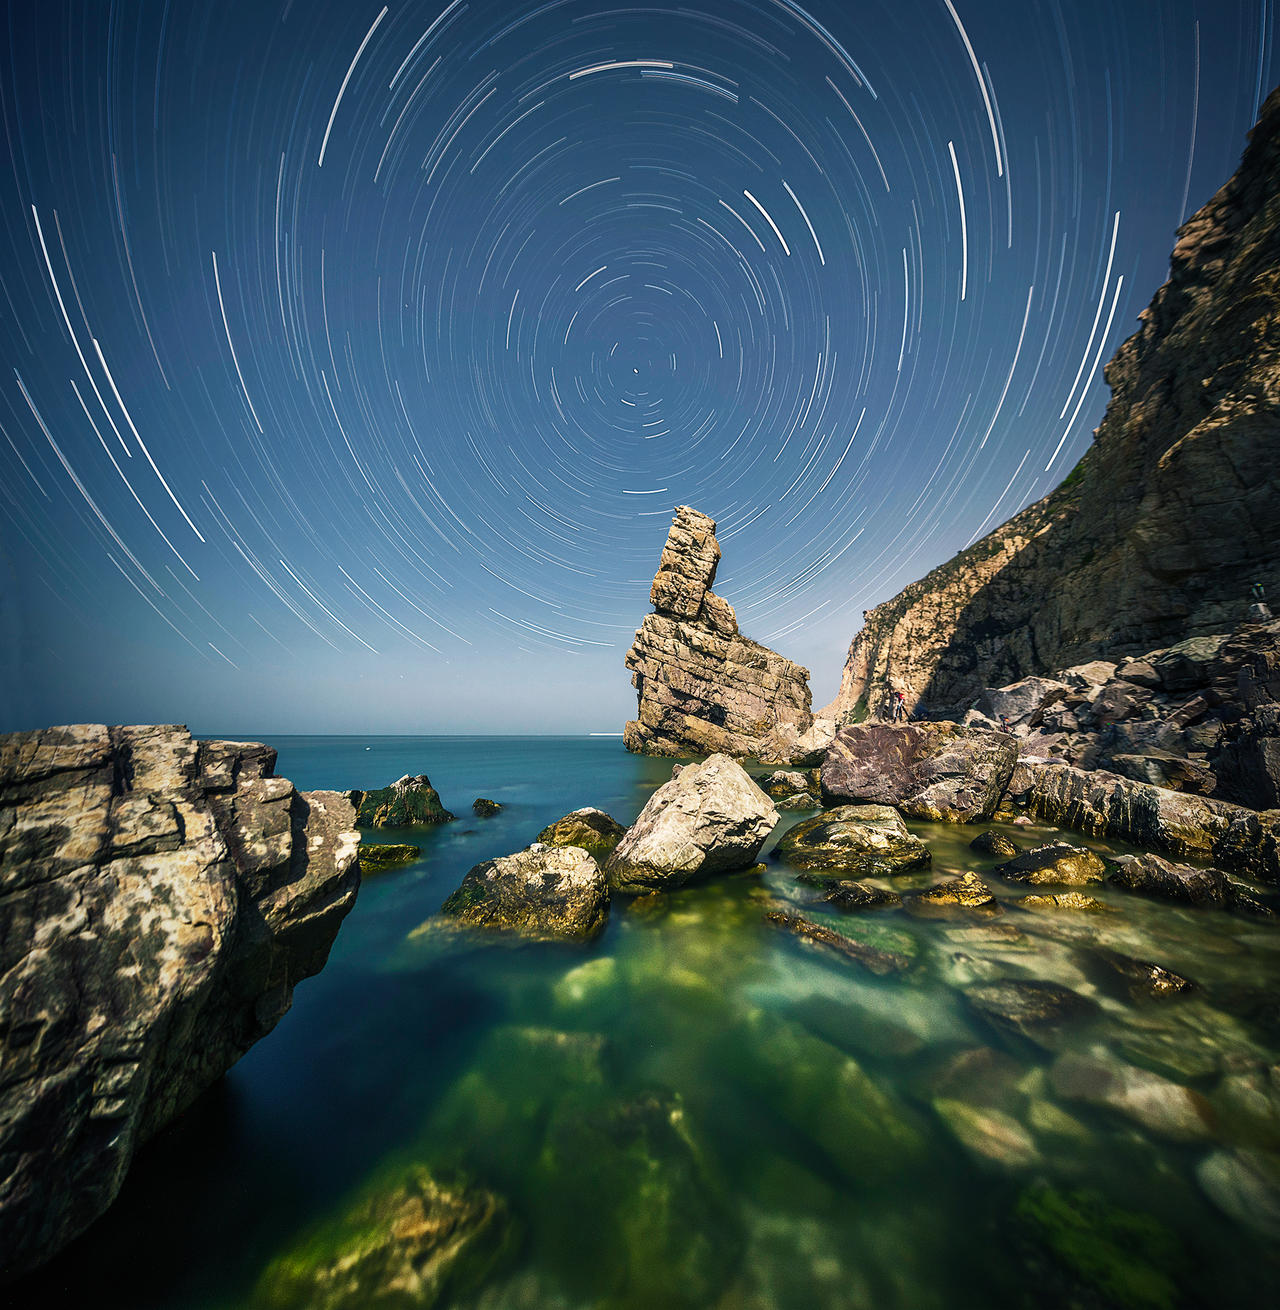
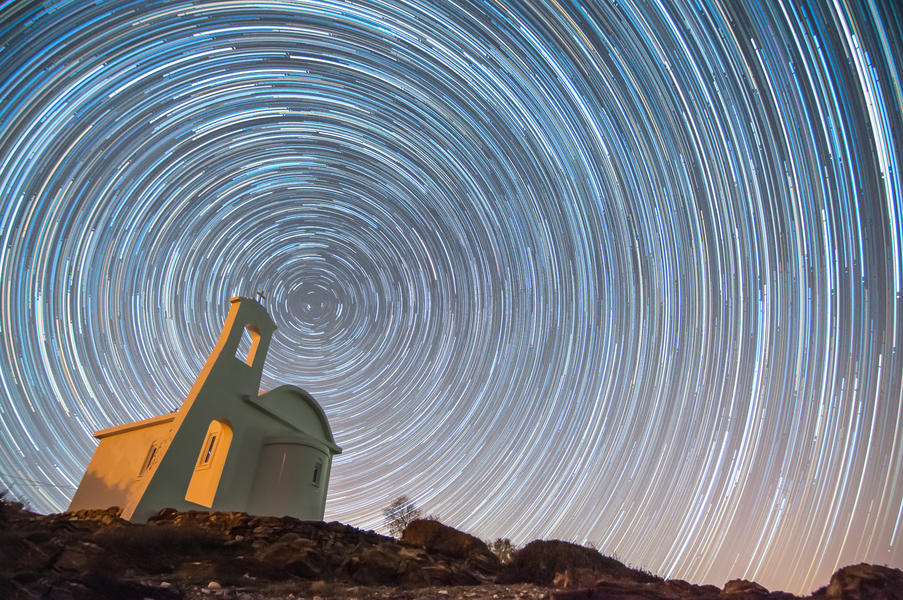
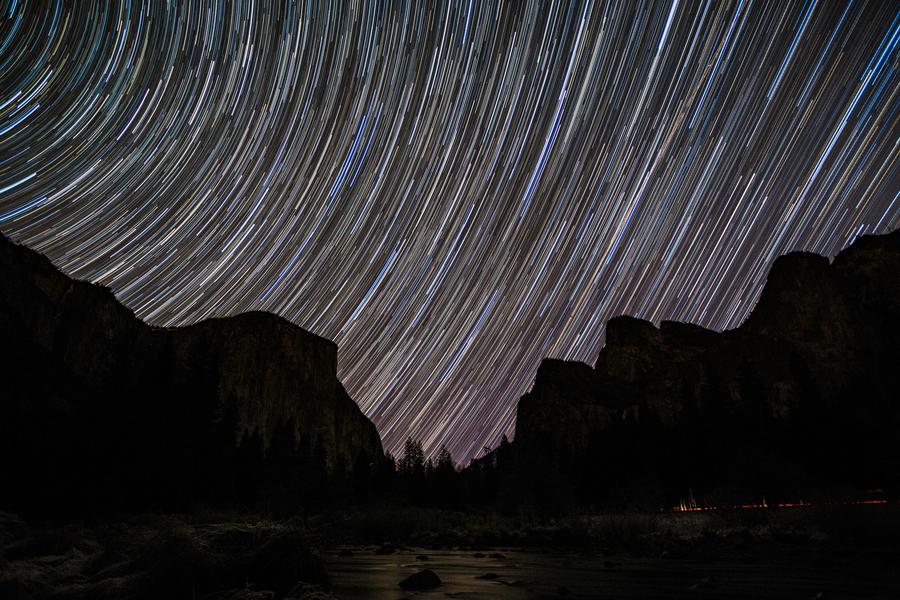
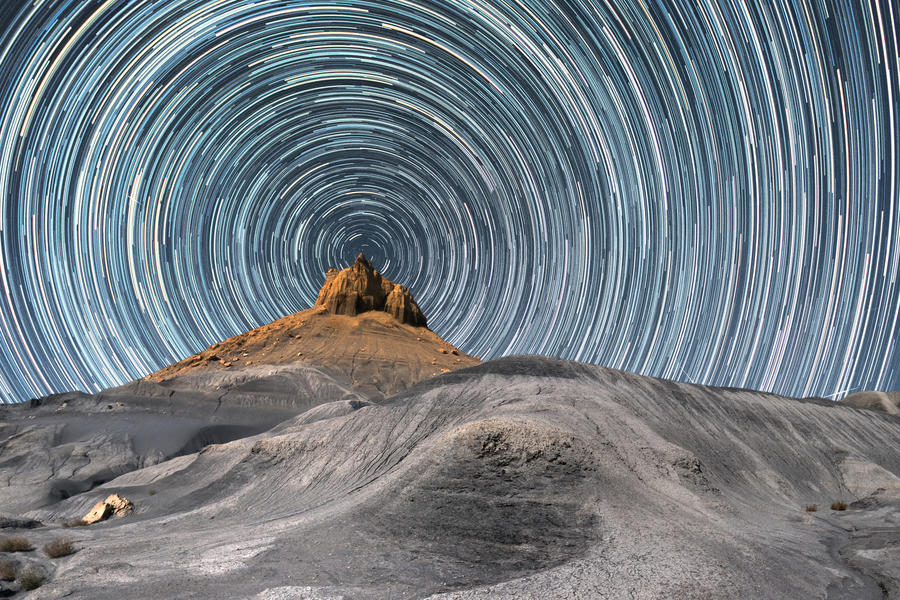
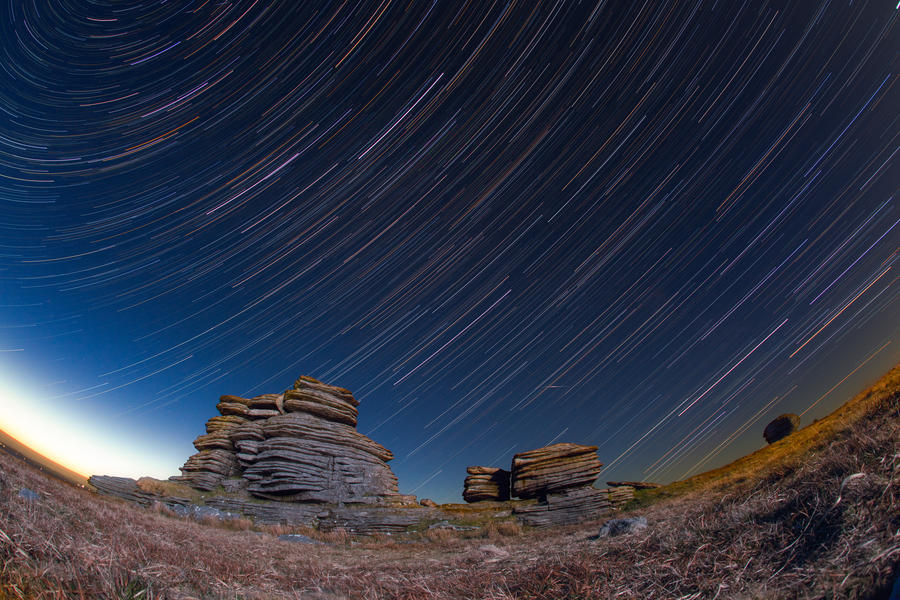
Star trails are a beautiful way of achieving epic images at night. We take a look at the most basic things you’ll need to think about when venturing out into the landscape.
In a previous article, we looked at how to shoot landscapes at night and saw some of the basic techniques that allow you to shoot epic vistas beneath static blankets of stars and the Milky Way. In this brief feature, we’ll see how longer shutter speeds can ensure the stars appear as long sweeping arcs of light that stretch across the night sky. Star trails can lead to dynamic and beautiful images and is a technique well worth mastering to give your work an edge in the numerous night sky competitions.
‘Star Trails Over the Grand Canyon’ by Chuck Claude, exposure unknown
1. Find the best location
No matter where you live, it can seem near impossible to find a location that doesn’t suffer from light pollution from cities and roads. However, there are some handy websites out there to help you. One is from the International Dark Sky Association. This website includes a guide for finding the nearest place to your location that is far enough away from light pollution so that you can see a good coverage of stars.
Another good option is the always popular The Photographer’s Ephemeris. This will give you a graphical representation of light pollution, which will define how bright the stars will be using topographic and satellite images.
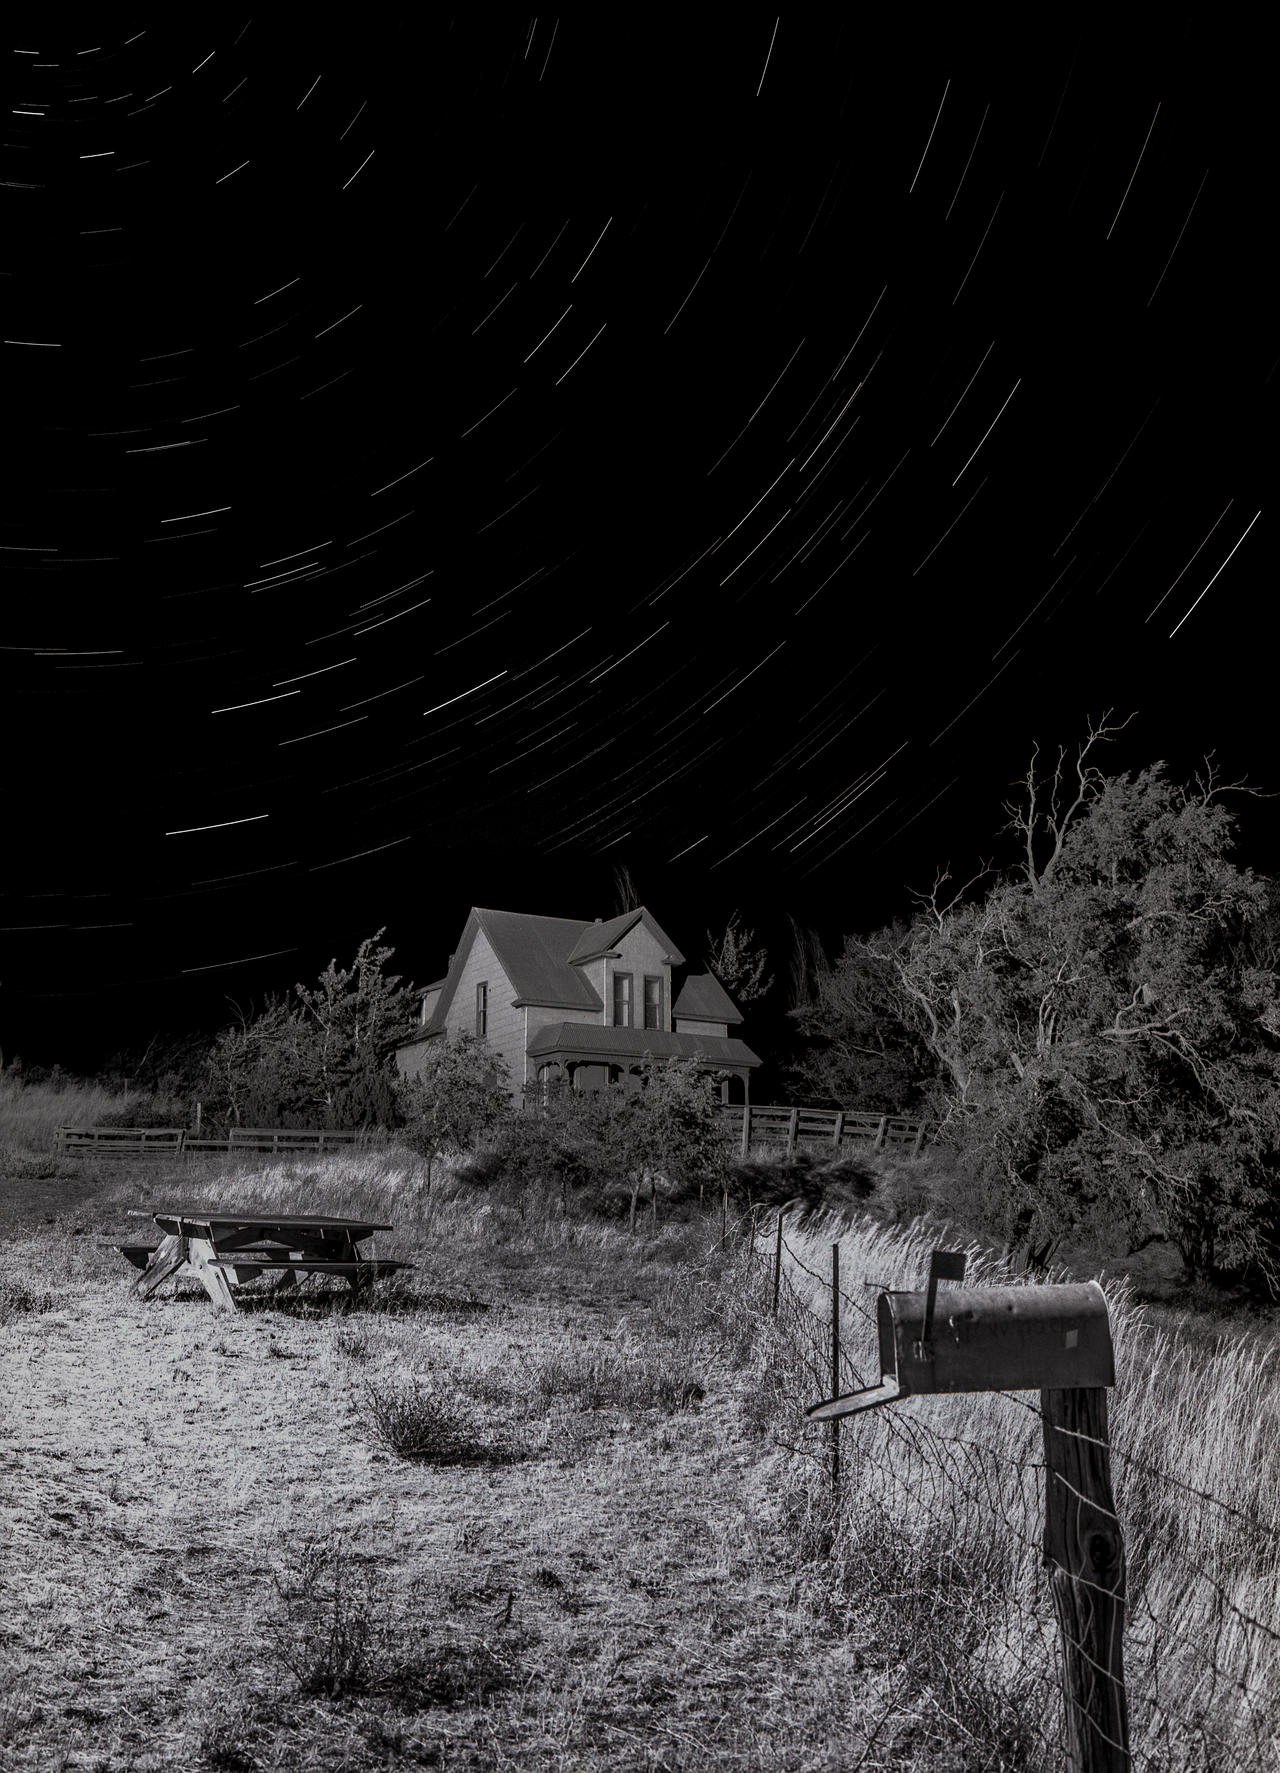
‘Stars and a Barn’ by Matt Dillon, exposure unknown
2. Check the weather
The last thing you want it to turn up at your location and find that the skies are obscured by thick banks of cloud (a particular issue in the UK) so make sure you do a thorough check of the weather and cloud coverage using one of the numerous weather websites or apps that are available.
‘Annapurna Star Trails’ by Michael Agus Tum ewu
3. Beware the moon
One other source of illumination to be aware of is the moon. Ideally, you’ll want to shoot when the moon is at its least visible as this will make the stars brighter. Again, you can use the Photographer’s Ephemeris as mentioned above, to see the moon’s phases. This gives you a clear picture of how visible the moon will be in both the Northern and Southern hemispheres.
‘Star Trails Over the Moonlit Sea’ by Haitong Yu
4. Take a tripod
As you’re going to shoot using prolonged shutter speeds you’ll want a sturdy tripod. Handheld is not an option. Make sure your tripod is of a decent build as even the slightest breeze can ruin an otherwise excellent shot.
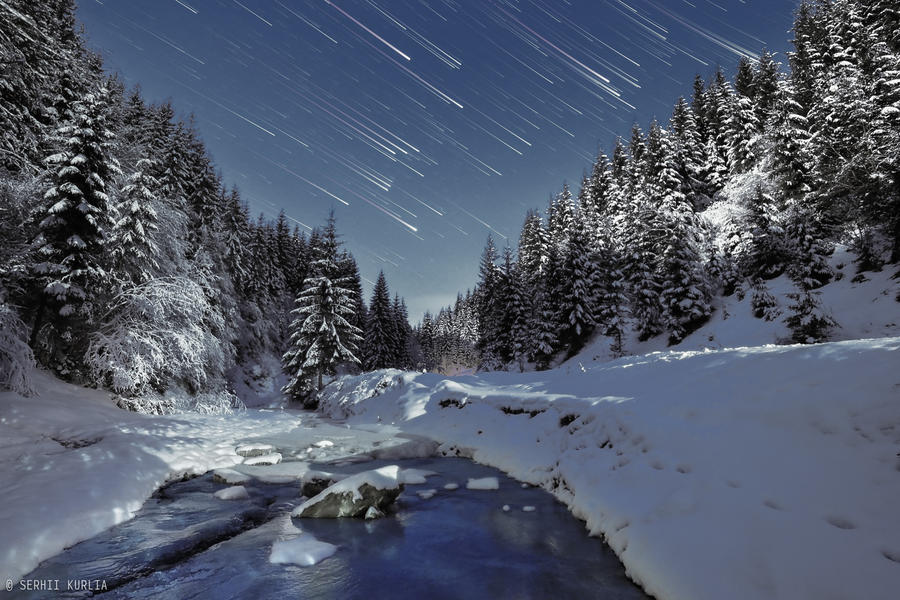
‘Mystery Night’ by Serhii Kurlia
5. Get a remote shutter release
Rather than risking camera shake by manually pressing the shutter, invest in a remote shutter so your contact with the camera body remains minimal.
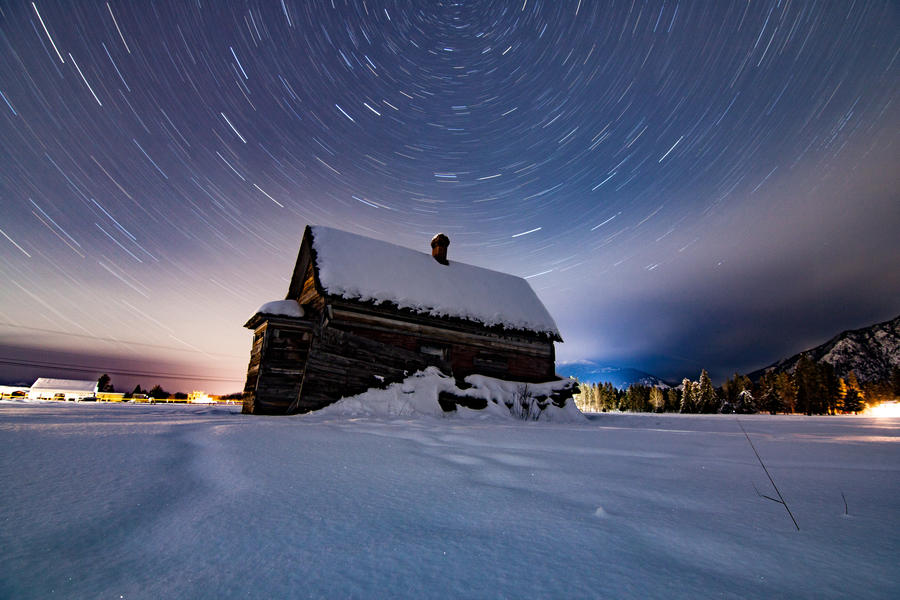
‘Snowy Barn Star Trails’ by Drew Leiterman
6. Shoot raw
Regardless of what you’re shooting, you always set your camera to shoot raw files. Raw files give you ample scope when importing your images to editing software and will mean your images are of a much higher quality.
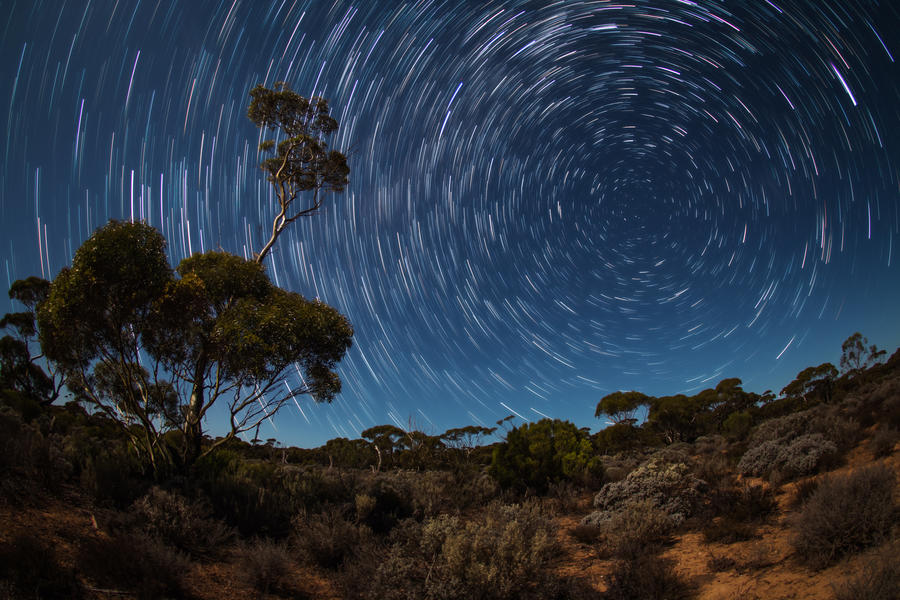
‘Caiguna Hinterland’ by Christoph Schaarschmidt
7. Shoot in manual mode
In other circumstances, your camera’s shutter or aperture priorities would be the go-to mode. However, with star trails, you want maximum control over your settings. That means setting your camera to manual so you can easily adjust shutter, aperture and ISO.
‘I Can’t Sit Still’ by Gary Sanders
8. Focus your lens for infinity
If you look at your lens you’ll see that it carries an infinity symbol (∞). As the stars are so far away in relation to where you’re standing on earth, this will be a perfectly acceptable lens setting. It’s may not necessarily be exact but it’s your best bet. Once you’re happy with your focus, lock it down so there’s no chance of it being accidentally knocked and adjusted.
‘Trails Over the Temple’ by Grigoris Koulouriotis
9. Set your aperture
There’s no exact agreement on which is the best aperture for shooting star trails but most seem to settle on somewhere between f/2.8 and f/5.6. As you’re shooting at infinity, aperture is not the most crucial aspect of your settings so it’s best to settle at around f/4.
‘Star Stripes’ by Tim Crabb
10. Use a low ISO
The last thing you want is for your image to be subject to unsightly noise so make sure your camera is set to a low ISO such as 100 or 200.
‘Star Trails on Smoky Road’ by Marek Kosiba
11. Set your shutter
The longer your exposure the more the distant light of the stars will register on your camera’s sensor. The best thing to do is experiment and see what works best for you. Using a longer shutter speed will also mean you can keep your ISO low. It’s worth starting at 30secs and then increasing by 30secs with each shot to see how it works out.
‘Distorted Tor’ by Tim Crabb
12. Think about what lens you want to use
You can use any lens for star trails but keep in mind you will have an easier time using faster lenses (determined by the f-number on your lens – the lower the number, such as f/2.8, the faster the lens) as it means you can keep your ISO low. Also, keep in mind that a longer focal length means your trails will appear longer in a shorter amount of time. So, while many of the star trail images we see are shot with wideangle lenses, these were shot with much longer shutter speeds.
‘Crawford House’ by Dave M
13. Take several images
Taking just a single image can give you a decent coverage of star trails. But your best option is to shoot several images and then stack them later. Using multiple exposures means you can keep your exposure time and ISO relatively low, which keeps visual noise low. There’s no real guide on how many images you’ll need to take so there will be some trial and error here. It’s best to set yourself a good amount of time (perhaps an hour to start with on your first trip), shoot several images over that period and then see how those several images stack together.
‘After Glow’ by Lee Simons
14. Shoot your foreground
Star trails by themselves can be beautiful but to really get a complete image you’ll need an interesting and properly exposed foreground. We’ve covered this in its entirety in a previous feature so read through that and get to grips with it.
‘Star Trail Over the Lake’ by George Papapostolou
15. Stack your images
Once all of your images have been shot, it’s time to put them together. Luckily, this needn’t be a headache as there are several methods to do this. While some photographers will use the stacking method in Photoshop, this can be a lengthy and cumbersome process. The most popular method for stacking your star trail images these days is StarStaX, which is most notable due to its ease of use and its fast processing speed. It’s available on Windows, Mac and Linux and is highly recommended.
Another option is [Startrail], which used to be the standard, though this option is only available to you if you’re a Windows user.
Once your images are stacked and rendered as a final image, you’re then free to import it into your preferred editing software and work on the colours and levels.
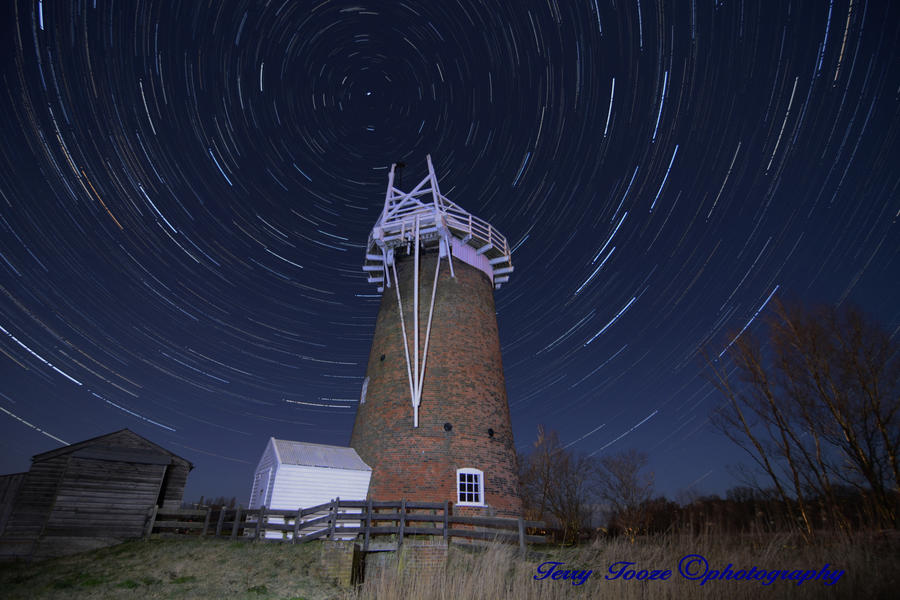
‘Spin me Round Again’ by Terry Tooze
